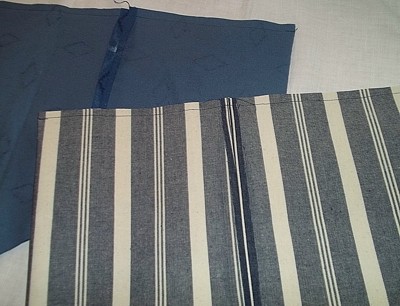
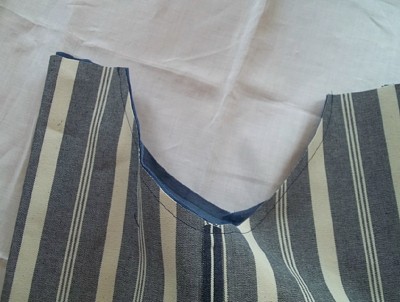
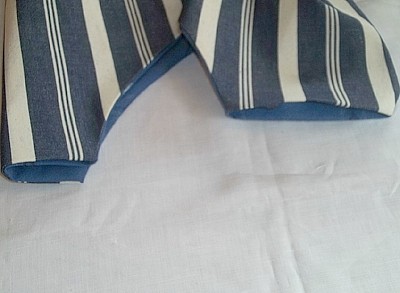
Tote bags are handy for carrying items while you are on-the-go. Make a sling bag to conveniently tote the essential tools for your daily work and play activities. Similar to a messenger bag, the handle hooks over your head and crosses over the body, leaving your hands free for picking things up, opening doors and other activities that require you to use your hands. The construction of a sling bag can be completed in an evening.
Approximate Time: 2 hours

Supplies:
- wrapping paper
- ruler
- pencil
- scissors
- 3/4-yard medium to heavyweight fabric
- 3/4-yard lining fabric
- straight pins
- sewing machine
- iron
- needle and thread
Instructions:
- Lay a folded sheet of wrapping paper on your work surface. Draw a 9-inch wide by 18-inch long rectangle along the fold with one 18-inch length on the fold. Cut out the rectangle, but do not unfold.
- Position the rectangle with the 18-inch fold on the left-hand side. Place a mark on the top edge and a mark on the right-hand edge, 6 inches from the right-hand top corner. Connect the marks with a line that curves to the left. Cut off the corners along the curved line. Unfold the shape. This is the pattern for the sling bag's body.
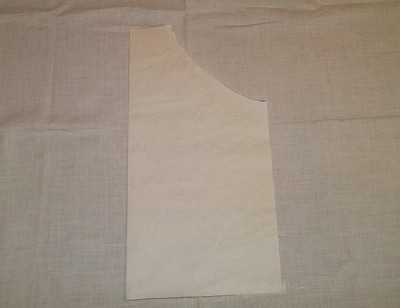
- Cut two body shapes from your bag fabric and two from your lining fabric. Cut a 6-inch wide by 36-inch long strip for your handle from the body fabric and one from the lining.
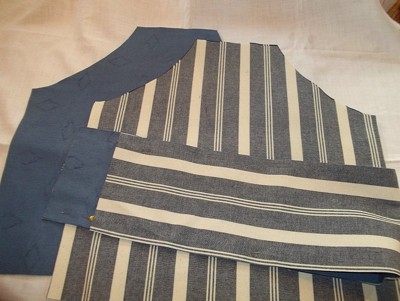
- Place the two body pieces together with the right sides facing. Pin the side edges together and sew using a 1/4-inch seam allowance. Repeat with the lining pieces. Iron the seams open.
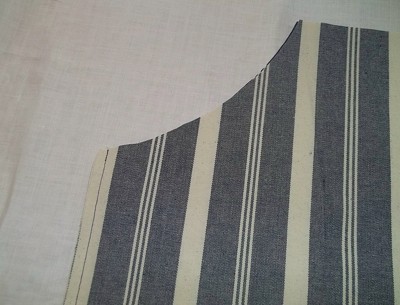
- Open the body and reposition the seams to run vertically down the center on the front and back. The side edges of the bag will now be folds. Pin the bottom edge of the bag and sew using a 1/4-inch seam allowance. Repeat with the lining, leaving a 5-inch opening in the center of the edge for turning.

- Turn only the lining right side out. Slip the lining inside the body. Match the curve and center seam on the open top edge and pin.

- Sew the pinned curved edges. You will still have two small openings on the top edge. These are where the ends of your handles will be inserted.

- Turn the bag right side out through the opening along the bottom edge of the lining. Hand sew the opening on the bottom closed. Iron the bag's body.
- Place the two handle pieces together with the right sides facing. Pin the long edges and sew using a 1/4-inch seam allowance. Turn the handle right side out and press.
- On the top edge of the bag, fold the openings for inserting the handle to the inside a 1/2 inch and press. Insert a 1/2 inch on one end of the handle into one handle opening on the bag and pin. Repeat with the other end of the handle into the remaining handle opening on the bag. Sew the handle ends along the pinned edges to secure.

- Top stitch around the curving top edge of the bag and continue the top stitch along each edge of the handle.
By Cyndee from Winfield, KS


