R Barbara
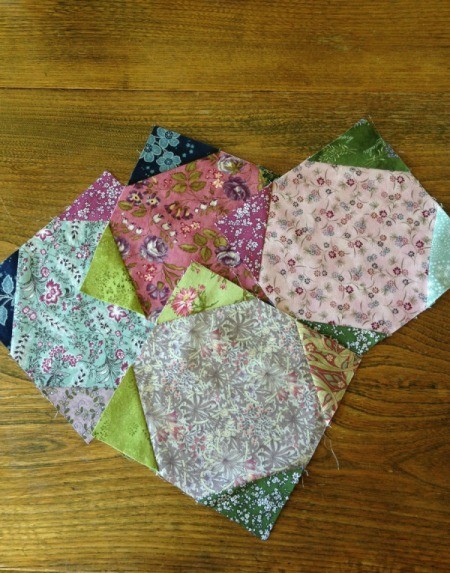
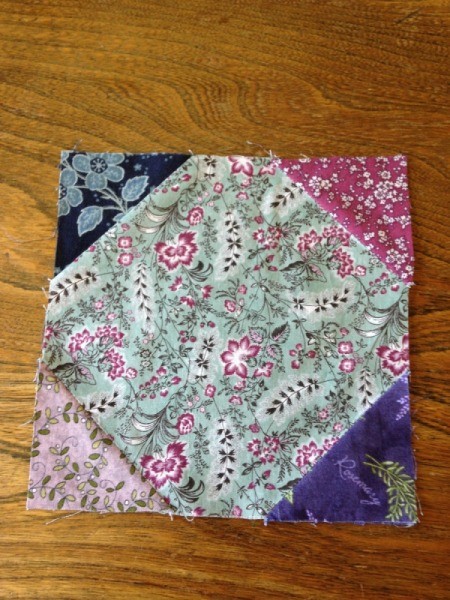
Bronze Post Medal for All Time! 190 Posts 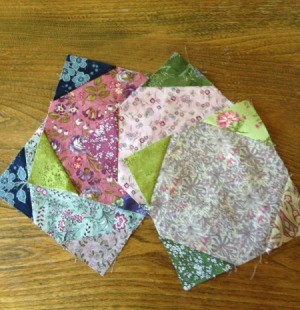 I am starting a new quilt; it will be a king sized quilt and I've decided to make it using a combination of snowball and friendship star blocks. Here I am making the 6 inch snowball block. This is an easy block to assemble. I hope this tutorial helps.
I will move on to the friendship stars once all of the squares for the 1080 snowball blocks are cut.
Total Time: approximately 10-15 minutes including cutting time per block
Yield: 1 6 inch block when sewn
Supplies:
- cotton quilting fabrics in a variety of colors (Mine are mostly floral in design.)
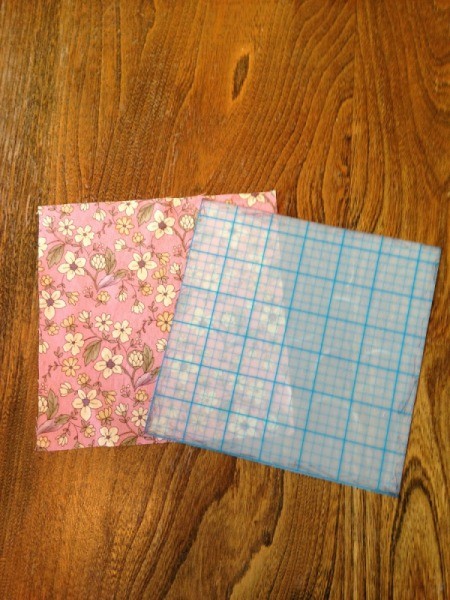
- templates: 6.5 inches and 2.5 inches (I made from gridded template material.)
- pen or fabric marking pencil
- scissors
- ruler
- sewing machine
- thread
- pins
- seam pressing tool, optional
- iron
Steps:
- Wash fabric to preshrink and set dye.
- Make your templates. I used gridded template material. You can also use scrap cardboard, but I wanted these to be more sturdy, as I will be making a lot of squares.
- Press fabric before marking and cutting.
- Choose the fabrics that will be used for the main (6.5 inch) piece and trace around your template on the wrong side of the fabric. Cut the square out.

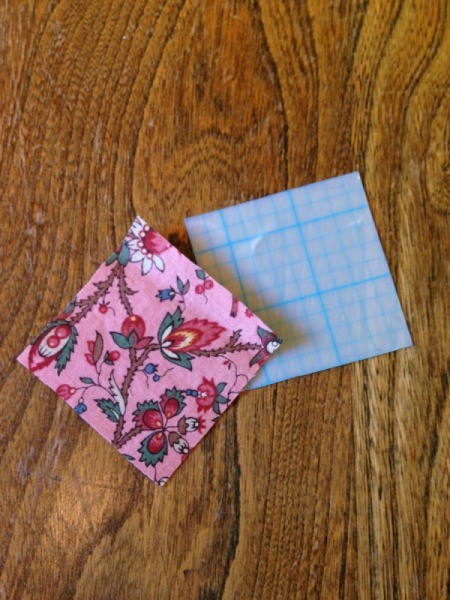
- Next you will need to make your 2.5 inch squares. You will need 4 for each block. Using the same process, trace around the template on the wrong side of your fabric and cut out.

- Choose the 2.5 inch squares your will be using. As I am ultimately making a quilt I cut out all of the squares I need to make the snowball blocks before I began piecing them.
- Using your ruler draw a diagonal line from one corner of the 2.5 inch blocks to the other, on the wrong side of the fabric.
- Place and pin each of the four small squares in the corners of the larger 6.5 inch square with the right sides of the fabric together. Sew along the diagonal line. Continue with the three remaining squares. Tie threads.
- Fold the small square back on itself and finger press the seam or use a pressing tool. Repeat for each corner.
- Turn your block over and trim the seam allowance being careful not to cut the half square that will make your corner.
- Turn the block right side up and press seams, using the pressing tool or an iron.
- This block is now complete. Make as many as you need for your project. Before you begin sewing them together make sure to square the blocks up so that they are nearly perfect and the final project lies flat.
NOTE: As you sew the parts of your block together, seams that are only slightly off from the typical 1/4 inch can result in blocks that are too large or too small.
There are a variety of methods used to square up a quilt block, use the one the suits you best. I use a square ruler and a rotary cutter on a self healing cutting mat for this step, prior to assembling the quilt top. 
Add your voice! Click below to comment. ThriftyFun is powered by your wisdom!

 I am starting a new quilt; it will be a king sized quilt and I've decided to make it using a combination of snowball and friendship star blocks. Here I am making the 6 inch snowball block. This is an easy block to assemble. I hope this tutorial helps.
