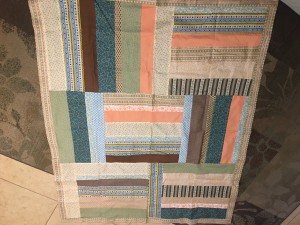
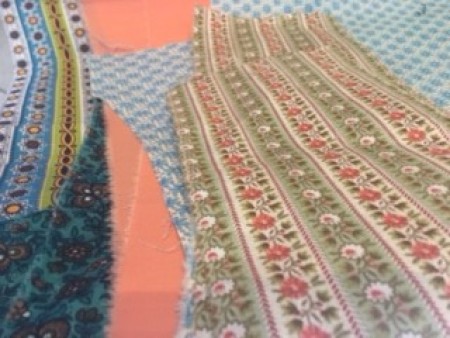
 I was given a lot of fabric from a friend. Part of the donation included long strips of fabric so I found this quilt pattern for using up strips of fabric.
Total Time: 3 hours
Yield: 1
Supplies:
- fabric strips
- scissors
- pins
- thread
- sewing machine
Steps:
- Cut strips of fabric the same length, using the smallest strip as a guide. Group the strips, alternating colors. Most of my strips were 4 inches in width and 20 inches in length. For these I used five strips per rectangle. However, some strips were narrower and so I used more strips per rectangle. I left a few strips separate to use later as "fillers."

- Next, I pinned the strips together and sewed them by machine, making nine rectangles, three rows of three. Then, I pressed each rectangle. Using a mat and cutter, I cut off any excess fabric and squared up each quilt rectangle so that they were all the same size, using the smallest as a guide. Then, I designed the quilt top by turning the sewn rectangles in different directions to create a design. In some cases, I needed to add one strip in between the squares and in other cases, I used three strips or two strips in between the squares to make each row of squares the same length. Of course, the two strips and three strips needed to be sewn and pressed prior to adding them to the already sewn rectangles. I sewed the three rectangles and "fillers" together, for each of the three rows.
- Last, I sewed the three rows together, row 1 to row 2 and row 2 to row 3. For a border, I had saved out enough extra strips to sew around the completed design to create a border. The quilt would then be ready to be finished using batting and a bottom and either tying or machine quilting. My purpose of this submission was to show how to create a strip quilt design.
Add your voice! Click below to comment. ThriftyFun is powered by your wisdom!

 I was given a lot of fabric from a friend. Part of the donation included long strips of fabric so I found this quilt pattern for using up strips of fabric.