social

Stucco Style Reptile Hide/Pool Deck

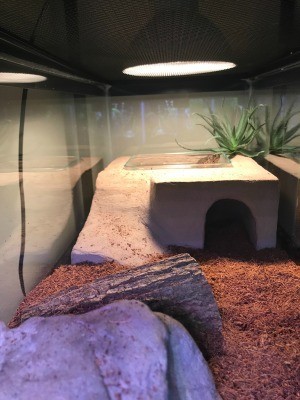
The finished structure being enjoyed by a toad.
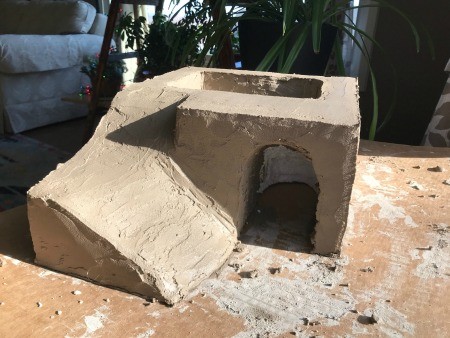
This craft is made to be used in a reptile/amphibian cage. It is made from a brick of Styrofoam melted/molded into shape with a combination of a hot wire and a lighter, and then grouted to make it durable. The top includes a spot for a container of water to be placed into it. A ramp/stairs provides access to the top and a cave is carved into the bottom to provide a place to hide.
Advertisement

December 2, 2020

The finished structure being enjoyed by a toad.This craft is made to be used in a reptile/amphibian cage. It is made from a brick of Styrofoam melted/molded into shape with a combination of a hot wire and a lighter, and then grouted to make it durable. The top includes a spot for a container of water to be placed into it. A ramp/stairs provides access to the top and a cave is carved into the bottom to provide a place to hide.

Total Time: 24hrs

Yield: 1

Supplies:

  • 1 large piece of Styrofoam- or multiple smaller pieces to glue together
  • Liquid Nails Projects glue
  • grey tile grout
  • water per the instructions

Steps:

  1. To start get a suitable sized piece of Styrofoam. If you can't find one large piece you can glue multiple pieces together with Liquid Nails Projectglue. If you decide to use something else make sure to test your adhesive on a small area before glueing to ensure it does not melt the Styrofoam.
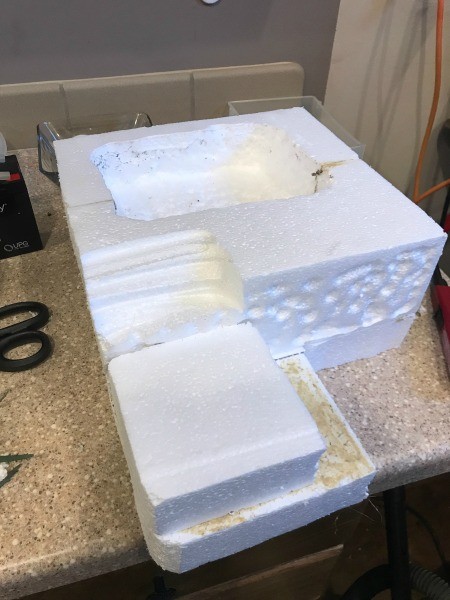
  2. A large piece of cardboard with parts carved out.
     
    Advertisement

  3. Once your initial shape is made, you can decide on a final shape. I marked out the areas I intended to carve off with a marker.
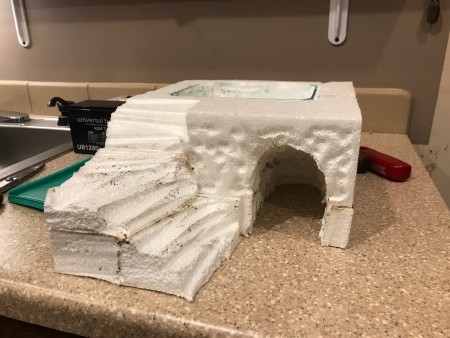
  4. The styrofoam carved with a cave for a reptile.
     
  5. In order to make your shape you can use a standard hot wire that is used for cutting Styrofoam. They can be bought online. I did not have this and instead used a blowtorch to heat a wire that I then used to shape the stair/ramp area. The hot wire will cut through the Styrofoam easily. If using a torch make sure to do it outside as it produces CO2. Try testing how the wire will cut on a test piece to get a feel for how you will shape your final product.
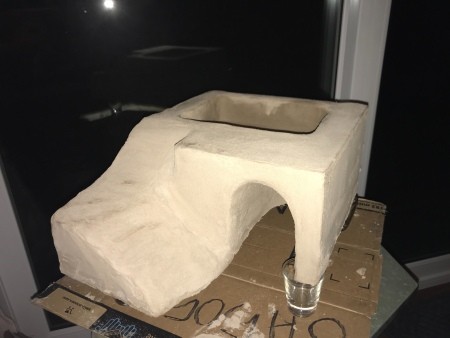
  6. The smoothed out styrofoam structure.
     
    Advertisement

  7. To cut out the pool/indent on the top and the cave area I used the hot wire along with a combination of scissors and a razor to cut out the large chunks.
  8. If more shaping is needed you can use a piece of rough sandpaper or a wood working file.
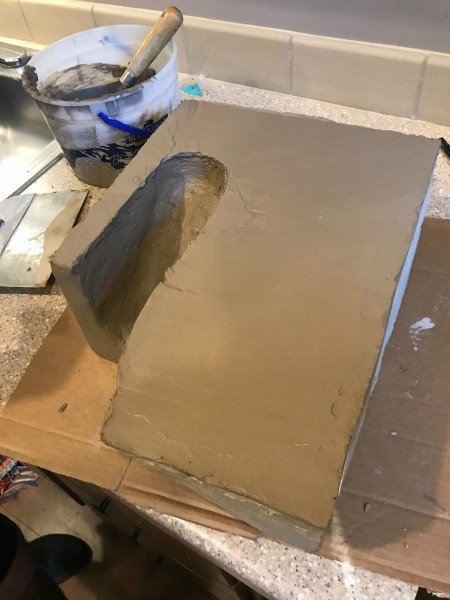
  9. I then mixed up some standard tile grout, per the instructions, and slathered it on the shaped Styrofoam. It took a couple hours for it to dry between putting it on the top and bottom, you can find quicker drying grout if you want it to dry faster.
  10. Covering the styrofoam with grout.
     
  11. And now it's done. The finished product took me around half a day to a day to complete, but most of the time was due to the grout drying time, quick dry grout can cut your time considerably.
  12. The completed structure, ready for use.
     
    Advertisement

Comment Pin it! Was this helpful? 1
Categories
Pets ReptilesJanuary 7, 2021
Pages
More
🍂
Thanksgiving Ideas!
🎃
Halloween Ideas!
Facebook
Pinterest
YouTube
Instagram
Contests!
Newsletters
Ask a Question
Share a Post
Categories
Better LivingBudget & FinanceBusiness and LegalComputersConsumer AdviceCoronavirusCraftsEducationEntertainmentFood and RecipesHealth & BeautyHolidays and PartiesHome and GardenMake Your OwnOrganizingParentingPetsPhotosTravel and RecreationWeddings
Published by ThriftyFun.
Desktop Page | View Mobile
Disclaimer | Privacy Policy | Contact Us
Generated 2022-10-25 19:06:15 in 3 secs. ⛅️️
© 1997-2022 by Cumuli, Inc. All Rights Reserved.
https://www.thriftyfun.com/Stucco-Style-Reptile-HidePool-Deck-1.html