
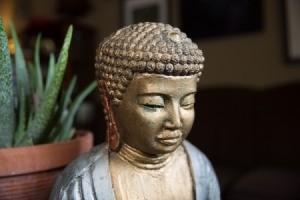
 Photos are highly recommended for all posts on ThriftyFun and some are also eligible for photo rewards. Sometimes we receive images that are unusable for one reason or another. To ensure success, consider these guidelines when taking photos with your smartphone or camera.
Be sure that your camera is set to take images (.jpg, .gif, .png) at a high resolution. Our system accepts images up to 15mb and will downsize to 1200x1200 dpi. Most smartphones default to the appropriate size but it can be easy to accidentally select a small thumbnail version if you are uploading from a desktop computer. Images under 500k should be avoided as they will not display well.
When taking photos with your smartphone, turn it sideways so the photos are long rather than tall. These look best on our ThriftyFun posts, as well as most other blogs and social networking sites.
Make sure that your lighting is bright and even for the best clarity and to prevent dim photos or autofocusing issues. Turn on overhead lights or supplement with a flash to fill in details.
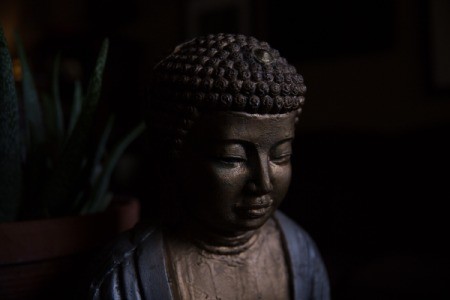
This photo was taken indoors with insufficient lighting. The image is too dark to make out the details.
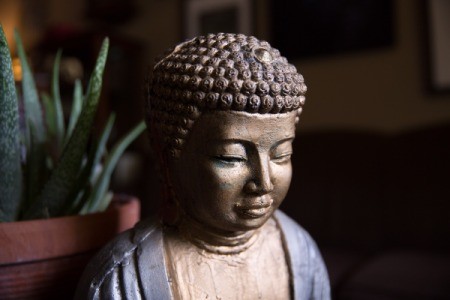
This photo was taken indoors with natural lighting. The image is shadowed but details are clear.
Windows can also be a good source of even light, depending on the time of day. If the sun is shining directly on the window, the backlit subject in the foreground will come out dark. It is better to wait until the sun moves or close the shades.
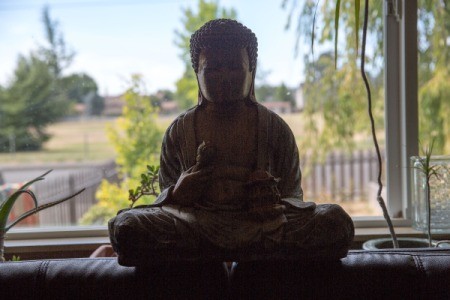
This photo was taken indoors in front of a window. The image is backlit so there is not enough foreground light to make out all details.
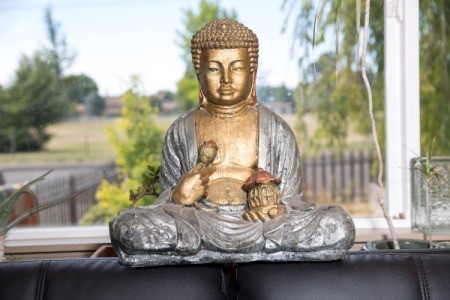
This photo was taken indoors in front of a window using a flash. The image is correctly lit and clear enough to make out all details.
If you are taking outdoor photos, avoid bright sunlight or shooting directly toward the sun, as this can result in a washed out or backlit image. Be sure that you keep your shadow out of the shot, especially early morning and late evening photography when shadows are long.
Make sure your image is in focus and not blurry in any way. Blurring can occur if the camera is moved while taking the photo. A tripod to stabilize the camera can help if it is difficult to stand still. It can also be caused by a fingerprint on the camera lens, which is common on smartphone cameras.
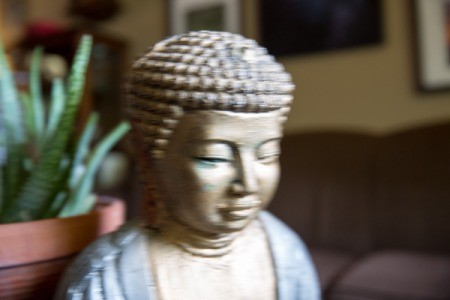
This photo was taken without a tripod, resulting in motion blur.
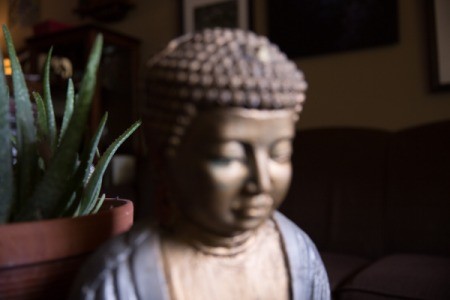
This photo was taken out of focus so the details are blurry.
Most cameras default to an autofocus option which shows as a square on the preview. Make sure it is focusing on the subject and not the background. It is good practice to take two or three photos to make sure one turns out.
Frame your subject in the middle third of your photo and have it take up most of this area. Move closer to your subject rather than using a zoom, as zooming can cause blurry or low resolution images. If you need to take the image from farther back to fit it, take one or two close-up images of the details.
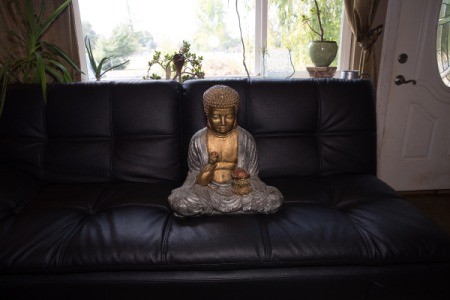
This photo was taken from a distance and doesn't not clearly show details.
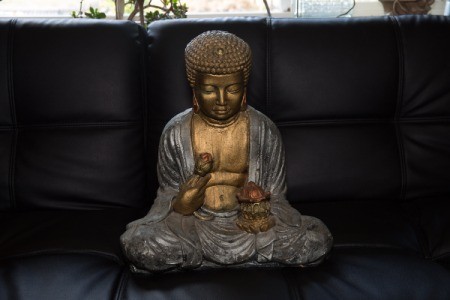
This photo was taken closer and shows much better details.
It can be difficult to get a clear image without extraneous items in the background, especially indoors. Tidy up around the area where you are planning to take the photo, removing clutter or anything that might be distracting. If possible, take the picture on a white or light background, like a cutting board or tablecloth. Avoid patterned countertops or anything that doesn't contrast well with the subject.
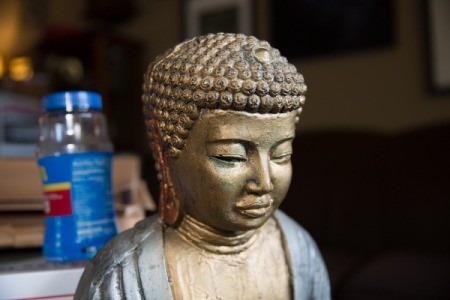
This photo was taken with some clutter in the background, which is distracting to the subject.
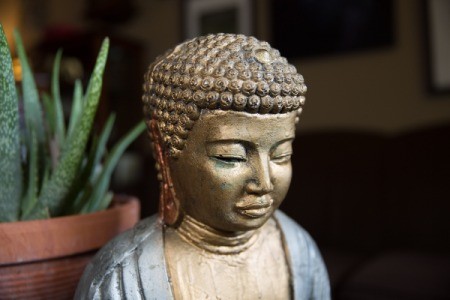
This photo was taken with clutter removed, resulting in a better final photo.
We don't recommend adding any graphics or words to the image, including date stamps. These can get cropped oddly for the different versions on our site and can distract from the subject matter.
When taking step by step photos for a craft or recipe, it's helpful to ask someone to take pictures for you during the process. The more photos you send, the more bonuses you may be eligible for. But if you don't have assistance, at least get a well shot final image for ThriftyFun to highlight in our contests and newsletters.
For recipes, try using white or solid colored dishes and add garnishes to provide some contrast and to make the food more appealing. It is also recommended to take a photo of the ingredients or supplies before you start.
If you are using your smartphone or tablet, be sure you are on WiFi to avoid extra data charges. Upload as many versions as you wish and our editors will decide which ones to post. If you ever have trouble getting the images to upload, you can email them to us at images@thriftyfun.com so we can add them for you.
Have any tips to add? Post them in the feedback below.
Add your voice! Click below to comment. ThriftyFun is powered by your wisdom!
It would be very useful when posting a photo of a plant, for its identification, to put an object, which size is known to everyone, like a pen for example, side by side to a leaf or a branch of the plant, to give a scale.
That is a great tip. You could also use a quarter or even a ruler. I hope we will have a specific garden photo article in the future so I will remember to include this idea.
Does ThriftyFun pay those images of articles which are not an entry to any of the contests?
All submissions from our members are always content entries, unless submitted by our staff. Tips are eligible for an additional $5 for a photo where recipes and crafts are eligible for up to $20. Of course, we don't publish every post we get and we don't choose to publish all the photos we receive.
Let me know if you have any more questions.
Add your voice! Click below to comment. ThriftyFun is powered by your wisdom!