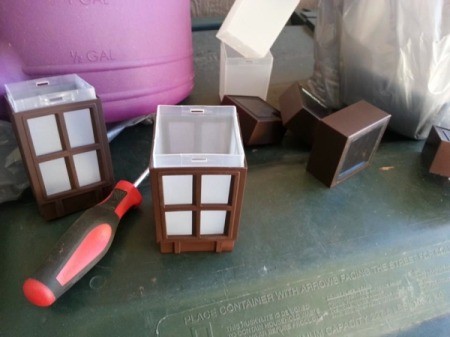
 While at the store recently my roomie said "Hey! If those were blue they would look like tardis lights!" So I bought four and now we have awesome tardis lights for our garden.
Supplies:
- solar powered garden lights (WalMart)
- metallic blue spray paint
- piece of Styrofoam
- drop cloth

Steps:
- Carefully disassemble the garden lights. Remove the white plastic window piece and set aside.

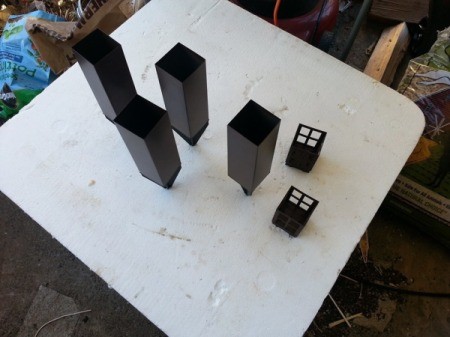
- Using masking tape, tape off the solar panel and the lightbulb. Poke the stake end into the Styrofoam and arrange other pieces onto a covered surface.

- Apply a coat of spray paint and allow to dry. Follow the directions on the can for applying multiple coats. Reassemble once completely dry. Now we have solar powered tardis lights in the garden. Taaah dah, geekage accomplished!
Add your voice! Click below to comment. ThriftyFun is powered by your wisdom!

June 1, 20150 found this helpful
Simple and adorable...but I can't find these lights anywhere! Might've stopped making them...boo!
Add your voice! Click below to comment. ThriftyFun is powered by your wisdom!
 While at the store recently my roomie said "Hey! If those were blue they would look like tardis lights!" So I bought four and now we have awesome tardis lights for our garden.

