
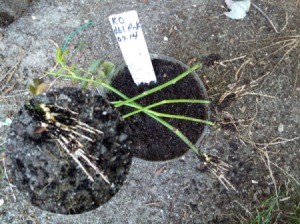
 Many times I've read instructions on rooting roses. It is generally accepted it takes about six weeks for the cuttings to form enough roots to be transferred to individual pots. This is true for cuttings rooted in the early summer months and does not apply to cuttings rooted over winter.
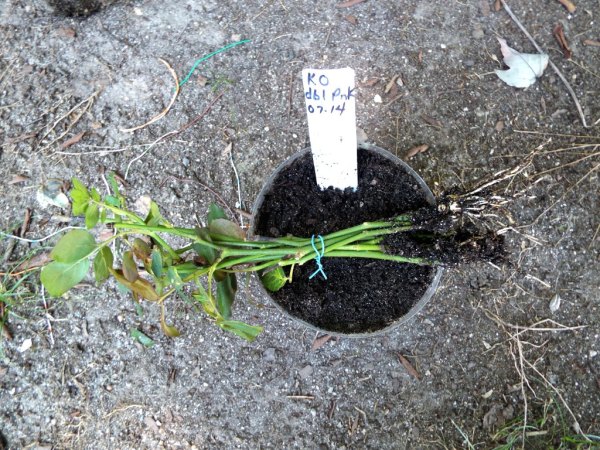
A method is given for testing the cuttings for root development including visual cues. It is said that if the cuttings have grown new, tender leaves, they have rooted. Rarely is this the case with me. You can see well developed roots on my cuttings, but there is no new leaf growth.
Most authors of these instructions tell you that if at some point your curiosity has gotten the best of you and you must know whether your cuttings have rooted, (and you don't mind the possibility of sacrificing a cutting) to gently tug at the cutting. If resistance is met, it is assumed the cutting has rooted. I don't agree with this method at all.
When you are gently tugging at the cutting, you may just gently tug any very delicate roots that have formed, right off the cutting. If this happens, the chances of the cutting developing more roots and surviving are not good.
I usually root several cuttings at a time. They are bound together with wire. When I test for roots, I lift them all at one time. This greatly lessens the stress on any one cutting. But there is more.
I root roses in flexible containers such as 2 liter soda bottles. When testing for roots, I first remove the dome. Next, I rotate the bottle in my hands, giving it a few good squeezes as I do. This loosens the soil around the roots. Next I turn the bottle on its side to see if most of the soil will fall away from the roots. If not, I keep rotating and squeezing the bottle til it does.
Then I can gently lift the cuttings from the soil with no damage to any roots. That is what I did in this case. You may not be able to observe in the picture, but there was absolutely no damage to any roots.
If you lift a cutting and it has rooted, you can do so without any damage providing you not break any of the fragile roots during lifting and repotting and if you do not allow the roots to suffer any moisture loss during the process.
Why would you want to test for roots in the first place? Why not just leave the cuttings in the container till you're sure they have rooted? I will tell you why I test my cuttings, sometimes two and three times.
All cuttings in a bundle will not root at the same time. If some have developed a nice root system, I like to remove and transplant these separately, leaving the rest in the soil to further develop roots.
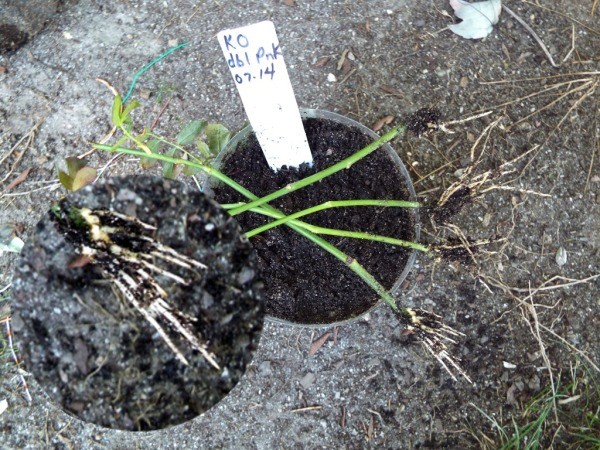
The main reason I test for roots is a safety precaution. It is inevitable that not always will every cutting produce roots. There will sometimes be those that damp off. 'Damp off' is a term used when a cutting succumbs to soil born pathogens. They develop black spots and then the whole cutting turns black and rots.
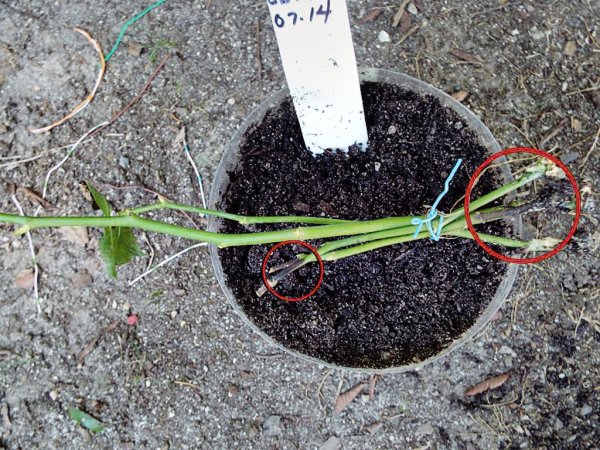
When I test my cuttings for roots, I can easily see if there are any signs of damping off. If there are, the affected cuttings are removed so as not to infect the healthy cuttings.
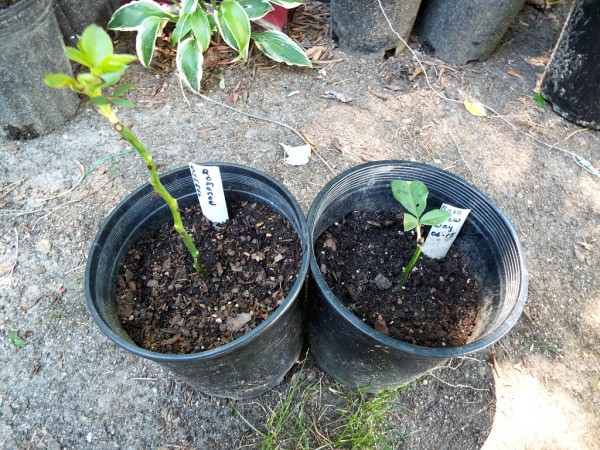
It is suggested that you take cuttings about the size of a pencil. These cuttings should have born at least one bloom. The cutting should not be very soft new growth nor completely hard wood. All this is good advice, but not written in stone. I have rooted cuttings much larger than a pencil. I have also rooted a single small leaf. (though rooted, the single leaf did not survive). This picture shows two rooted cuttings. One is about four inches long. The other is over nine.
Now, back to the six weeks rooting period. Most of you know I like to experiment, (My mother said I 'tore up' more than all the other eight children combined). I like to see what makes things work and if I can make them work better.
One of my latest experiments was to see if different soils or 'mediums' had any influence on the time it took cuttings to root. I have two cuttings that developed nice root systems in 15 days rather than six weeks.
I find this hard to believe, but I have the proof. Here's how I did it. For the medium, I used grass clippings. When they age and break down, they are near black and have a texture of fine coffee grounds. They are light, won't compact, and drain well. This is ideal.
I heat treated this 'medium' so there would be no damping off due to any soil/medium born pathogens. I did dip the cuttings in a rooting hormone which did not contain any agents to prevent damping off. I was shocked when I saw the results. I will repeat the experiment to make sure this wasn't a fluke. If the results are the same, I will make this method the only one I use for rooting rose cuttings.
The two cuttings that rooted so quickly did receive some direct sun light, though very little. The containers were placed on the ground in my popcorn patch. As the sun changed position, there were periods when the cuttings received shade, then bright light and for brief periods, direct sunlight.
(The first rose cutting I rooted at about age eight was in hard clay, under a quart mason jar in full sunlight, believe it or not).
.
Add your voice! Click below to comment. ThriftyFun is powered by your wisdom!
This is interesting as it clearly shows that mother nature (with a little help) does not always go by the "rules" created by experts.
I'm going to try this as I do not always have good success with rose cuttings.
Thanks
Thanks! Great post. Very informative and sensible.
Now I just have to figure out how to get those bottles since I stopped drinking soda.
If you ask on your local Freecycle page, you probably can get them easily from someone in your neighborhood. You can also ask for them at bars and restaurants. Local ones are usually more accommodating than chains.
Good luck!
Add your voice! Click below to comment. ThriftyFun is powered by your wisdom!