 There are many fun themes that run through schools during the fall season. One of the most enjoyable for students is pumpkins! There are so many activities and games that can be done, even for toddlers. If you are looking for a simple and easy-to-do painting craft, try this pumpkin patch made out of thumbprints! Most kids love to paint, especially when they can get it on their hands, so this craft is right up their alley.
Total Time: 10 minutes to make and a few hours to dry
Yield: 1+
Source: Pinterest
Supplies:
- orange, brown, and green finger paint
- brown and green marker or crayon
- 1 sheet white construction paper or cardstock
- 2 paint brushes or Q-tips
- at least 1 thumb (ha-ha)
- 1 paint palette or paper plate
- laminator with sheets (optional)
Steps:
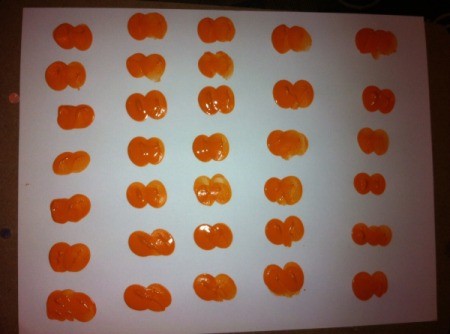
- Pour orange paint on the paper plate or palette. Have your child stick their thumb pad into the paint. Now have them press their painted thumb on the paper once. This is one half of a pumpkin. They need to add more paint to their thumb and make another print beside the first one, overlapping a bit. Now they have the other half! They continue adding pumpkins until they feel their patch is complete.

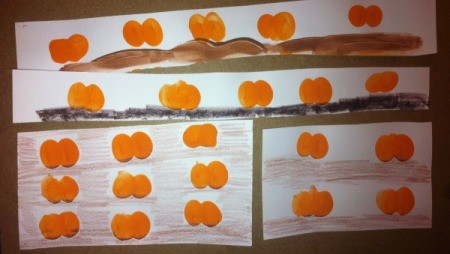
- Add the dirt. Your child can finger paint the dirt or use a brush. If they would rather use crayon or marker, allow the pumpkins to dry first. In the photo are examples of paint, marker, and crayon dirt, going from top to bottom.

- Add the pumpkin stems, tendrils, leaves, and vines with marker or crayon. Allow to dry, cut into sections if desired, and laminate to make them last!
Add your voice! Click below to comment. ThriftyFun is powered by your wisdom!

 There are many fun themes that run through schools during the fall season. One of the most enjoyable for students is pumpkins! There are so many activities and games that can be done, even for toddlers. If you are looking for a simple and easy-to-do painting craft, try this pumpkin patch made out of thumbprints! Most kids love to paint, especially when they can get it on their hands, so this craft is right up their alley.
