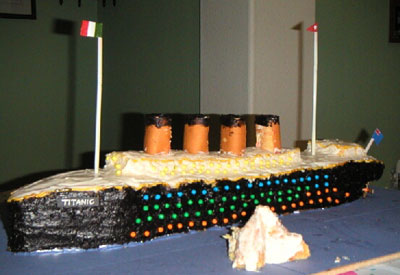
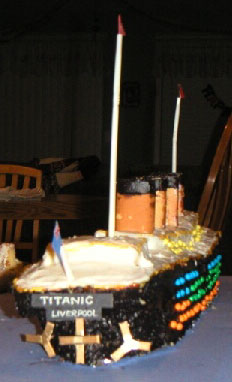
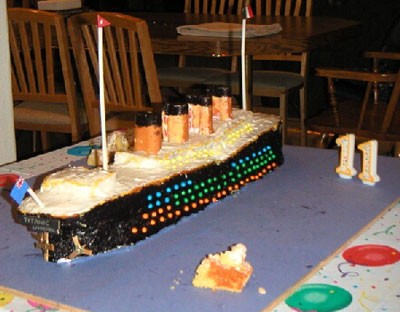
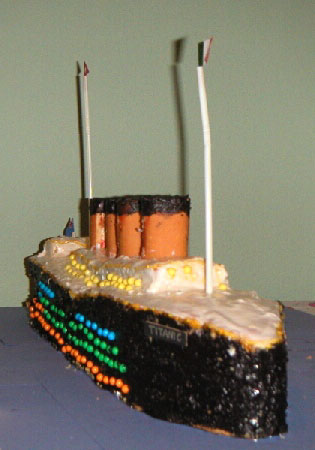
 These are pictures and instructions for the cake I made for my son's 11th birthday.
I made three rectangle cakes (13x9). Tip: Don't make moist cakes.
My mistake. Very difficult to frost. Also being moist the stern dropped
constantly and I had to keep plugging in pieces. Lesson learned.
Materials Used:
I used a card table with a balloon plastic table cloth. Wipes clean for any messy drops while decorating. I placed the cake on a ply-board used for art. You could simply use cardboard box. I covered it with blue construction paper. Used scotch tape to secure paper to the board. Then took foil and placed it center length wise on the blue paper. The cake sits on the foil.
The cake assembly:
1st cake: Place cake in a door position. Cut it a little more than half in width. Make your cut straight down. Take a spatula to lift the large piece out and place on foil front.
This is placed front for the bow. Set the remaining cake aside.
2nd cake: Do the same for the second half for the stern. Place as close together as possible. Of course it won't be perfect. Set remaining cake aside.
3rd cake: Do the same and place on top starting at bow. Cut front bow shape now that you have two layers. Set remaining pieces aside with the others. Now comes your creative skills. with the remaining pieces you will then finish extending for the stern. Remember,
frosting covers it. Don't be alarmed at what it look like at this point. Once you have layered to the end of the stern you will need to cut into bottom layer to create rudder where the propellers will go.
Place the rolls into the cut-outs.
Frosting the cake: Take Black frosting and spray onto a plate for spreading. Use a butter knife or frosting knife and begin applying black first. Then apply black tops to the funnels.
Take white frosting and apply to the rest of the cake. Take yellow gel and outline separating black and white colors. As you will see mine ran a little.
Portholes: I started at the bottom with orange, then green, blue and finished the top with yellow for first class.
Add Titanic labels, propellers, and masts with flags.
Take remaining cake pieces and lump together for icebergs.
I added the #11 to the scene to mark the birthday number.
This cake took 2 hrs to bake cakes. 2 1/2 hrs for labels, flags, propellers. To assemble, frost cake and decorations 2 1/2 hrs. This was my first layered creation. I prepared decorations ahead.
Happy celebrating.
Jennifer, CA
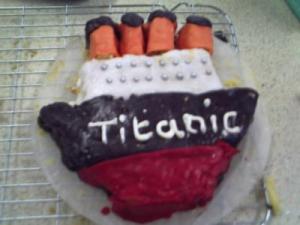
Awesome. I'd love a cake like that, is your son a Titanic enthusiast or something? I am. This is a pic of a Titanic cake I made for a school cake baking project. It is no way near as fancy as yours, but still good. (08/03/2008)
By Anneka
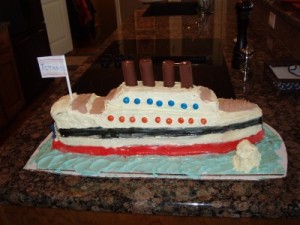
Thanks for some ideas, took some and created one for my son's 7th B-day. Also made a ship out of a box.
One tip don't use M and Ms the color runs. (11/05/2008)
By markymark
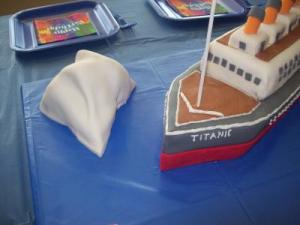
I made a Titanic cake recently for my son's 6th birthday. I just baked some cake in a couple of different sized loaf pans, then arranged them, cut them to be the shape of the Titanic, and then covered them with fondant. My son loved it. (06/29/2009)
By Heather
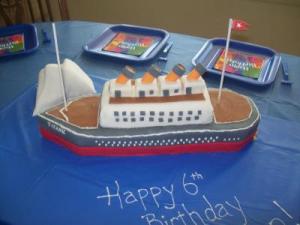
Another view. (06/29/2009)
By Heather
Add your voice! Click below to comment. ThriftyFun is powered by your wisdom!