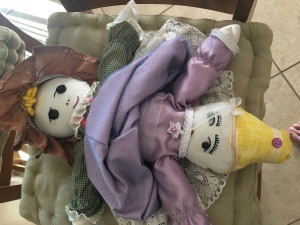
 Let me show you how to make two dolls in one, a princess and a peasant!
Total Time: 15 hours
Yield: 1
Link: http://keepsakecrafts.net/Topsy%20Turvy%20Doll%20pattern%20and%20directions.pdf
Supplies:
- unbleached muslin
- 1/2 yard fabric for Cinderella dress
- stuffing
- embroidery floss and needle
- 4 buttons for eyes
- l/4" elastic
- ribbon and lace for trim
- thread
- sewing needle
- pins
- scissors
- sewing machine
- embellishments
- 5/8 yard fabric for peasant dress and cap
- fabric scraps for hair and patches
Steps:
- Cut out pieces, using paper pattern, for doll's head, arms, and body from unbleached muslin. At this point, you can cut out a hair shape if you are making hair from fabric instead of yarn, which is the option I chose. Cut out dress bodices, one from a dressy fabric for the Cinderella dress and one from a more plain fabric for the peasant doll. Cut out skirt sections for both dolls using a 10 by 40" piece of fabric for each side of doll.
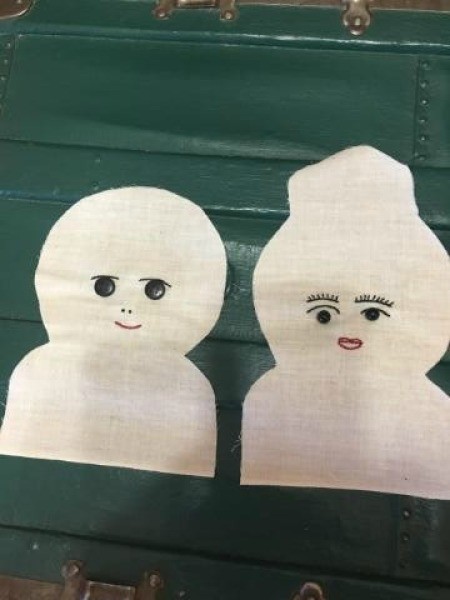
- Embroider a face using embroidery floss. Sew on buttons for eyes. Do this step for both faces. If using fabric for hair, zig zag stitch the hair piece to the face side of the Cinderella doll. I made a yellow fabric hair piece into a bun shape.

- Sew the two body/face pieces, front to back, right sides together. Repeat for the two body/back of head pieces. Then, sew front body/face pieces, right sides together, to the back body/head pieces leaving an opening on the side. Turn right side out. Stuff body and head section and hand sew the opening closed. Sew arm sections, right sides together, leaving opening at end. Turn arms right side out and stuff. Hand sew openings closed. You now have a two sided doll with no legs! By hand, tack the arms of the dolls to the bodies of both dolls.
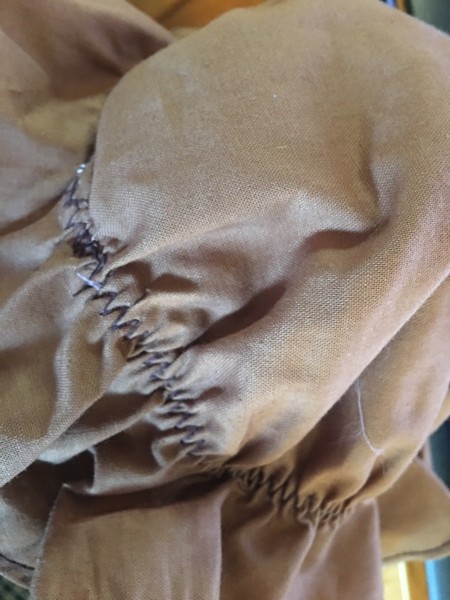
- To make the dress bodice, after they are cut from fabric, add trim to neck and sleeve edges and decorate as desired. I added a small flower to the Cinderella side with trim on the neck and sleeves. I added a ribbon trim and embroidered stitches to the peasant side of doll and also added trim to the neck and sleeves. Use 4.5" elastic for each of the four sleeves and zig zag 1 1/2" from sleeve edge. Pin and sew side seams of each bodice top.
- To make the nightcap, cut a 13" circle. Hem edges. Zig zag a piece of elastic close to the edge to gather cap to fit size of doll's head. You can add lace or eyelet trim to edge of cap before gathering with elastic if desired.

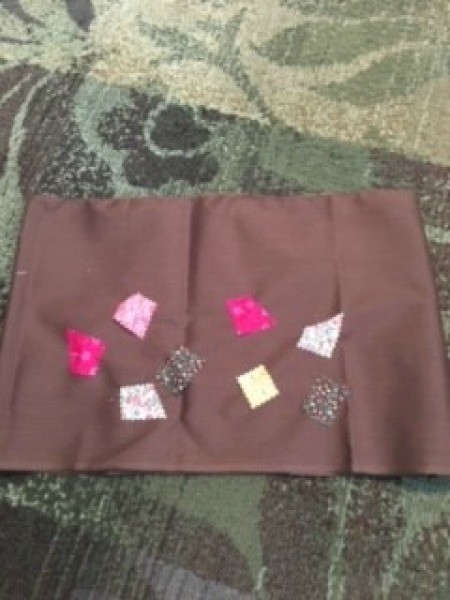
- To make the skirts, fold each 10 by 40" piece of fabric in half, right sides together, and sew the "back" seam together, leaving 3" unsewn at top. Sew both skirts together along bottom edges, right sides together. This makes two skirts joined together in the middle. I used pinking shears and cut small squares and rectangles from fabric scraps. Then, I hand sewed the patches to the peasant skirt in random areas. Fold one skirt inside the other; press, and then add a large lace trim to bottom of skirt and sew.

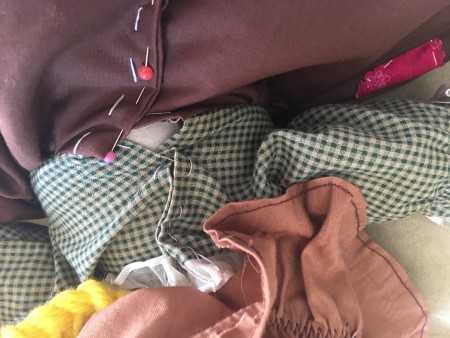
- Gather top of both skirts using a gathering stitch. Sew each skirt to each bodice top. A novel method of gathering is to zigzag a piece of cotton cording to the skirt and then pull the cording to create gathers to fit the bodice tops.
- Put doll body into dress through one of the openings. Hand sew the bodice back openings of both dolls. I made a braid from yarn and tacked it to peasant doll's head before adding the cap which is also tacked onto doll's head to hold in place. For the Cinderella side of doll, I added ribbon and a button to embellish the hair and added a ribbon belt to go over the bodice. I also added a little flower to the bodice piece.

- Doll is complete and you have two dolls in one!
Add your voice! Click below to comment. ThriftyFun is powered by your wisdom!

 Let me show you how to make two dolls in one, a princess and a peasant!