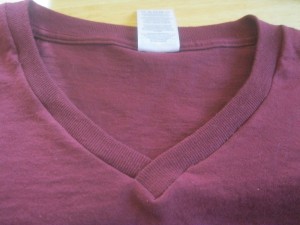
 I recently found some t-shirts on sale at the craft store for $2. I was excited, but I despise crew neck shirts. I always feel like they are choking me. I found a youtube video explaining exactly how to turn your shirts into v-necks and they looked like you bought them that way. It's easy and takes less than half an hour. I'm so glad I found this. No more pulling on the neck of my shirt and feeling grumpy!
Total Time: less than half an hour per shirt
Source: youtube video, How to Make a V-Neck from a Regular Shirt
Link: http://www.youtube.com/user/withwendy
Supplies:
- t-shirt
- seam ripper
- scissors
- sewing machine
- thread, any color - The stitches you sew won't be seen.
Steps:
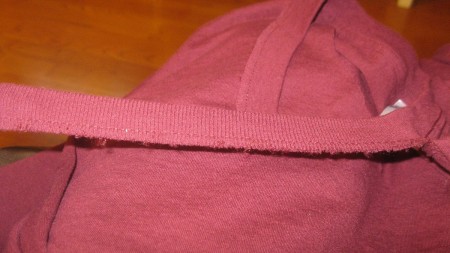
- First you have to rip out the finished neck line. There are 2 visible stitches. Take out the one on the bottom from one shoulder to the next shoulder. I didn't get a picture of this. But, the seam to take out is the one on the right of the seam ripper.
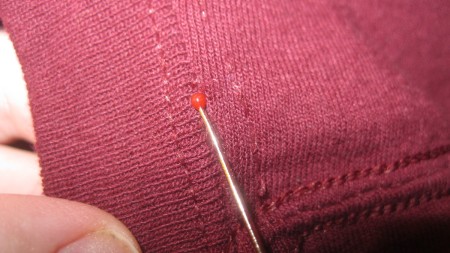
- You need to separate the finished neck line from the shirt. Pull a little on the shirt and the neck line. You should see a little stitch. Use your seam ripper to detach the two pieces. Alternately, you can go to the inside of the shirt and rip out the stitches from the bottom. It's easier, but I didn't get pictures of that way. Sorry!
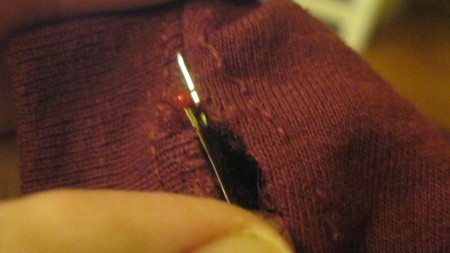
- You should have a strip of the neck line in the front. Fold your shirt in half, folding at the tag, to the front. You want to get this strip centered. Once it is centered, cut the strip at the halfway point.
- Keeping the shirt folded in half, you will start about 3 or 4 inches from the center and cut down to make a v-shape. Don't cut too much or the fabric won't be able to stretch and you will have ruffling when you sew it back together. I cut about an inch at the bottom.
- Stretch your two little pieces of the neckline. You want them to stretch and reach the bottom of the V.

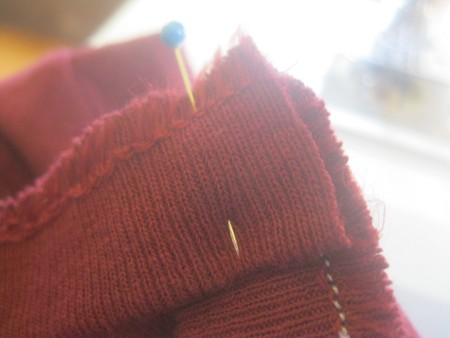
- Lay one strip down with the bottom to the top edge of the shirt. Reach that strip to the V. Pin it in place. Pin in a few more spots, stretching it as you go along. (If not, you will get puckering in one spot).
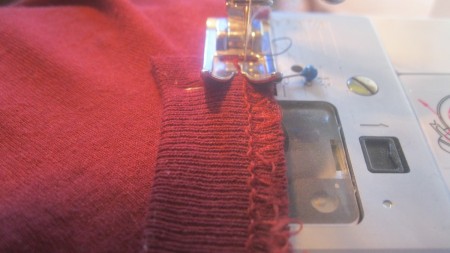
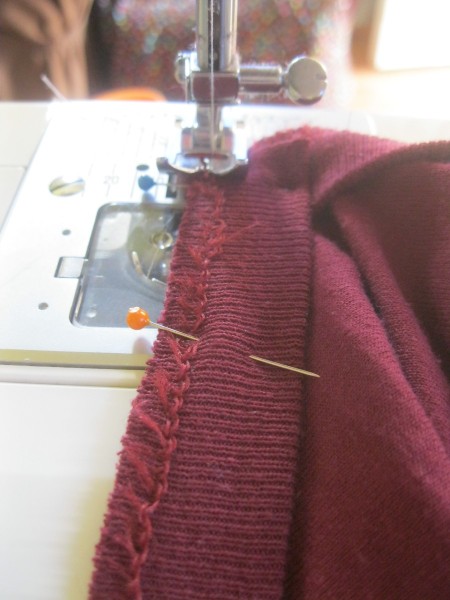
- Sew that strip onto the shirt, starting from the shoulder to the bottom of the strip at the V. Take out your pins.

- There will be a little bit of the end that wasn't sewn down. Take that piece and lay the bottom of the strip to the top edge of the shirt on the opposite side of the V. Sew that little strip.
- Take the other strip and pin it into place on the other side of your V, stretching as you go. The bottom piece of the strip will go all the way to the bottom and we'll take care of the flap later.

- Sew that strip from the shoulder all the way to the bottom of the V.

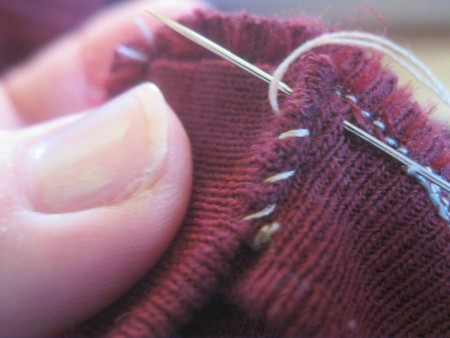
- You are left with a little flap on the inside of the shirt. Take a needle and thread and sew it down into the the strip underneath it. Be careful to not get the needle through the second layer of the strip....you don't want to see the sewing from the outside.

- Go crazy and change all your shirts to V-Necks!

- I hope that these instructions made sense. If not, please watch the youtube video. The girl is a genius and explained it so simply!
 I recently found some t-shirts on sale at the craft store for $2. I was excited, but I despise crew neck shirts. I always feel like they are choking me. I found a youtube video explaining exactly how to turn your shirts into v-necks and they looked like you bought them that way. It's easy and takes less than half an hour. I'm so glad I found this. No more pulling on the neck of my shirt and feeling grumpy!

