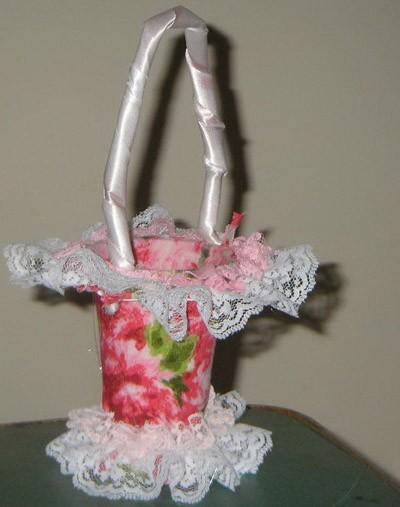
These darling baskets are so beautiful and bring a certain air of Victorian times to your crafting.
A very nice gift for someone special who adores the Victorian Era.
It takes a bit of time yet it is such an enjoyable piece of history and has that special air of freshness.
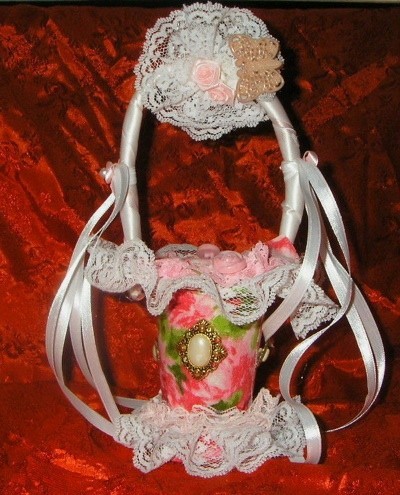
Approximate Time: 2 hours
Supplies:
- printed fabric of a favorite color (just scraps)
- 1 round yogurt container (clear)
- 1 small cup from powdered drink mix
- 1 white container top off of cake icing
- lace in 2 sizes and colors
- ribbon
- spray adhesive
- 2 chenille sticks.
- other embellishments
Instructions:
Please read all directions before starting.
- Cut around the lip of the icing top and discard.
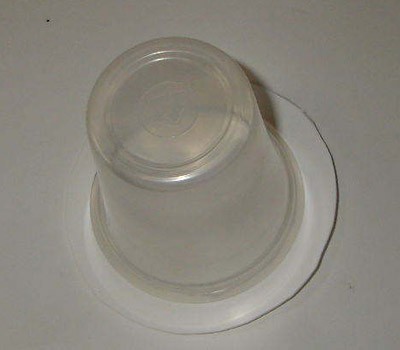
- Take the clear yogurt cup and draw a circle around the center of the cake icing top.
(This will fit over your yogurt container to make a lip) Cut around it and lay aside.
- Next take the small drink mix cup and hot glue it upside down to the bottom of the yogurt container.
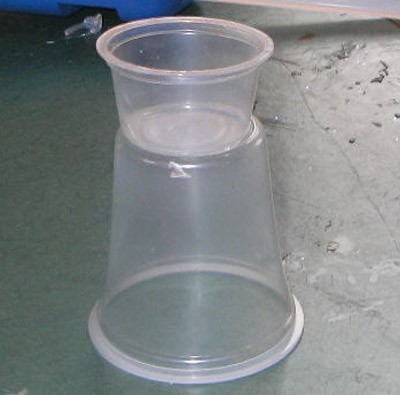
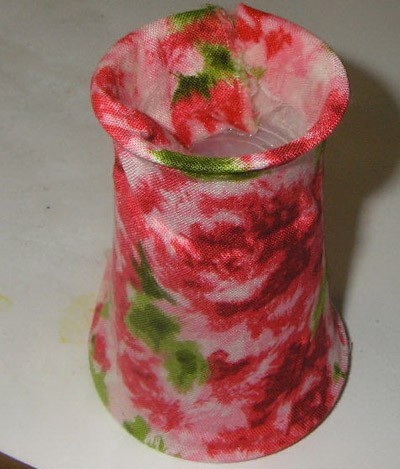
- Take material larger than the two pieces you just hot glued together and make a pattern for the top.
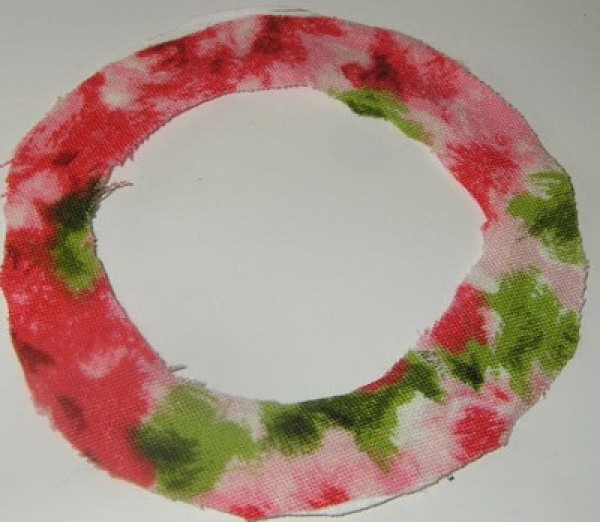
- Using spray adhesive spray the top and lay the fabric on it. (If it isn't neat don't worry you won't see much of it anyway.)

- Next take 2 chenille sticks any color and twist them together. Then overlay with ribbon. Lay aside.
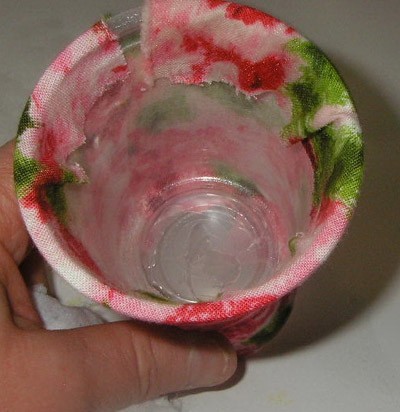
- Spray the two pieces you have hot glued with the adhesive and gently roll onto the fabric, covering the outside and leaving a bit of room to tuck the fabric into the top of the inside.
Tuck the inside edge down into the top of the container and under the bottom of the container. Hot glue if necessary to keep in place.

- Now hot glue your handle (chenille sticks covered with ribbon) onto the top edge of each side of the fabric covered cups.
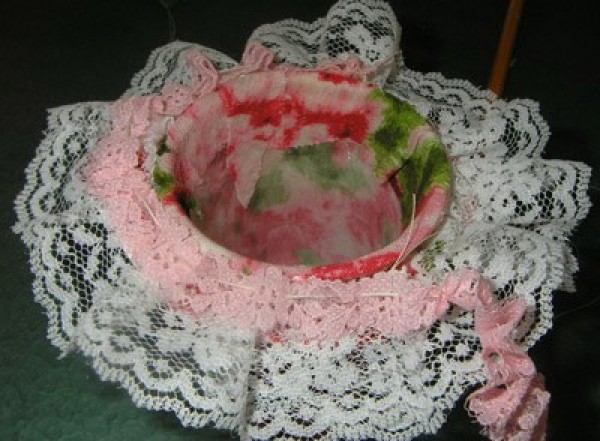
Gently work the top edge you made with the icing top onto the containers working your way up to the top.
Pull as close to the top as possible. If the handle gets in the way just put a small notch into each side and slip upward.
Now slip it back down and bead some hot glue around the top and push it back up to fit snugly.
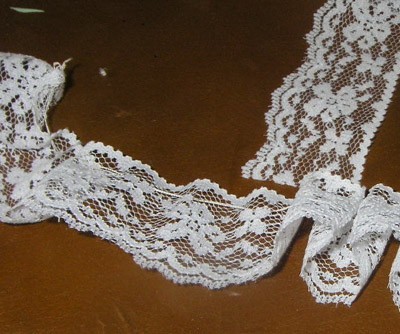
- Take some lace and and use a needle and thread to run a gathering stitch all the way through it.

(If you have gathered lace it would be easier to use and you can skip this step.)
Next take a contrasting color of lace and make gathers with it as well. (Again, gathered lace is a time saver.)

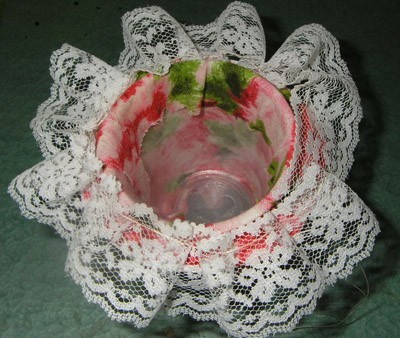
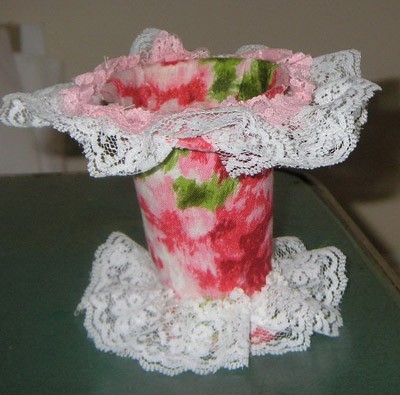
- Hot glue the first lace to the edges of the basket lip and to the bottom at the beginning of the drink mix cup.
Take your contrasting colored lace (the smaller piece) and add it over the top of the first piece of lace.

- Hot glue into place using glue sparingly.
You should now have 2 pieces of lace on top of each other on the top and around the bottom area.

(Refer to pictures for help.)
- Now take whatever embellishments you have and begin decorating the basket.
The wonderful thing about this basket is you can use any color scheme and achieve a beautiful basket.
The embellishments really finish the item off and make it stand out from the norm.

(My embellishments were simple, but they achieved the look I wanted.)
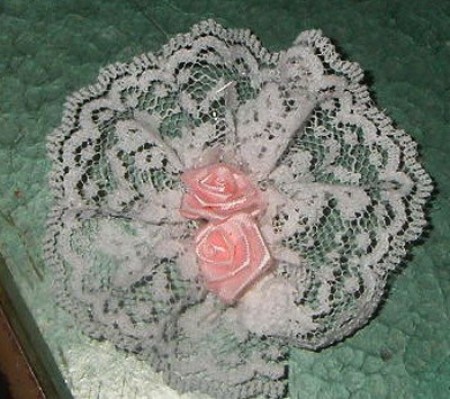
- Take white lace and gather it. Make 2 of these.
Add 2 small rosebuds to the center of each round piece of lace.

- Decorate sides of basket with pearl inlaid buttons.
On each side of the handle I added some ribbon and a tiny pink bow with a pearl bead to the center.
By Gem from VA


