Benetta
Silver Post Medal for All Time! 408 Posts 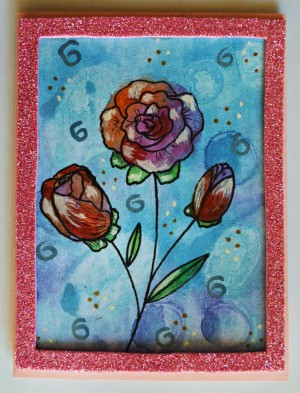 Bring out the artist in you when you make this beautiful watercolor birthday card!
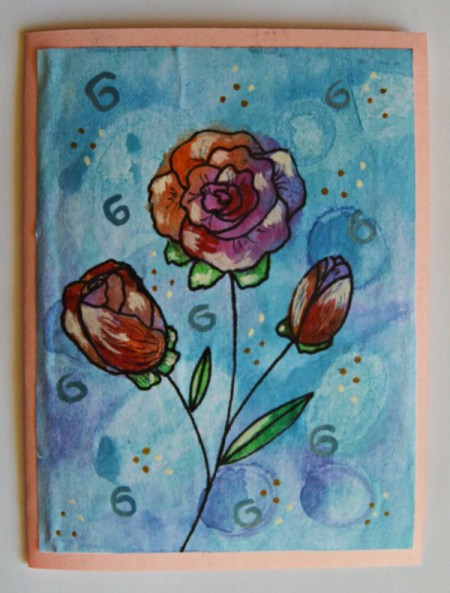
Total Time: 15 minutes, drying time excluded
Yield: one birthday card
Supplies:
- A4 sheet of ordinary white printer paper
- 8.2 x 5.4 in pink cardstock
- 5.1 x 3.7 in cut from a pink glitter foam sheet
- a few glass pebbles of different shapes and sizes
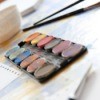
- Staedtler 12-color watercolor set
- broken white acrylic paint
- uni-ball eye fine black pen
- neon green felt-tip pen
- Giotto décor opaque metal pens: blue and bronze
- glue stick
- quick-drying craft glue (such as Bostik Clear)
- thin paintbrush
- standard scissors
- pencil
- ruler
Steps:
- Score the 8.2" x 5.4" pink cardstock to create a card sized 5.4" x 4.1".
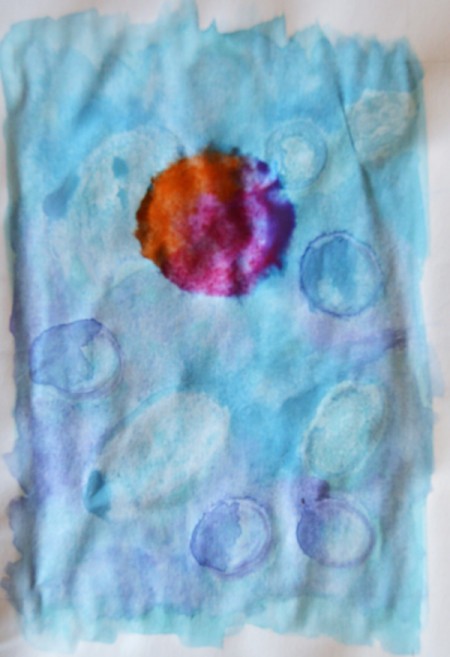
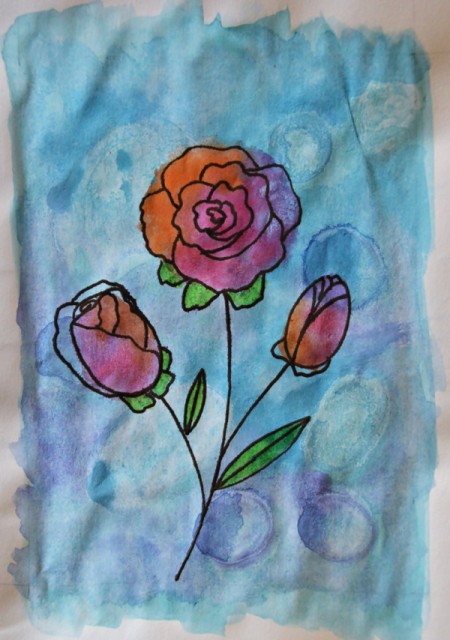
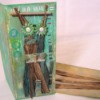
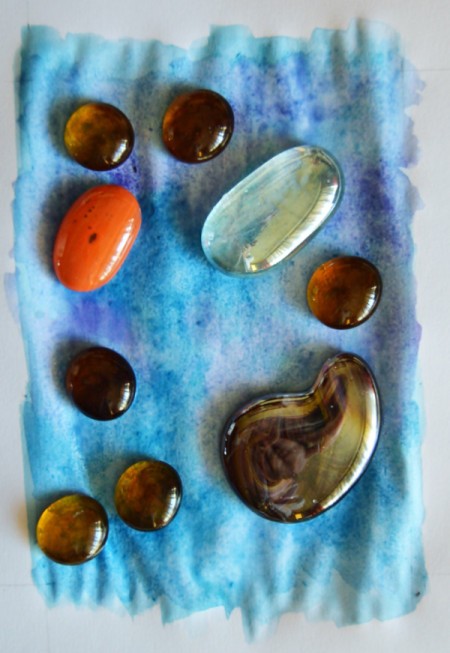
- Draw a 5" x 3.6" pencil frame on the paper. Use the paintbrush and the watercolor set to color the paper inside the frame. Use the two blue and the purple paints from the paint set, allowing the colors to interflow. While the paint is still wet, put the pebbles on the painted area and allow to dry.
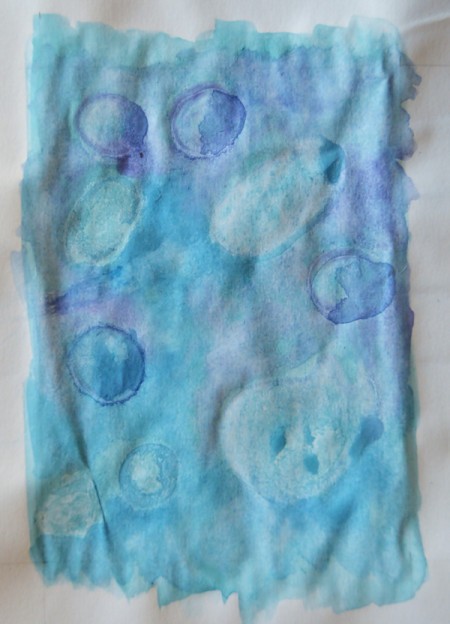
- Once the paint has dried, remove the pebbles.
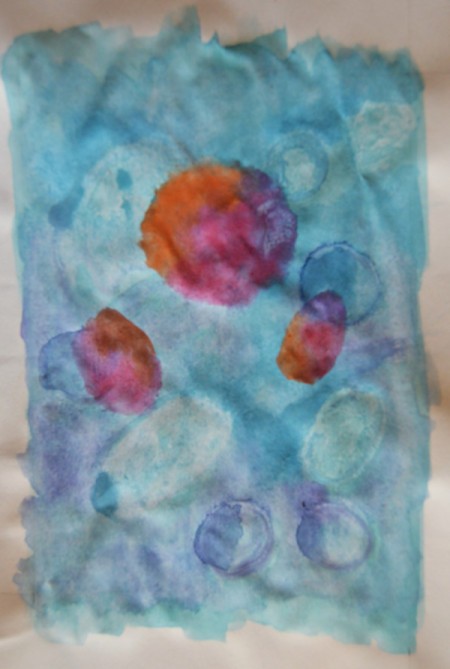
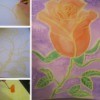
- Dip your brush in water, and paint a round puddle of water on the colored background. Add pink, purple and orange paint to the puddle, allowing the colors to overflow. This will be the main rose. Add two oval shapes in the same way ~ these will be the rose buds. Allow to dry thoroughly.
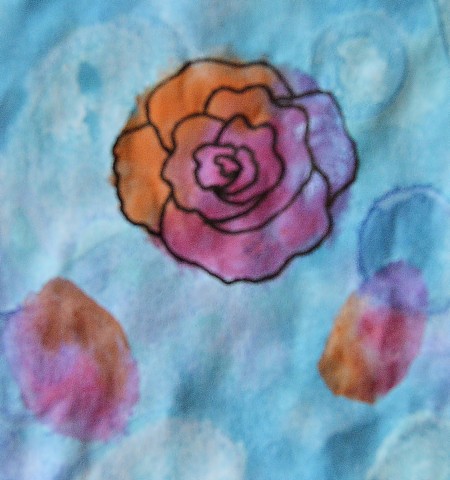
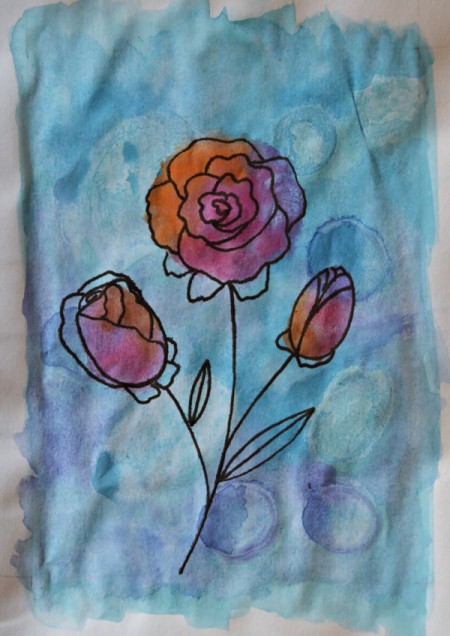
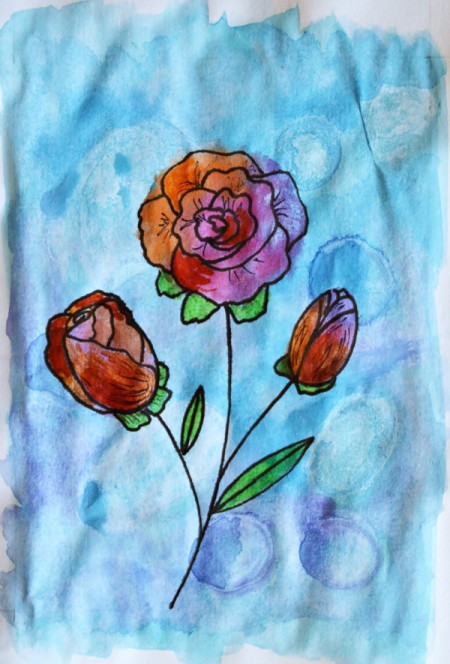
- Use the black pen and draw wiggly lines on the round circle to add a rose. Draw the rose petals, and add a stem and leaves.
- Use the neon green felt-tip pen to color the leaves.

- Use the black pen to add some additional detail to the roses.
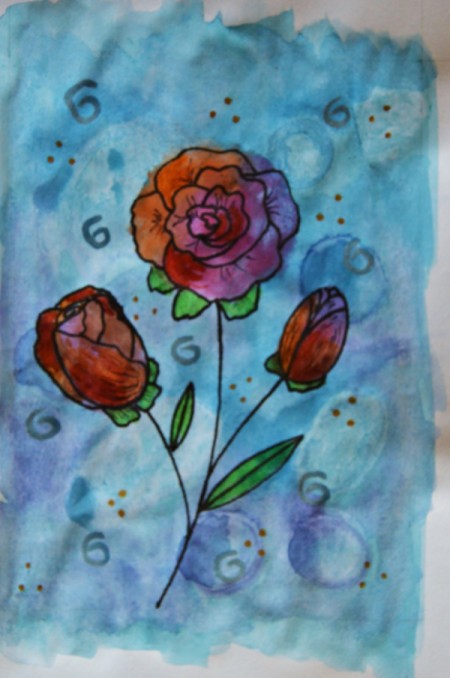
- Use the metal pens to add some detail to the background around the roses.
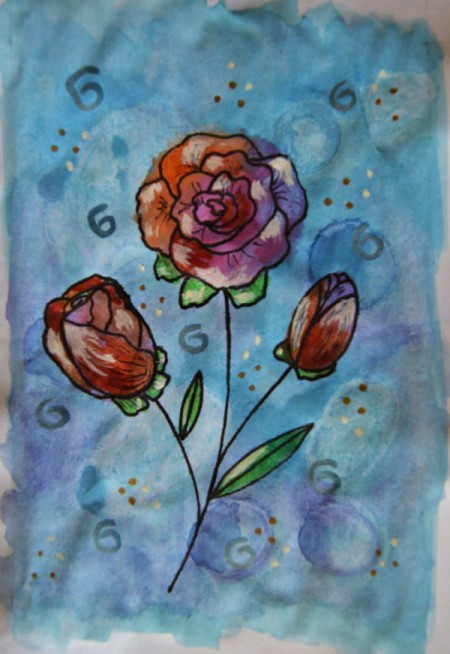
- Use the thin paintbrush and the broken white acrylic paint, and add some detail to the roses, as well as the last bit of detail to the background.
- Cut out the completed design. Use the glue stick, and with the fold at the left, centre and glue the design to the front of the card. Tip: Add glue to all areas of the paper to glue it down completely, and to help stretch the paper again.
- Take the piece of pink glitter foam sheet and cut out the inside, leaving a space of 0.2" from the outer edges of this piece to make a "frame." Glue the frame to the card to complete.
Add your voice! Click below to comment. ThriftyFun is powered by your wisdom!