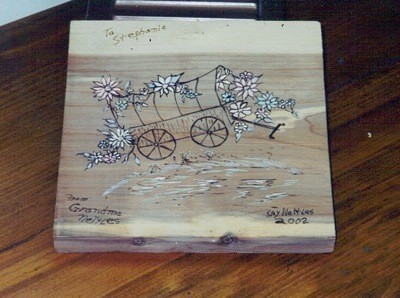
Woodburning pictures is always a hit with kids from 8 up, for me anyway. I like to teach the young ones, then it is easier to get the rules obeyed and it holds their interest. The instructions are simple.
- Start with any piece of wood light enough to see the picture after it is burned on it - the wood does not have to be perfectly smooth, either. Nothing here has to be perfect just fun.
- If your picture is in color, make a black and white copy
- Transfer the picture to the wood using carbon paper or any kind of tracing paper (even the kind used in sewing is OK). Don't try to get much more to begin with except the outline and highlights.
- Woodburn a small picture first to get the hang of the heat transfer, rules for holding, etc. This is where their interest will be gone or stay, so save yourself some headaches, if they don't want to try past here quit.
This only requires a cheap woodburner and the burner will last for a long time - I still have my first one I got 20 years ago.
- Have the child just follow the transferred lines, going as lightly as possible, but keep in mind it will be light and dark and not perfect. Not yet anyway. (Note here: If your lines you made with the transfer are too dark you should lighten them with sand paper.) You will have less burning to do because you need to cover the transfer lines on the wood.
- Spray the wood lightly with 2 coats of sealer or leave like it is, but it will age. As you can see from the picture, I outlined the picture in woodburn and sealed lightly, then painted inside the lines (can be craft or kid paints, just don't add water or make runny).
Try on scrap first. It really is fun and not stressful unless you try to get too involved with it being perfect.
Note: On the first one, you may want to do up to the woodburn detail yourself and have the child complete it. Then each time after, give them another step of the prep as they get comfortable with it. This is formally called pyrography.
By gbk from South GA
