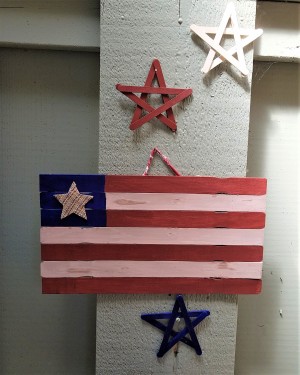
 I have wanted to make one of these using paint stir sticks for a while now. I have always known that paint stirrers are so versatile. I just needed the sticks and the paint and the time. I hope you like it.
Total Time: 4 hours
Yield: 1 Set
Supplies:
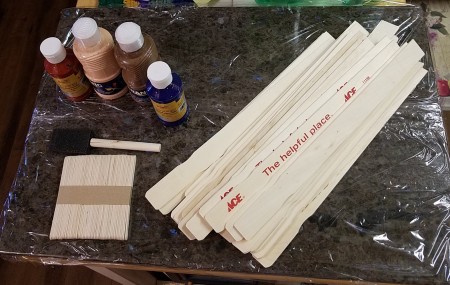
- 7 stir sticks
- 23 Popsicle sticks
- 1 oz navy blue paint
- 1 oz tan paint
- 1 oz burgundy paint
- hot glue gun and 2 sticks
- 6 in scrap ribbon and fabric
- 3 foam and artists brushes

Steps:
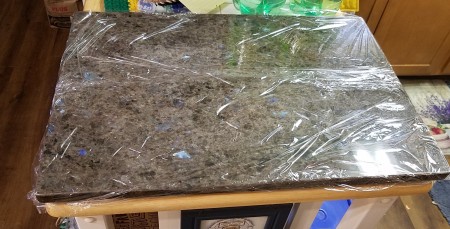
- I didn't want a paint mess to clean, so I covered my cutting board with cellophane. Planning out the sticks. I chose to alternate the "hand space" (little indentation you usually hold the stick with). Then I got to work.

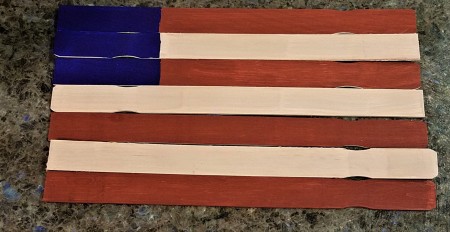
- I determined the size of the blue, and drew it on three of the 7 sticks. The painting was where I made some "holiday" as the painters call them, but I will get to that later. I painted the red paint first. It began to dry in 5 minutes, and with a second coat on, I got the "weathered" look I wanted. I even remembered to paint the edge of the stick that would be the bottom one, and most of the top red one, too, leaving room for the blue paint.
- The red paint was a Dollar Tree wonder. So was the blue. But I will never get the light brown and cream larger bottles. It has not only so much water it took almost an hour to dry for each coat, but it warped the sticks. Mistake number two, but to be fair, I had never bought any of these paints. Live and learn.
- With the tan finally dry, I painted the blue square. It dried as fast as the other one. I walked away from the project for the day so everything would be easier to work with the next day.
- If the 2 had not warped, the job of gluing them together would have been so easy. But it wasn't. So, I ended up needing heavy cans of meat and mini craft clamps to do the job. I used 8 Popsicle sticks to glue the flag together, 4 on top and bottom. But I made another mistake there, too. I forgot that the sticks would show through that indentation and then I would have to paint them. That led to a whole other problem of smudging red paint onto the tan sticks.
- So essentially the flag was done. But these are the mistakes you can avoid. Just because I didn't have to paint the edges of the sticks, didn't mean I shouldn't have painted the little indentation. Also I forgot to paint the top of the blue section. Going back with the blue was easy. The other, not so much. I got some red on the tan sticks and because of that, I had to remix some of the paint to fix it.

- The color was too dark, so I "faked" some rustic streaks on them so it looked like it was supposed to be there. Again, live and learn.
- The single star was made from some tan, blue, and red ribbon. I glued it stiff, cut out the star and glued it on after I fixed all the mistakes on the tan and burgundy sticks. I put a small hanger on it and called it good.
- I have never made the Popsicle stick stars before, but they are super simple. I even got a little "how to" off the internet and made three. Since I never wanted to mix any more of the watery paint, I just left them clear as they were pretty close to tan. I painted the others red and blue and glued them together. N-JOY!!
Add your voice! Click below to comment. ThriftyFun is powered by your wisdom!

July 20, 20200 found this helpful
Just remembered something I forgot to add in the post. I buy my sticks for .10 each.

Jess
Silver Post Medal for All Time! 267 Posts July 23, 20200 found this helpful
Very cute project! It would be fun to make these with teens or young adults.
Add your voice! Click below to comment. ThriftyFun is powered by your wisdom!

 I have wanted to make one of these using paint stir sticks for a while now. I have always known that paint stirrers are so versatile. I just needed the sticks and the paint and the time. I hope you like it.

