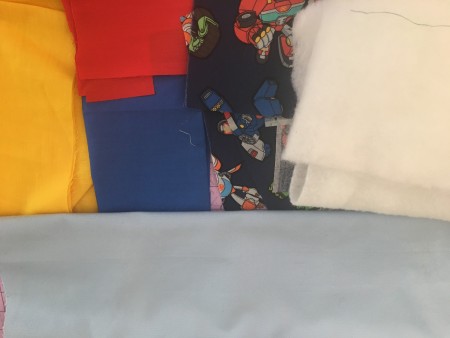
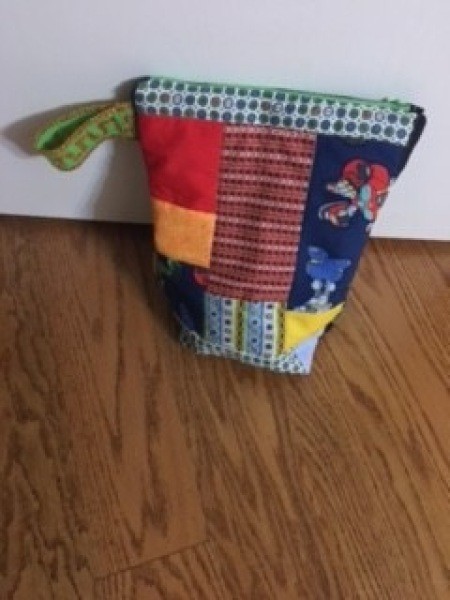
 I wanted to make a transformer toy bag for my grandson for Christmas but I only had a few small scraps of transformer fabric, so I made this patchwork transformer pouch.
Total Time: 3 hours
Yield: 1
Link: How to Sew a Patchwork Zippered Pouch
Supplies:
- fabric scraps
- zipper
- scrap batting
- sewing machine
- scissors
- thread
- pins
- Optional wide ribbon
- lining fabric

Steps:
- First, I cut out my lining and batting pieces 10 by 12 inch. You could size the pouch how you want. I had a 9 inch zipper on hand, so I determined that a 10 by 12 inch pouch would work for that size of zipper.
Next, using my scraps, I began sewing different sizes of squares and rectangles together, forming a patchwork look, until I reached the 10 by 12 inch size. I ended up cutting off excess fabric as I had no set design in mind as I began sewing. You could also cut one piece of fabric 10 by 12 inches and skip doing the patchwork design step.
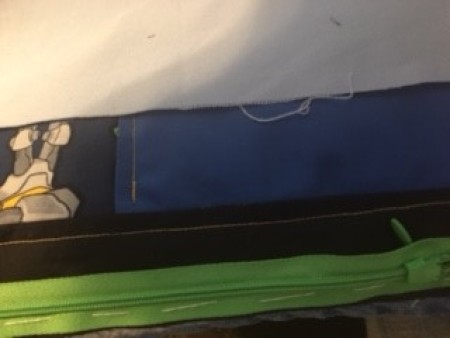
Then, I laid my patchwork pieced back and front on the batting pieces and machine quilted the the back and front. Cut out 2 inch squares at the bottom of the two lining pieces, and the front and back pieces of the pouch. These will be the corners. - Laying the lining to the front side, right sides together, I placed the zipper edge at the top, face down, sandwiched inbetween the lining and the front side. I hand basted to hold the layers together and then using my zipper foot, sewed down one side of the zipper.
I flipped the lining fabric over. Now the wrong side of the lining and the wrong side of the front are together. Press and then top stitch alongside the left side of the zipper.
To sew the other side of the zipper to the back of the pouch, I repeated the process. You should now have a left side and a right side with a zipper in the middle. Open up the zipper at this point before completing the next steps. 
- Put outer pouch right sides together and the lining pouch right sides together. Lay the two pieces flat and pin all the way around both the lining and the outer pieces. Sew along the sides and the bottom seam, leaving a 4 inch opening on the bottom seam of the lining only. Do not sew the cutout corners. To make the corners, pull the square cutout out and match the seams together, pin, and sew across. Repeat for the three other corners. seam.
- Pull the lining through the zipper opening. Poke the corners into place. Pull the outer pouch fabric through the zipper opening and poke the corners into place. Sew the 4 inch opening in the lining closed. Place the lining pouch into the outer fabric.
- I added a piece of trim for a handle but this is not necessary. If you want to add a handle, place the trim sandwiched inbetween the outer pouch side seam and sew when you are sewing along the side seam.

Add your voice! Click below to comment. ThriftyFun is powered by your wisdom!

Stella
Silver Post Medal for All Time! 254 Posts October 19, 20220 found this helpful
This is really cute!
Add your voice! Click below to comment. ThriftyFun is powered by your wisdom!

 I wanted to make a transformer toy bag for my grandson for Christmas but I only had a few small scraps of transformer fabric, so I made this patchwork transformer pouch.

