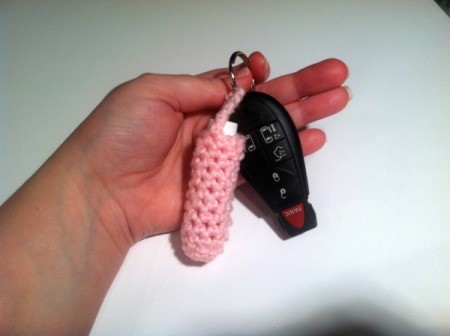
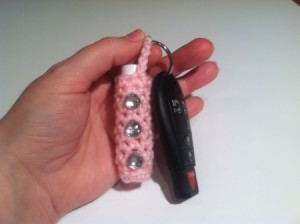
 Winter is the season for dry, chapped lips. Why is it though, you can never seem to find your ChapStick, especially when out and about. I decided to make a little "cozy" for mine. It has a loop that easily slides onto your key ring. Now I will never have dry lips when out of the house! You can make this in black, brown, or gray for the man in your life as well.
Total Time: About 15 minutes
Source: This is not a new idea, just my version of it.
Supplies:
- tiny amounts worsted weight yarn.
- size H crochet hook
- scissors
- embroidery needle for weaving in ends
- stick-on plastic gems, optional
Steps:
- **NOTE**This is meant to be crocheted tightly. This is what will keep your "cozy" snug on your ChapStick.
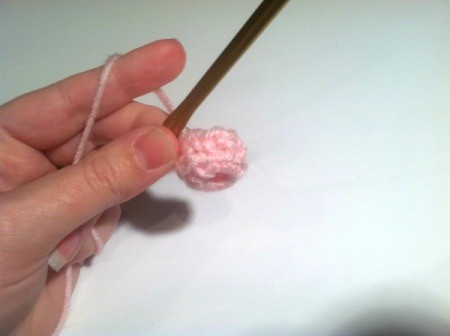
- Ch 5, join with a slip stitch in your first ch to make a ring.
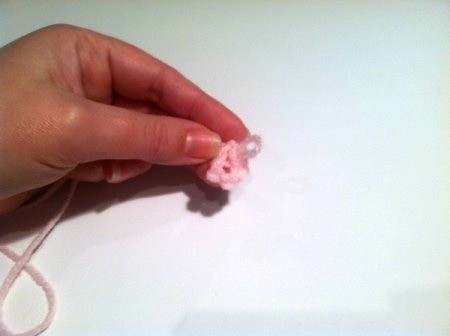
- Ch 1, 8 sc in ring.
- Join with a slip stitch to your first sc.

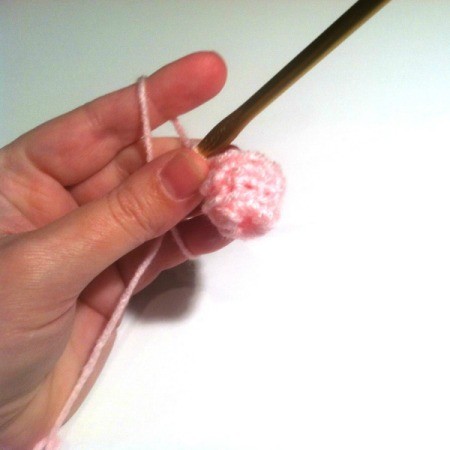
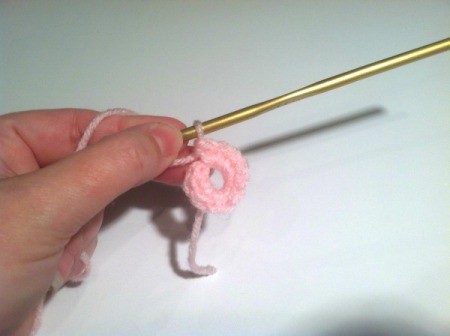
- Ch 1, sc in the back loop only of each stitch around. Join with a slip stitch to your first sc.
- **Take this opportunity to weave in your starting end. If you wait, you will not be able to reach it since this is a very narrow tube.
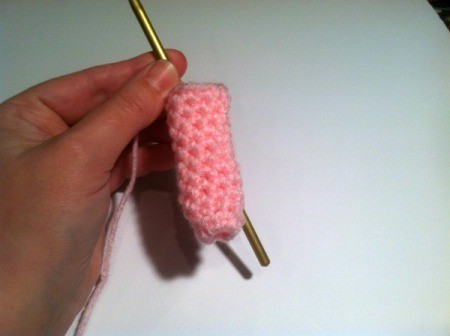
- Now you will be crocheting in both loops. Ch 1, sc in each stitch around, join with a slip stitch to the first sc.
- Repeat the last row 8 more times.
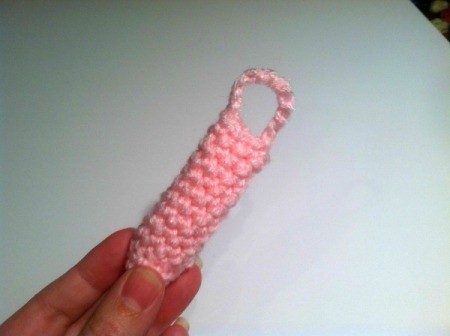
- Ch 10, join with a slip stitch on the other side of your rim to make a loop.
- Weave in your ends.
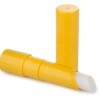
- It looks fine plain.
- Even cuter with a few flat back plastic gems hot glued on.
- You're ready to go.