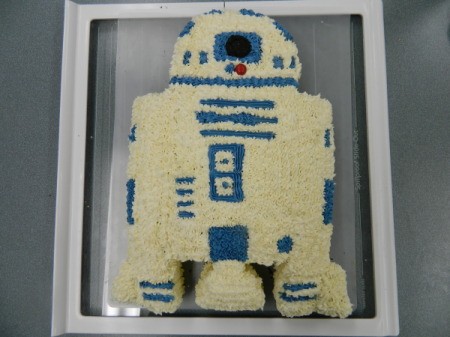
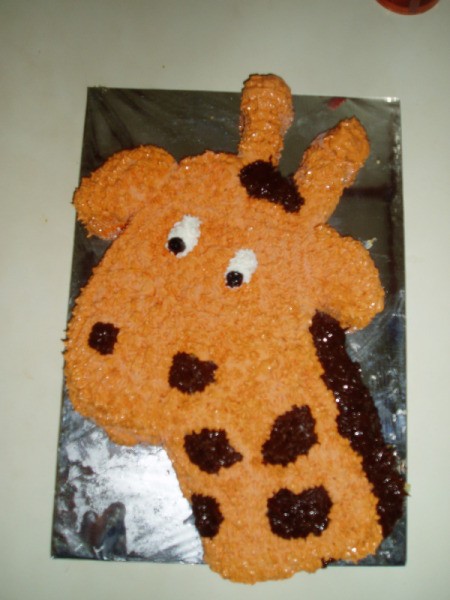
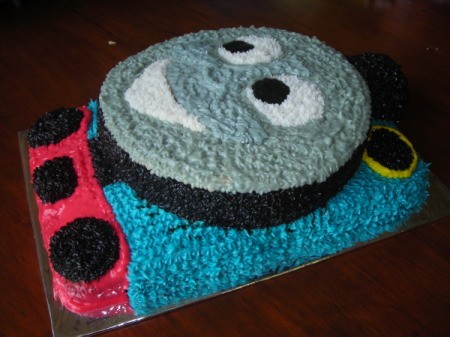
Character cakes are so fun and impressive, and any character can be done. I always make a character cake to match the theme of our boys' birthday parties. It isn't as hard as it looks and the "oohs and ahhhs" will be well worth the time put into it!
Approximate Time: Total 2-3 hours
Bake 1 1/2 mixes in the 9x13 inch pan as usual, making sure you flour the pan. Bake the remaining half mix in the smaller pan. Freeze cakes, pan and all. (Overnight is good.)
Practice drawing your version of the character to be used so you know the shape and design well. Choose a simple picture of the character to be used. Pay attention to details. Not all details will be cake-worthy.
Carefully, with a flat plastic spatula, remove cake from all edges of pan in a "levering" motion. Be sure to slide under the cake in several places until you can see the cake lifting up. Flip the cake onto a cutting board or pastry mat that is at least two inches wider than the widest part of the cake.
With the tip of the paring knife, draw an outline on the 9x13 inch cake that will serve as a cutting guide later. When you are satisfied with the general shape, cut deeper, removing the excess cake, but not discarding it. The smaller cake and the excess pieces are for fill in for odd shaped corners or for adding contour, such as nose and cheekbones.
Piece together your character, remembering that icing will cover all mistakes and odd-looking creations!
Using a star-tip, begin covering the cake character with the appropriate colored icing.
You will have an amazing looking cake that you tackled one inch at a time!


By Kelli from Sentani, Indonesia