Starting your own seedlings is an easy and economical way to get a jump on the growing season. It gives you the opportunity to experiment with hundreds of different plant varieties and gives you the satisfaction of knowing that your garden will be organic right from the very start.
Start with quality organic seeds. If you haven't collected and stored your own from last season, purchase seeds from a reputable company. Make sure to check the freshness date on the packets. Keep them in a cool, dry place until you're ready to sow them.
To get seeds off to a good start, you need a high-quality organic growing medium. All seed starting mixes should consist of several things-space for air and water, built in nutrition, a diverse mix of biological organisms to help release nutrients and adequate levels of macronutrients (nitrogen, phosphorus, potassium, calcium, etc.). Plants have varying needs, but a mix of equal parts vermiculite, perlite and screened compost will work well for most. There are a number of certified organic mixes available commercially. If you buy them, avoid mixes that contain peat moss. Instead, look for mixes that contain substitutes like coconut husks or various bark products. Most gardeners don't realize the negative ecological impacts that extracting peat has on the environment.
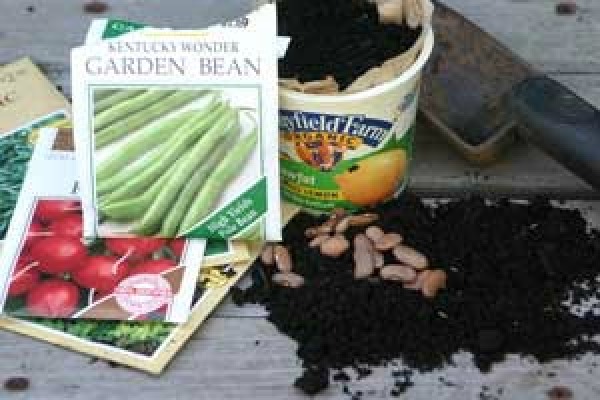
Start seeds in containers that are 2-3 inches tall. If you're reusing pots, make sure that you sterilize them before use with 1 part environmentally friendly non-chlorine bleach to 9 parts water. Rinsed out milk cartons (cut down or cut in half length-wise), cardboard cells, disposable aluminum cake pans, coffee bean bags, take-out boxes and yogurt cups are all a great size for starting seedlings, too. Don't forget to punch drainage holes in the bottoms.
A lot of advice on starting seeds will recommend sterilizing home-mixed potting soils with heat. This prevents soil-borne diseases like damping off. Some research suggests that heat will kill the helpful microorganisms as well. Organic growers tend to believe that encouraging a variety of microorganisms guards against the domination of any one and a better soil balance is achieved by letting all the microorganisms fight it out.
In a bucket, mix your potting mix with water until it's evenly moist and "cure" it for several hours until most of the moisture is absorbed. Fill the containers to the top with the moist potting mix and tap the bottoms gently to encourage settling.
Find out if your seeds require any special treatment before planting. Some need to be chipped or "scarified" for successful germination. To do this, file down a small section of the seed coat before planting so that it can take up water more readily. Other seeds need to be soaked to soften up outer hulls. The seeds of trees and shrubs sometimes require "stratifying"-mimicking the natural conditions of their dormancy period. This requires soaking and chilling to simulate over-wintering on cold, wet ground.
Some seeds need light to germinate and others prefer darkness. Tiny seeds can be scattered over the surface of a container and lightly pushed into place. Larger seeds generally like to be covered. Use a wet chopstick or wooden skewer to pick them up and insert them into the mix. A slight turn will release the seed from the stick and allow you to pull it out clean. Cover each hole with a small amount of moistened soil.
After sowing, secure seeds in place by misting them with a spray bottle until water begins to drain out the bottom. Cover containers with a sheet of moistened newspaper or plastic wrap to create a humid environment.
Newly planted seeds need a warm area to germinate; the top of a fridge, water heater, television set or on a shelf above (not on) a radiator. Seeds that prefer darkness should be placed into a closet or cabinet for 2-3 days before moving them into light. Check containers daily and remove any covering as soon as the first seed leaves break through the soil. You should see sprouting within 5-10 days.
Some seeds such as nasturtium have a hard outer seed coating that can slow down germination. For these and similar seeds you can speed up sprouting by nicking the seed coat and filing lightly until you can see the lighter inner seed coat.