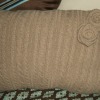
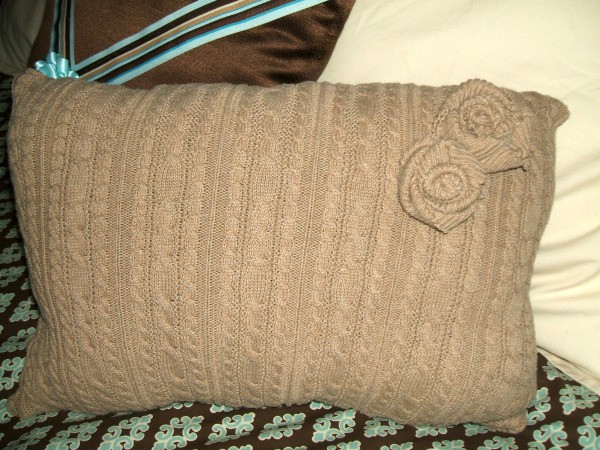
Don't throw out those sweaters that no longer fit; instead, recycle them by creating throw pillows. This is a quick and simple craft.
Approximate Time: about 45 minutes
Supplies:
- sweater
- scissors or rotary cutter and mat
- sewing machine
- needle and thread
- hot glue gun and glue sticks
Instructions:
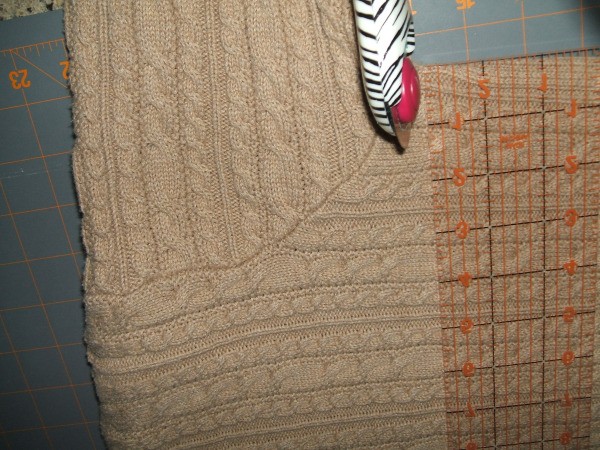
- Cut band off of bottom of sweater and set aside. This will be used later to create flowers to embellish the pillow.
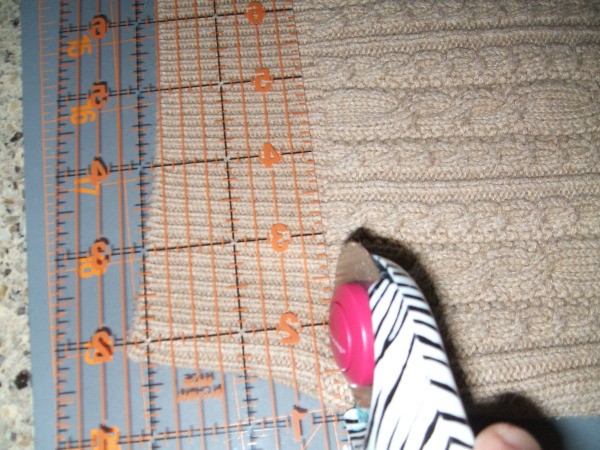
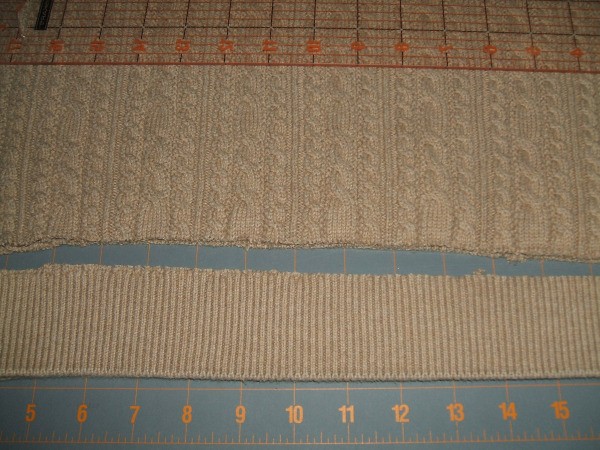
- Cut the sweater from one side seam to the other, just beneath underarm seams. Leave side seams unless you want the pillow to be smaller than the width of the sweater.

- Turn the piece inside out, and machine stitch along one edge, using 1/2 inch seam allowance. Sew the other open edge, leaving a large enough opening to turn and stuff the pillow.
- Turn the pillow right side out and stuff with fiberfill until you reach the desired fullness.
- Use a needle and matching thread to sew up the opening.
- To create the flowers, cut the band in half crosswise so that you have 2 pieces that are about 14 inches long.
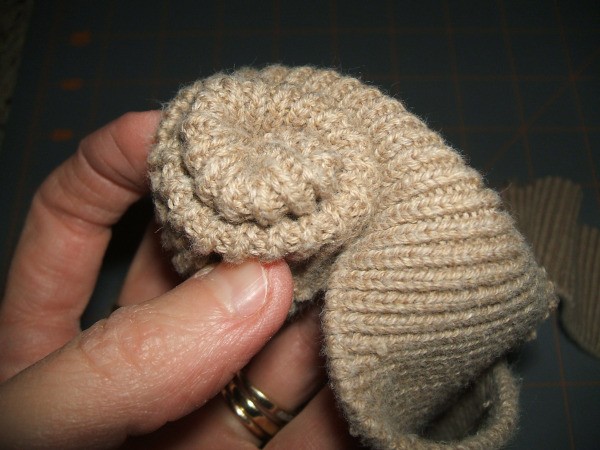
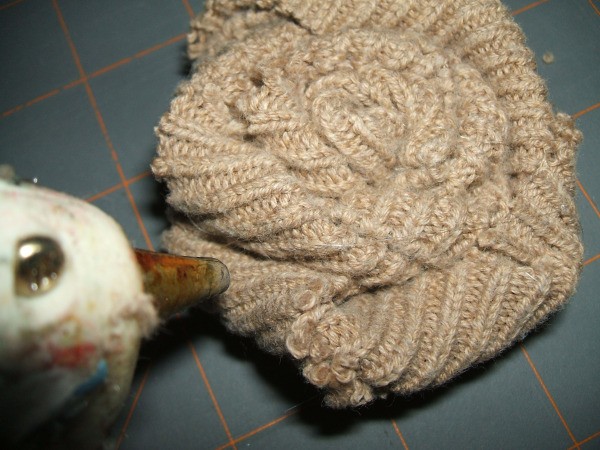
- Begin at one end of one of the band pieces and begin rolling and twisting the piece to form a rose.
- Apply a dab of hot glue periodically as you roll it up to hold it in place. Do the same with the second band piece to create a second rose.
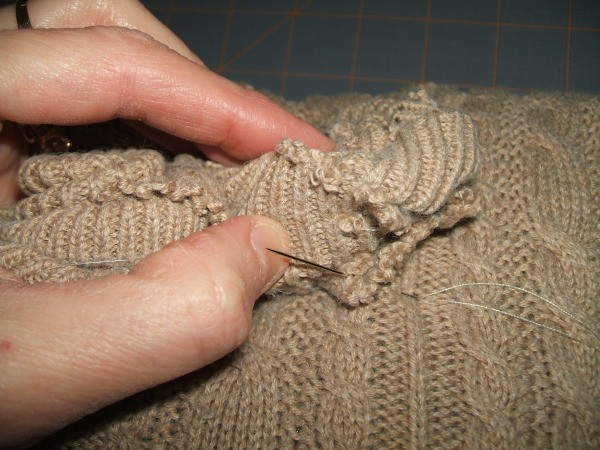
- Hand stitch the two roses to the pillow.
By Rachel's Mom from Wilkesboro, NC
Add your voice! Click below to comment. ThriftyFun is powered by your wisdom!
Sally
Bronze Feedback Medal for All Time! 116 Feedbacks February 4, 20120 found this helpful
Cute and a great reuse!
Add your voice! Click below to comment. ThriftyFun is powered by your wisdom!