The gate to our front yard had a decent latch on it, but it was easy to not close properly. The gate kept getting left open (often by our two boys), then the dog would get out and run around the neighborhood. She almost got hit by a car recently and so I decided to fix the gate.
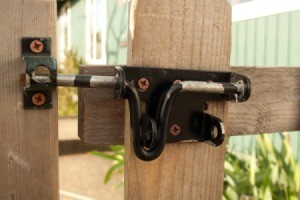
First, I removed the previous latch. Fortunately, we just installed another gate that leads from the front to back yards, so the old latch will not go to waste.
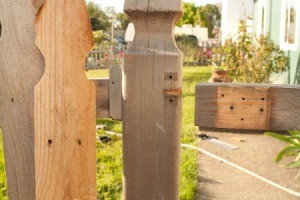
The new latch needs to sit back farther on the gate cross beam, so I removed the first fence slat. I tried to be careful but it split in half when I removed it. I still had a few extra left over from when the fence was built so I used one of those as a replacement.
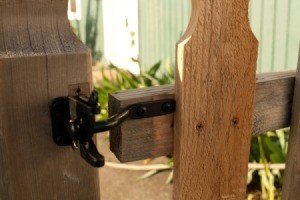
Then I installed the new latch arm onto the gate cross beam. I lined it up with the divot the previous latch had created in the post so it wouldn't look too beat up from the front.
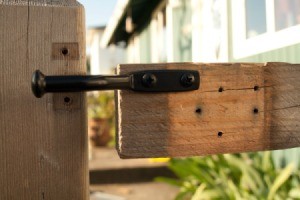
Next, I screwed the latch onto the post, lined up with the latch arm. After that, I screwed the replacement fence slat into place.
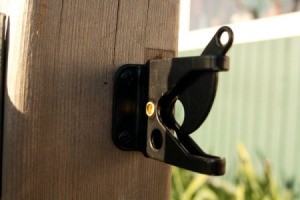
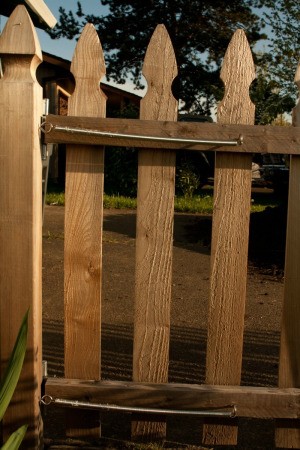
The new latch is much easier to close properly so just doing this would have helped but I wanted the gate to close every time, without fail. So, on the back side of the gate, I installed two springs.
To do this, I screwed an eyelet screw into the fence post. Then I put another eyelet screw on the gate, just slightly farther than the spring is long when relaxed.
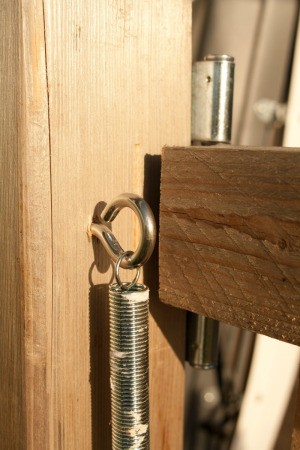
I did the same for the bottom part of the gate to ensure the spring will always have enough tension to close the gate fully. Now my boys don't have to remember to close the gate and the dog stays safely in our yard.
Add your voice! Click below to comment. ThriftyFun is powered by your wisdom!
I just did the same with our gate after seeing your article. I only used one spring on the bottom and it works great. Thank you for sharing.
Add your voice! Click below to comment. ThriftyFun is powered by your wisdom!