The toilet that was in our house when we moved in was always a little grungy. We wanted to replace it but didn't have the money or the gumption after we first purchased the house.
We noticed it had puddles of water around it that seemed to be forming from the dripping condensation from the tank.
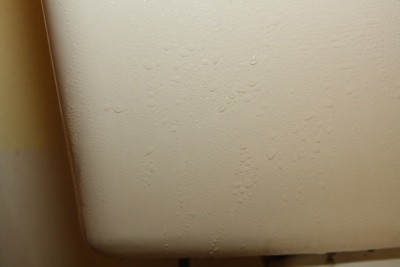
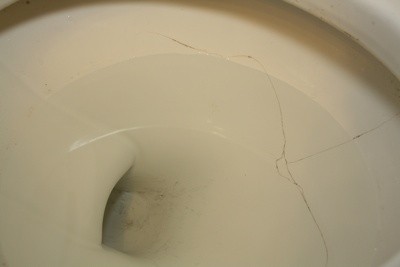
To ensure it wasn't leaking we replaced the wax ring, re-caulked the bottom and made do for a while. However, shortly after replacing the wax ring we noticed a crack in the bowl and knew it would have to be replaced soon. Fortunately, it never seemed to leak further but the dripping from the condensation on the tank left the floor constantly damp which was gross and was starting to damage the floor.
We shopped around the home improvement stores looking for a good low flow toilet replacement. The dual flush option seemed to be the best way to reduce our water usage but they were more expensive then their standard flush counterparts. So we went to Costco and bought the one option they carry. It is a very nice dual flush/low flow toilet for less than $80! Even the standard flush toilets at the other stores were usually over $90.
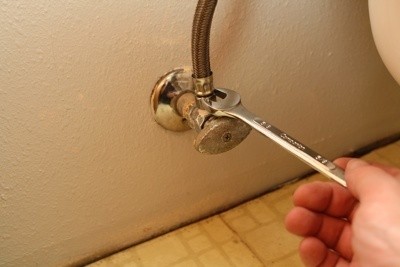
- Make sure to turn the water off, the valve should be on the lower left side of the toilet.
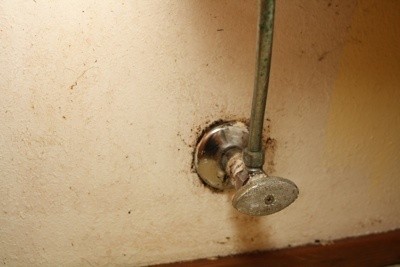
- Flush the toilet to empty the tank. You made need to do this a second time to make sure the bowl is emptied also.
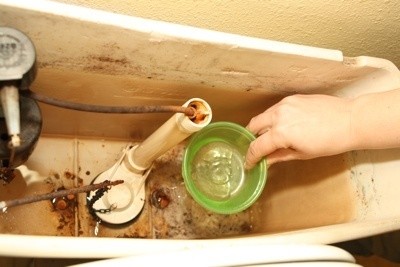
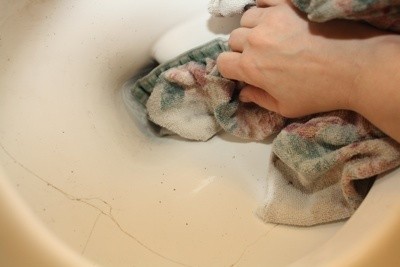
- Scoop out any remaining water in the bottom of the tank and bowl. You can use a towel to sop up any additional moisture in the bowl and tank.


- If you are removing the tank you will need to do this step and I would recommend getting help as it is rather difficult to do by yourself. If you are leaving the tank on then skip to Step 5. I elected to leave the tank on when I removed mine. It was certainly more awkward to move but the time savings was worth it, as I was simply disposing of the old toilet.
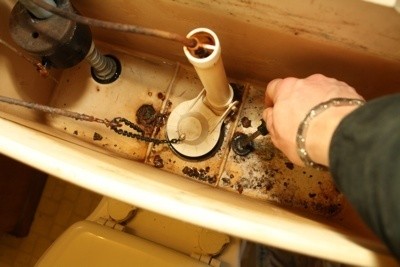
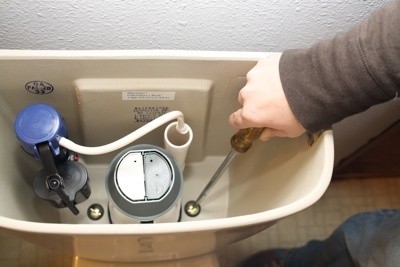
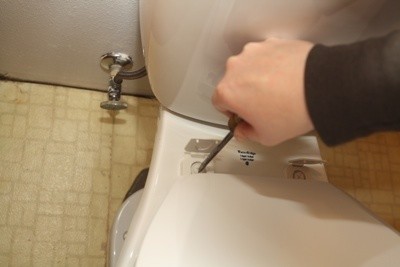
To remove the tank you will need to hold the screw in place at the bottom of the tank with a large flat head screwdriver.

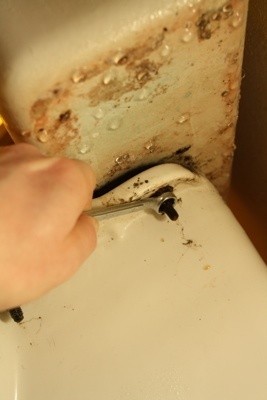
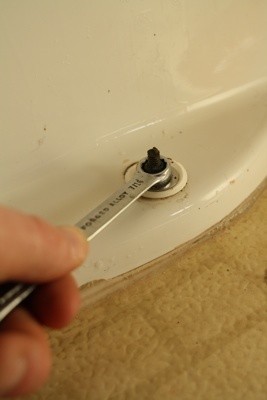
Using a box ring or socket wrench will be the best way to loosen the nut on the underside of the tank.

Often this nut is rusted pretty firmly to the bolt, especially if you are experiencing moisture issues like I was. This is where it is nice to have some help as it can be difficult even with a socket wrench to maintain enough torque on the screw at the bottom of the tank to get the nut loosened.
Many a toilet tank has been removed with a hacksaw or Dremel. So if you can't get it loose, don't stress, cut the bolt one way or another or skip to Step 5.
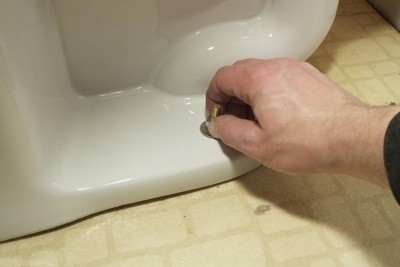
- Loosen the two bolts attaching the toilet to the floor with a box ring or socket wrench. Again, this may be rusted and the parts are easily replaceable (new ones should come with your new toilet), so don't worry if you need to cut them off. Usually, however, these nuts are easier to loosen as they should not have been put on very tight to begin with.

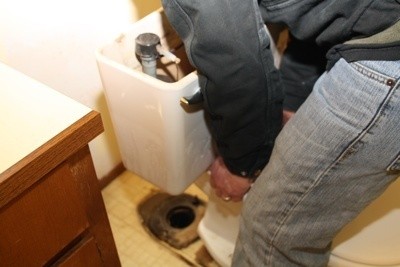
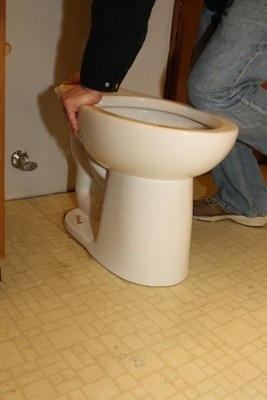
- Lift the toilet out. Have a towel ready because there will most likely still be some water left in the bottom. As I said before, the toilet will be particularly awkward to lift and/or carry with the tank still attached, so don't hurt yourself. Bend your knees and get help if you can't manage the weight easily.

If the toilet is headed for the dump, I would recommend having the vehicle it's going in be ready to load the toilet now. Finding a place to set down on old used toilet for any length of time can difficult. Better to get it right to where it's going.
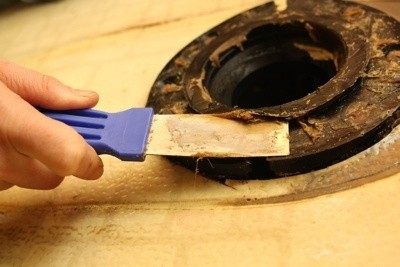
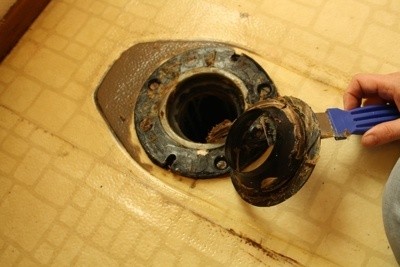
- Use a putty knife to scrap away the old wax ring and remove the old flange.


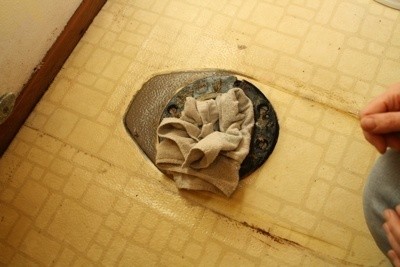
- With the old toilet out of the way there is nothing to prevent sewer gases from coming up into your bathroom. Place a rag in the sewer opening until you are ready to mount the new toilet to keep those unpleasant gases out of your breathing space.

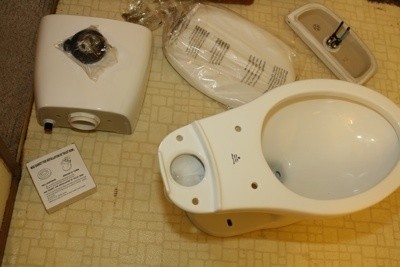
- Assemble your new toilet according to the manufacturers instructions.

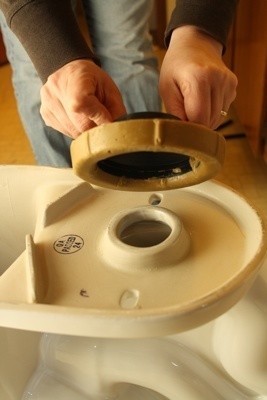
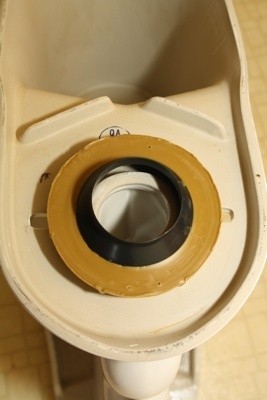
- Turn the new toilet bowl upside down and press the wax ring into the bottom centered around the hole.


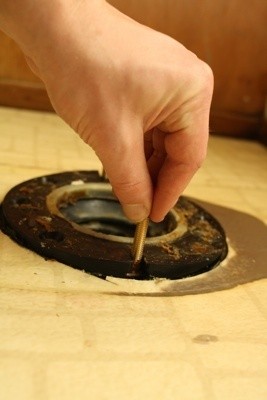
- Insert the mounting bolts in to the slots on either side of the sewer pipe opening. Turn the bolt in the slot until the sides of the bolt head run perpendicular to the wall behind the toilet. This will ensure the bolt does not slip out of place when the toilet is mounted.

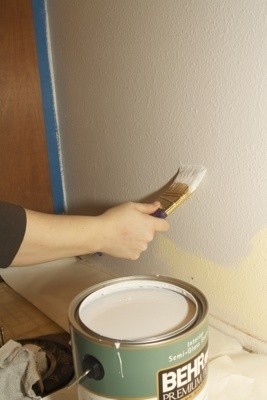
- (Optional) Paint! This optional step can be done any time after the toilet is removed and before the new one is in place. Painting behind a toilet can be very difficult so I would recommend using this time to do so. We used this opportunity to change color of our whole bathroom.

- Put a few wraps of teflon plumber's tape around the spigot opening. You will need to do this before you attach the connector hose and it is much easier to do this with the toilet out of the way.

- Set the toilet in place. Be careful to align the mounting bolts with the holes at the base of the toilet and center the wax ring over the sewer opening.

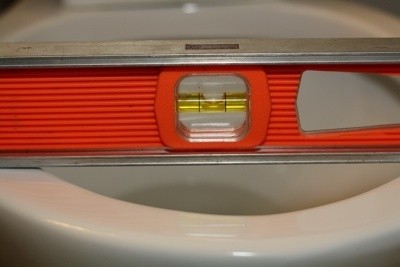
- Press down on the toilet while turning it slightly back and forth until level and centered.


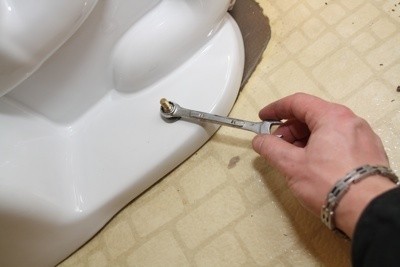
- Finger tighten the nuts onto the mounting bolts. If you are not able to get the nut tight enough with your fingers you can use a wrench to finish tightening it. It is very important that you do not over-tighten this nut. You could ruin the the wax ring seal or even crack the toilet base.


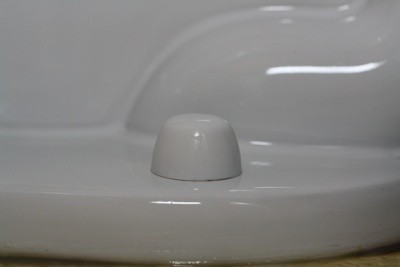
- Cut off the top of the mounting bolts so the bolt caps will fit. The top of the bolt should have an indented area that indicates where it needs to be cut. If the cap does not fit on after the bolt is cut down, you may have tightened the nut in the previous step too much.

- Ensure the tank gasket is properly in place.

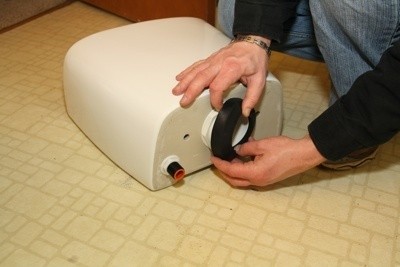
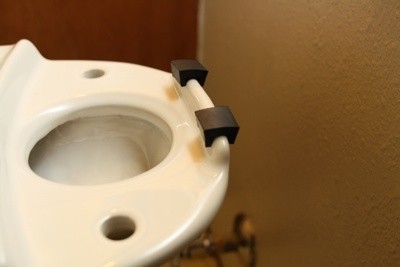
- Attach rubber spacers to the back of the bowl assembly. These will prevent the back of the tank from coming in direct contact with the bowl and help keep it level.

- Set the tank in place.

- Hold the tank bolt in place with a large flathead screwdriver.

- Tighten the nut under the tank to secure the tank to the bowl according to manufactures instructions.

- Attach the connector hose from the tank to the spigot on the wall. I would recommend using a braided stainless steel hose connection. They are a bit more expensive than the plastic ones but in my experience are well worth it.

- Place lid on tank. If your tank uses a push button flush be sure to align the button mechanism with the appropriate parts in the tank. As you can see this lid was very easy to install correctly as there is only one way it can go on the tank.

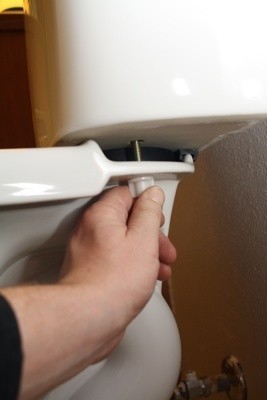
- Attach the toilet seat. This is usually done with simple plastic thumb screws and a clip lid that hides the screw from above. If you purchased a different seat than what came with your toilet than follow whatever instructions came with the seat.

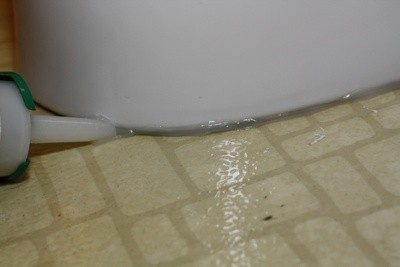
- Caulk all around the bottom of the toilet, where it meets the floor. If you have had issues with moisture or the toilet not sealing correctly, you may want to wait a day to do this step. This will allow you time to verify that any previous issues have
been resolved with the installation of your new toilet.


