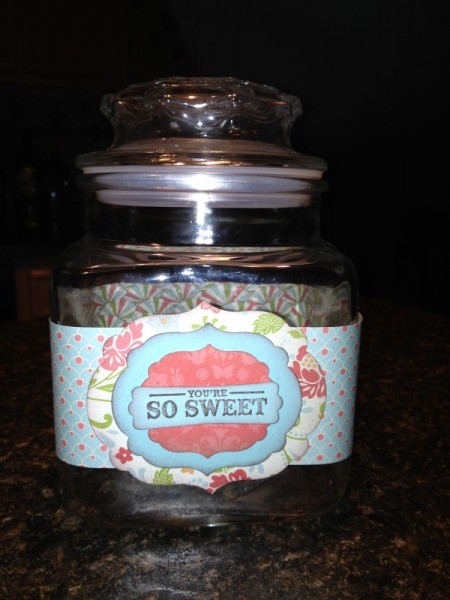
Decorate an old jar (any kind of container will work!) with scrapbooking paper
Approximate Time: 10 minutes
Wash and dry the jar thoroughly. It's important that there are no residual oils, which can prevent the paper from adhering properly.
Cut a band 2-3 inches narrower than the height of the container. Make sure it is long enough to completely encircle the container, plus 1 inch. Join 2 pieces of paper together with your adhesive if necessary (as I had to do in this sample). Apply adhesive to one short end of the strip and to both long ends of the strip. If your strip is particularly wide you may need to add another line of adhesive in the middle.
Carefully position the short end of the strip at the center front of the container (the seam will eventually be covered with your label). Here is the tricky part. Go slowly to assure the strip is properly positioned on the container as you will not easily be able to remove it and reposition. Turn the container on its side and apply adhesive to the remaining short end and secure over the beginning of your strip.
Create a label (I used Stampin' Ups new Label framelits dies). I used 3 different ones, but used coordinating papers and dimensionals to give the label height, contrast, and interest. Stamp a sentiment and adhere to the label.
Mount your label to the front (covering the seam of the 2 short ends of paper).
Fill with treats and enjoy or give as a gift!
By Diana from Prospect, KY

Add your voice! Click below to comment. ThriftyFun is powered by your wisdom!
Add your voice! Click below to comment. ThriftyFun is powered by your wisdom!