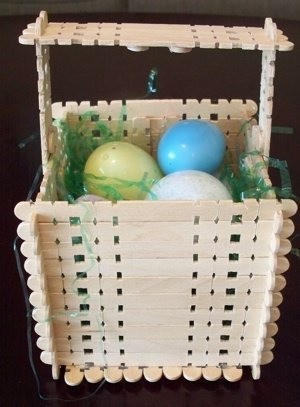
Simple wooden craft with many decor possibilities. For anyone and all ages, but it offers a more masculine Easter basket for a boy. Later, it can be used as a tool box or garden crate to get the most out of your time spent crafting.
Craft sticks are great because they easily snap together, as well as apart into smaller pieces. I had about 2 boxes' worth of craft sticks just laying around, so I came up with this. Enjoy.
Approximate Time: 20-25 minutes
Supplies:
- craft sticks (on hand, or buy 1 box; need about 80 in all)
- hot glue
Instructions:
- Lay 10 craft sticks next to each other.
- With 14 other craft sticks, snap (break) off both rounded ends of all the sticks, at the end-most cuts in the sticks. These will be used for support.
- Hot glue 7 or 8 of the endless sticks across the 10 craft sticks (made in step 1) for support. This is the bottom of the basket.
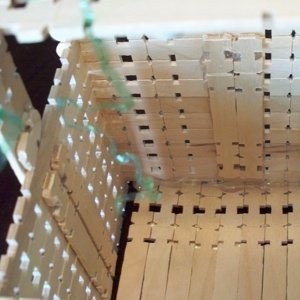
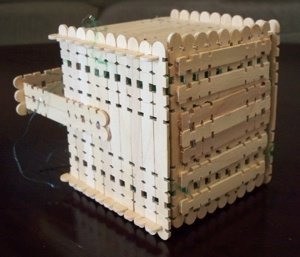
- Form a square by interlocking 4 craft sticks at the endmost notches in the wood. (This is kind of like building with Lincoln Logs, so think of it in that way if that helps you.)
- Add more craft sticks on top of the square in step 4, until it is 10 craft sticks high on all 4 sides. This makes the sides of the basket.
- Hot glue 2 endless craft sticks (made in step 2) vertically on the inside of each of the 4 sides of your basket, where there is blank wood and "no" holes (don't cover the holes that are made with the sticks being next to each other). I put hot glue on the endless sticks, then glued them on the insides, if that's easier.

- Hot glue the bottom of the basket (made in step 3) onto the sides (at the edges), so that the bottom part's cross-wise glued endless sticks face down, away from the sides of the basket.

- Now, hot glue vertically at the inner-corner lengths of the sides. If your hot glue gun doesn't fit into that angle, dab hot glue on a new craft stick, and use it to sort-of "hot-glue putty" the corners where the inner sides meet. This is for added support and will dry clear.
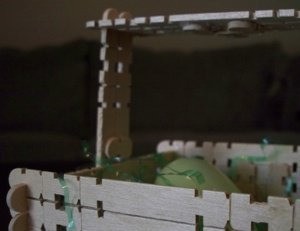
- For a handle, which is optional, interlock 3 craft sticks to form a "U" shape, in the similar way you made the basket sides. Add one more craft stick to the middle stick, and 2 to the sides of the "U" shape. (See picture for end result.)

- Using the little end bits that you broke off of the craft sticks to make them endless, hot glue the little pieces to support the inner sides of the "U" shape, "gluing to the blank parts" of the craft sticks, to not interfere with the wooden hole designs.
- Hot glue the handle (made in steps 9 and 10), to the basket, with the sides either outside or inside the basket sides. I glued mine on the outside, where there was more room to glue them without pinching at the form of the handle.
Bring your wooden basket and go hunt those Easter eggs.
Optional Decorative Additions
- You can thread ribbon through the side/handle square holes for variety and accent.
- Add plastic Easter grass (that all of us have in abundance, most likely) and Easter goodies inside to give or decorate your home with.
- Paint someone's name or designs, like a cross, flowers, eggs, bunnies, lambs, chicks, etc. on the outsides.
- Hot glue wooden letters or other ready-made wooden craft accents on the basket.
- Add a simple ribbon and a sprig of spring flowers to the handle.
Have fun personalizing.

By Erin R. from Seffner, FL


