Step by step description of how to make a cute sister's day card using ice-cream sticks and simple household stationery.

Approximate Time: about 3 hours
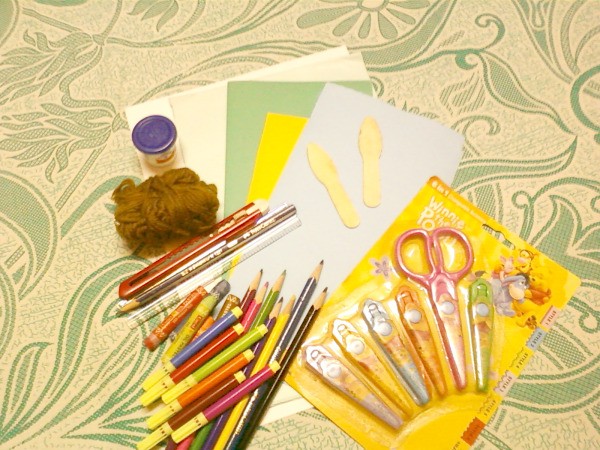
Supplies:
- white and colored papers
- 2 ice-cream sticks
- colors (pen, pencil, crayons)
- pencil
- scale
- scissors
- brown colored wool
- glue
Instructions:
Note: If you don't have colored papers, you can color white papers with crayons, paints, etc. and cut them and it'll be more fun too :)
(I used colored papers only to save time.)
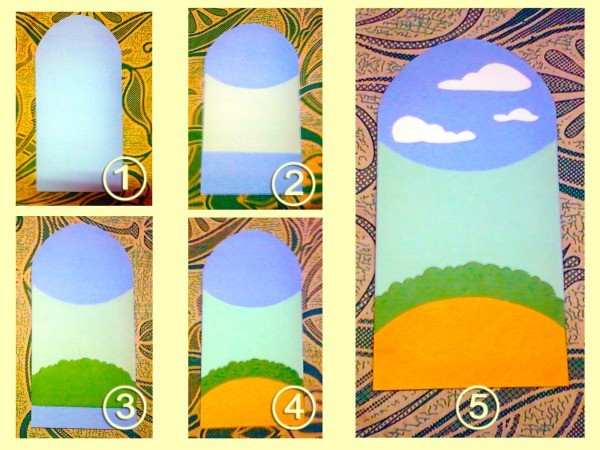
- Creating the background:
Cut and paste the different colored papers on top of your card as shown in the picture.

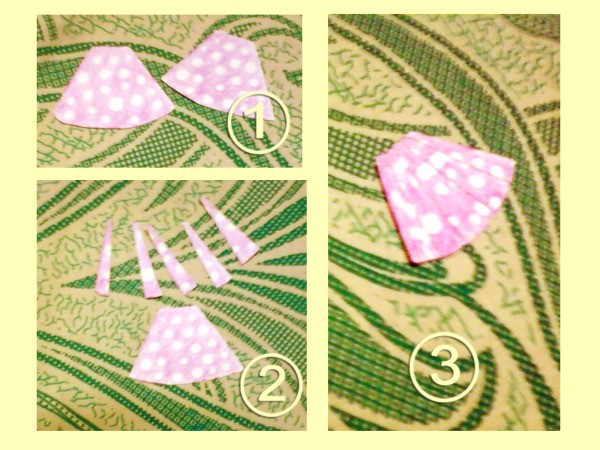
- Creating the doll:
First make the skirt by cutting two skirt shapes out of the white paper. Color them. Then, cut one of them in thin strips and paste the strips on the other to give the appearance of folds. (Refer to the picture.)
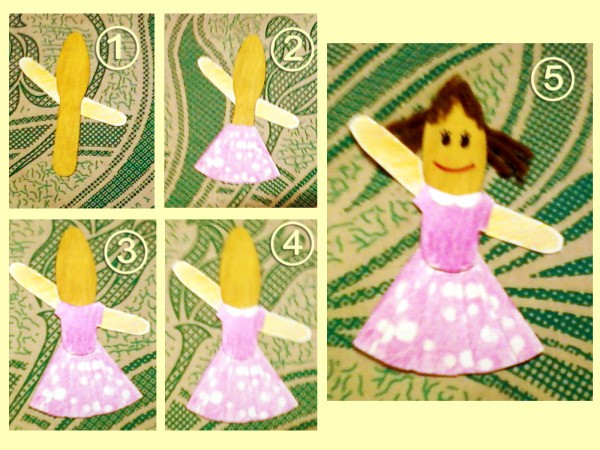
Then, according to the picture, cut the hand shapes out of the white paper, color them and paste them at the back of the ice-cream stick.
Similarly cut and color the blouse shape and the collar. Paste the skirt, blouse, and collar on the ice-cream stick. Cut a few small pieces of brown wool and paste them on to make the hair. Finally, draw the eyes and the smile. :)
Repeat the same process to make the other doll.
- Finishing the card:
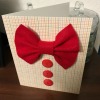
Paste both the dolls on the card. I even cut, colored, and pasted on two balloon shapes. You can decorate your card similarly cutting and pasting different shapes. Finally, write your message and it's done!
By Gunja from Kolkata, West Bengal