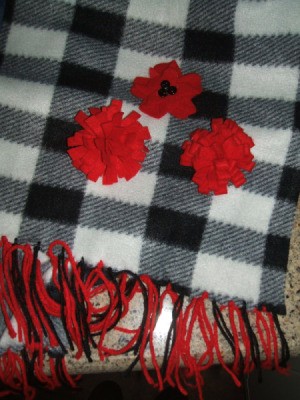
I found a plaid, fleece scarf at the dollar store, but I felt it needed more fringe and a pop of color. Using some red yarn and red felt I had on hand, I added more fringe and made felt flower pins as embellishment. I now plan to give it as a Christmas gift.
Approximate Time: about 1 hour
Supplies:
- fleece scarf
- yarn
- yarn darning needle
- felt
- scissors
- small buttons
- pin backs
- hot glue gun and glue sticks
- cardboard
Instructions:
For the fringe:
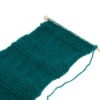
- Cut a piece of cardboard to the finished length of the fringe. For a 3-inch fringe, cut a 3-inch wide piece of cardboard. Wrap the yarn around the cardboard about 12-14 times. Cut the yarn in a straight line across the yarn. Now you'll have several pieces of yarn that are double the length of the finished fringe.
- Thread the needle with a piece of the yarn and insert the needle near the edge of one end of the scarf.
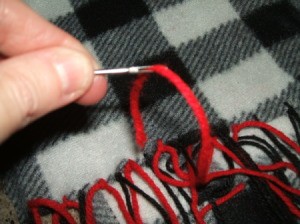
- Pull yarn halfway through scarf and remove needle.
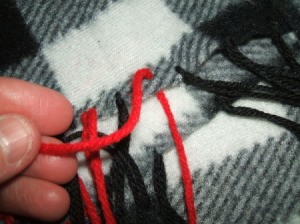
- Tie yarn into a knot to secure.
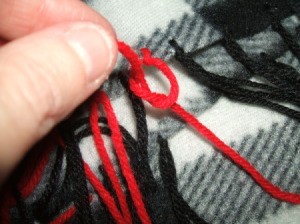
- Continue adding pieces of yarn to both ends of scarf until you achieve desired thickness of fringe.
To make a loopy felt flower:
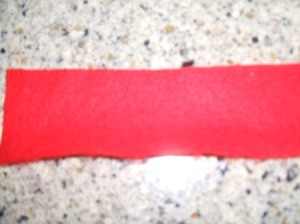
- Cut a 2 inch wide section of felt from a felt rectangle that is the length of the rectangle.

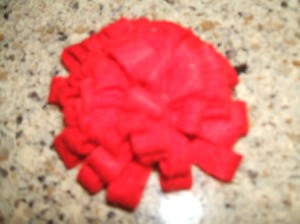
- Fold the felt in half lengthwise and glue the open end closed with a thin bead of glue.
- Cut 1/4 slits into the felt along the folded edge to create the petals. Be careful not to cut all the way through.
- Roll up the felt, gluing as you go, along the uncut side.
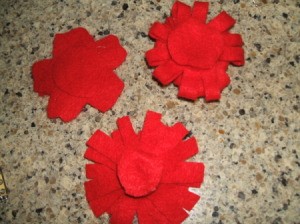
- If you wish to make a pin from the flower, glue a felt circle to the flower back and glue on a pin back.
- For another style of flower, create a flower from the instructions above and snip the loops to give it a different look.
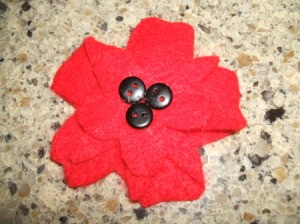
To make a flat felt flower:
- Download and print various flower templates from the internet.
- Place each template on the felt and cut around each pattern.
- Layer and glue each flower in the center.
- Glue on buttons for the center, if desired.
- Glue on a pin back.
By Rachel's Mom from Wilkesboro, NC