Mary
Bronze Craft Medal for All Time! 52 Crafts If you enjoy making cards instead of buying them, here are 3 fun Valentine cards for kids. Children can help make them for their classmates!
Approximate Time: time will vary
iPod Valentine
Supplies:
- fun foam (your choice of colors)
- cardstock
- double back tape (DBT)
- thin cardboard (the back of a notebook works great)
- plastic rhinestones
- string and 2 pom poms per card
- photo of child
- boxed candy such as Conversation Hearts
Instructions:
- Purchase the boxed candy you want to use first so you know the size that you will need to cut foam.
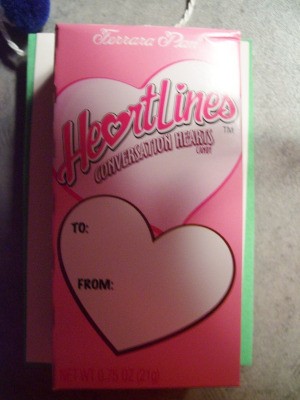
- Cut a piece of foam so it covers one side of box.
- Print out small pictures of child. I covered mine in clear contact with a backing paper behind it and wrote message on that.
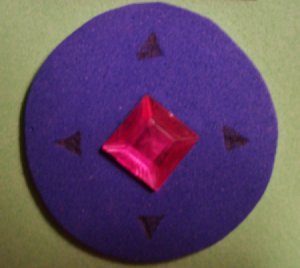
- Cut a circle from foam for front.
- Adhere using DBT or glue.
- Glue rhinestone in middle and draw 4 little arrows around it with black marker.
- Use double back tape and adhere iPod to piece of cardboard, the same size.
- Punch hole at top through foam and cardboard back.
- Loop string through hole and glue or sew pom poms on for ear plugs.
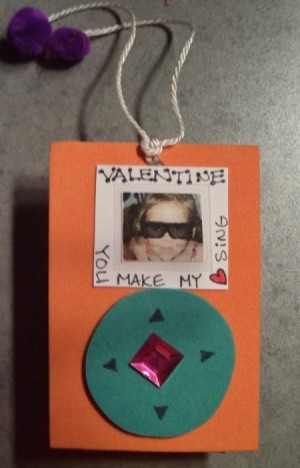
- Adhere iPod to candy box using double back tape.
Telephone Valentine
Supplies:
- colored cardstock
- thin cardboard or poster board
- double back tape
- yarn
- markers
- stickers
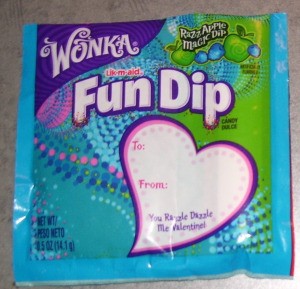
- thin candy to slide into phone
Instructions:
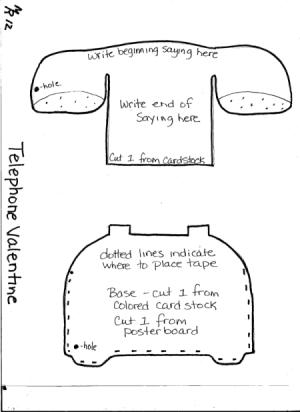
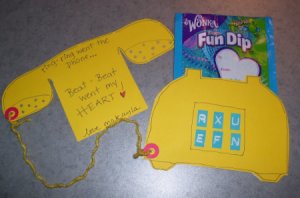
- Cut both phone pieces from cardstock.

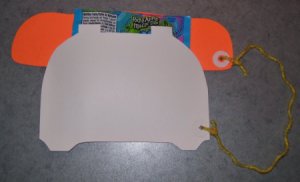
- Lay strips of DBT on edges of phone base where indicated on pattern. If DBT is wide, cut in half length wise. Peel backing off tape and lay on to poster board. Cut around backing. You should now have a phone base with a top opening.
- Try sliding headpiece in to ensure fit. See photo for fit.

- Punch hole in receiver and one in base. See photo.

- Tie yarn into knot through both holes for cord.
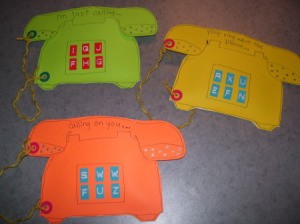
- Lay both pieces on table and outline with marker. Use metallic colors on dark cardstock so it shows.
- Make dots on ear pieces. See photo.
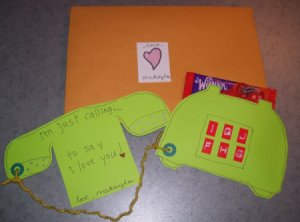
- Write part of the saying on headpiece where it shows when inserted into base and write the other on the square connected to headpiece.

- Any flat candy that will slide in between the 2 paper phone bases will work.


Saying Suggestions:
I'm just calling . . . to say I love you
Ring-Ring went the phone . . . Beat-Beat went my heart
Calling on you . . . 2 B My Valentine
Rocket Valentine
Supplies:
- colored cardstock
- glitter glue
- markers
- double back tape
- ribbons
- photo of child
Instructions:
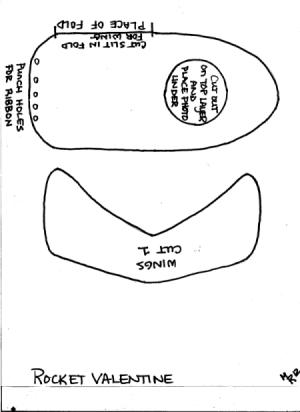
- Using pattern, cut rocket from your color choice of paper.

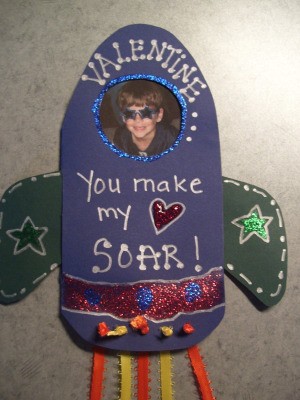
- Place pattern on fold where indicated on pattern. Cut out hole for photo. Don't worry if not trimmed perfectly. If you use glitter glue to trim, all imperfections will be hidden.
- Make a slit with a craft knife right in the crease, long enough to slide wings through.
- Cut out wings and slide through slit. Tape on back to secure.
- Print photo and place behind window opening. Tape in place.

- Use double backed tape and secure front and back piece together.
- Punch holes along bottom for ribbon.
- Cut lengths and slide each through a hole. Tie into knot.
- Let child decorate cards. Tubes of glitter glue work well, but allow to dry overnight before continuing.
- Once dried well, write saying on card. If using dark color for card, write in silver marker or gel pens so writing shows up well.
By Mary from FL
About The Author: Mary is half of a creative team on a craft oriented website. Here you will find pages of free projects and patterns in a wide variety of categories, with an entire section made especially for kids. There also is a gift shop where you can purchase unique handmade items such as collectible dolls, toys, and home decor. They offer free sayings, tips, ideas, and humor. Enter their contests for a chance to win great prizes. Visit them at: craftingtales.com
Add your voice! Click below to comment. ThriftyFun is powered by your wisdom!


