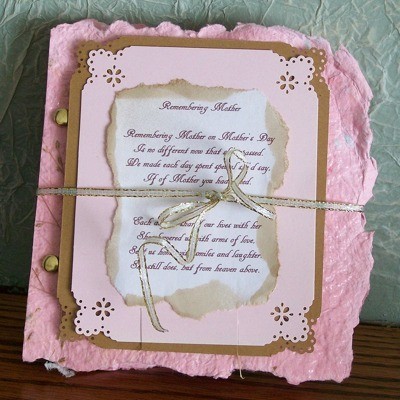
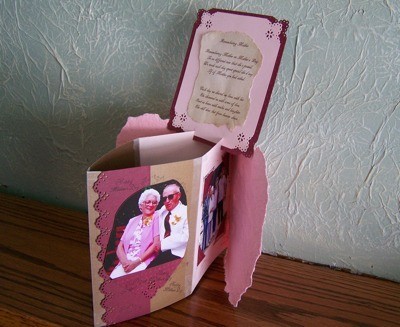
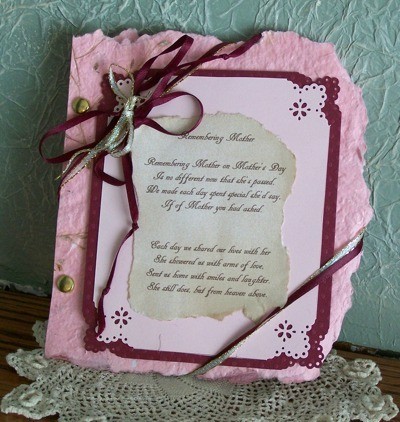
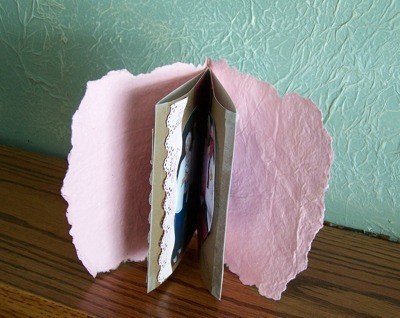
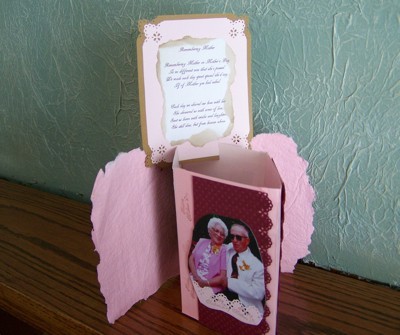
We lost our mother and father three years ago and I still miss spending Mother's Day with her or at least sending a card on the few times we weren't able to be together. So this year I decided to send my sister and brother a Remembering Mother Mother's Day card. It is my version of a "pop out".
Supplies:
- 1 sheet of heavy textured paper
- 2 sheets cardstock in coordinating colors
- double sided tape
- good holding, one sided, 1 inch tape
- decorative edge scissors
- 2 metal clasps
- 1 yard total of 2 pieces of coordinating 1/8 inch ribbon
- scissors
- 4 to 6 pictures
Instructions:
The size of your card is up to you, if you want to make an envelope or not may be the deciding factor for you. I make some of my own from wallpaper so I don't worry about the size of my cards. This one is around 7x9 inches. I also make homemade paper and like to use it for my cards and book covers, this is what I used on this project.
- Tear three sides of your front and back cover from your textured paper. They don't have to be perfectly the same size just close. Measure inside your cover to find how big you can make your pages, they should be 1 inch smaller both in width and height than your covers. Cut two this measurement and two 1 inch narrower, but the same height. The two outside pages will be part of the spine of the book and the two narrower ones will be your pop out.
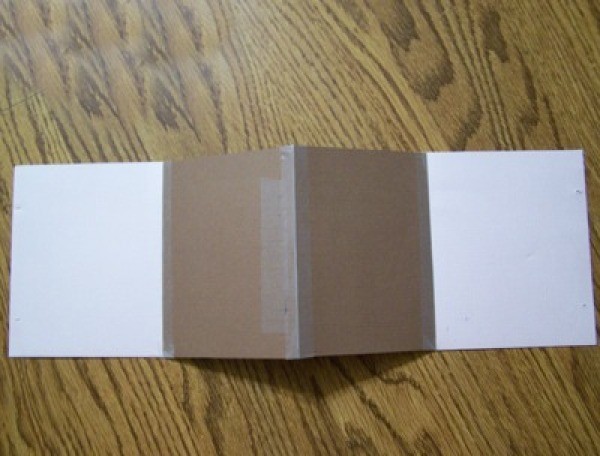
- Now you are going to build hinges from your one sided tape. Lay out your smaller pieces just a hair apart so the hinges can work; cut a piece of tape 1/4 inch longer than the page height and tape them together, this will be the two center pages. Repeat this process for the two wider pages with one on each side of the unit you just made; remember to leave a hairs width for the hinge to work. Turn this 4 piece unit over and repeat the taping.
Decorate each page of the pop out card with photos.
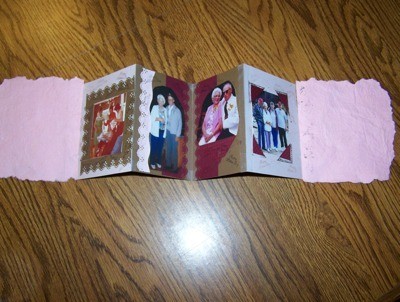
- With the two center pages popped out slip this unit between the two covers with the straight edge lined up with the edges of the pages. With a sharp point such as an X-acto knife make a small slit cross wise of the cover 1 inch up from the bottom 1/4 inch in from the edge and 1 inch down from the top 1/4 inch in from the edge.
- Insert your metal clasps from the front and flatten them out. Fold your pages so the center pages are tucked inside to make sure they fit inside the cover.

- The page that holds the message is two layers; the back sheet is 1/2 inch narrower and shorter than the top. Use decorative scissors to trim the edges. Either print your message or print it out on a computer and attach it.

- If you want it to stand up as mine shows make a 1/2 inch slit 2 inches apart on the bottom so you can slip it on the page top edges when the card is popped out.

Otherwise you could attach to the front cover.

- You are ready to add the pictures and decorate as you wish. I tied my poem page unit to the front cover page with the ribbon then will put a notation in the accompanying letter telling them how to stand it on top.
Enjoy your mother while you have her and ask her every question you can think of. Write down the answers for later reference, every day I wish I could ask my mother something.

By Ann Winberg from Loup City, NE


