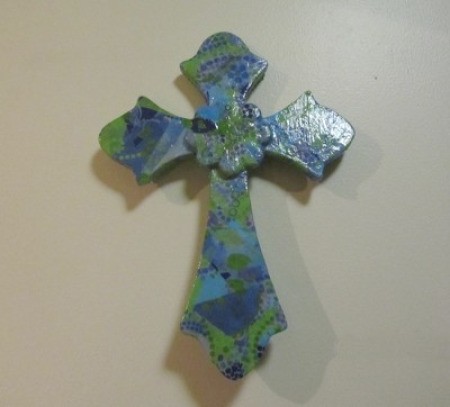
If you like to decoupage, you will like making this cross. I started with a plain wood cross purchased at Michael's.
Approximate Time: 2 to 3 hours
I started by laying out the tablecloth and then wiping the cross with a slightly damp paper towel just to remove any dust. The paper you use can be cut into pieces or just ripped, it's your choice. I like to start in the middle somewhere and glue the first piece on by either painting the decoupage on to the paper or on the surface you are working on.
Tissue paper will curl when you paint it, so when you first start, it might be easier to paint a small section and then lay the paper on it and press with the paintbrush. At this point, you can go over the piece with another layer of decoupage or wait until you have several pieces on. You can't really make a mistake here, so just have fun with it!
When I have the cross covered to my satisfaction, I paint on 2 more coats, letting each layer dry an hour or so between coats. I have embellished further with beads, but you may choose not to. I used a piece of craft foam for the back of this one just to give it a more finished look by tracing the cross on the foam and cutting it out using pinking sheers and then glued it to the back.
I have covered many items with this method (bottles, plastic containers), really anything that you think needs a refreshed look! Good luck!
By Robbie from IN

Add your voice! Click below to comment. ThriftyFun is powered by your wisdom!
Excellent craft idea. One nice thing about decoupage is how easy it is to adapt to any age group. You can get into it with both hands, and little ones enjoy doing that for sure. You can also end up covering whole pieces of old furniture in this fun-to-do way. I did a plant shelf once, and it turned out great. I just had to protect it from getting wet as that would have caused a big problem unless the final product is coated in something like polyurethane which I understand can be done.
Thank you for sharing your project. It turned out lovely.
Pookarina
I want to start decoupaging and these craft ideas are great. Thank you for posting them!
Looks beautiful! I got an old coffee table that I was going to refinish the top of, but am now thinking about something like this!
Add your voice! Click below to comment. ThriftyFun is powered by your wisdom!