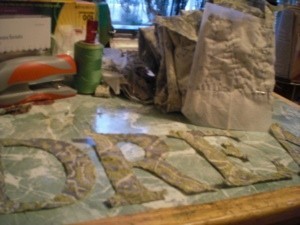
These DREAM alphas were made from an old shirt I liked the print too well to toss it into the "rag bag". Letters were cut from inexpensive stencils after laying a dryer sheet onto the cloth and then tracing the letter onto it (instead of onto the fabric) and stapling both parts together before stitching.
Next, trim the stitched pieces around your marked line as close as you wish without clipping into your stitchwork. The staples are easy to remove, also they are better (in my opinion) than pins. I suggest using a double layer of the dryer sheets (.01 cent a sheet here) but they are slippery when trying to align the parts and hard to work with.
Come up with any combination that works for you: seasonally or thematically, use names or places, let your imagination work for you!
Source: An online craft blog but not sure what one - I look at a lot of them when I can
By melody_yesterday from Otterville, MO

Add your voice! Click below to comment. ThriftyFun is powered by your wisdom!
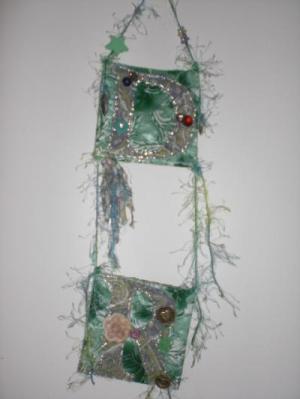
I decided to use flannel backed vinyl table cover cut to fit my fabric letters.There are 2 pieces,front & back.
Fun yarn,beads, paper punched craft shapes,paper beads,handmade tassles,vintage buttons,handstiched leaves & glitter glue,glow-n-the-dark foam stars,metallic charms
Just a little bit of what I do with items I prepare, such as the fabric letters, which I had no idea of what I was going to do with at the time I cut them out. Just was hoping then that I would have an idea later on (which I did!)
DR"

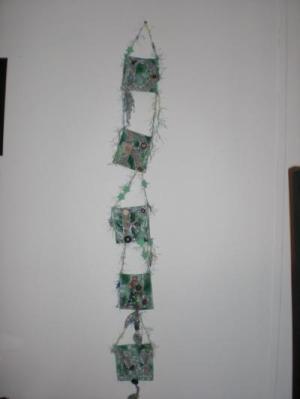
Here is the whole wall hanging:

That is so nice. I love it, would make very thrifty gifts.
Add your voice! Click below to comment. ThriftyFun is powered by your wisdom!