Spring is right around the corner and you always think of weddings or baby showers. I have put together some of the more popular designs to make your own baby shower invitations or you could use them as announcements. Keep your budget in line with a few simple steps and make your own baby invitation or announcement. (Don't forget to save one for the baby's book.)
Approximate Time: 20 minutes for 10
Supplies:
- pattern
- stock paper in blue, pink, or green depending on gender
- stickers
- glue stick
- white glue
- envelopes or make your own
- stamp of rose
- purple stamp pad
- swirl pattern scissors
- embellishments
- beads
Instructions:
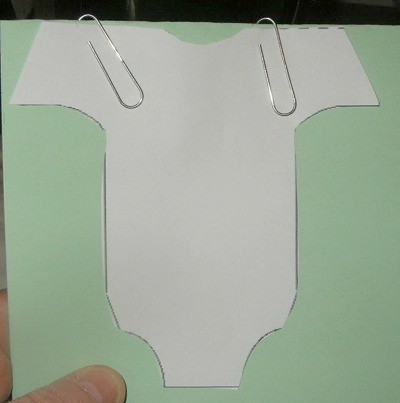
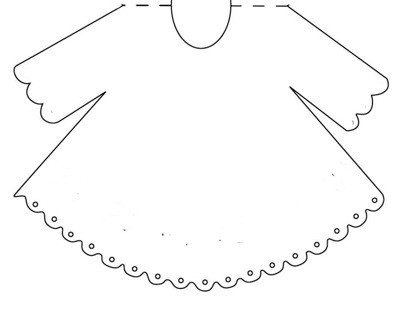
You can make a variety of shower or birthday invitations depending on the gender of the baby. The two patterns shown here are the ones you will need to make the cards.
- Take the pattern and place it on folded card stock.
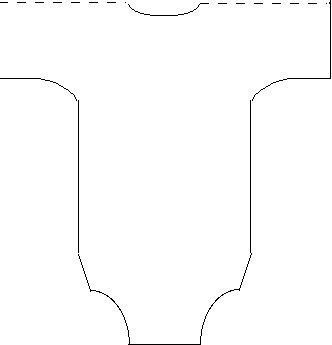
- Cut it out.

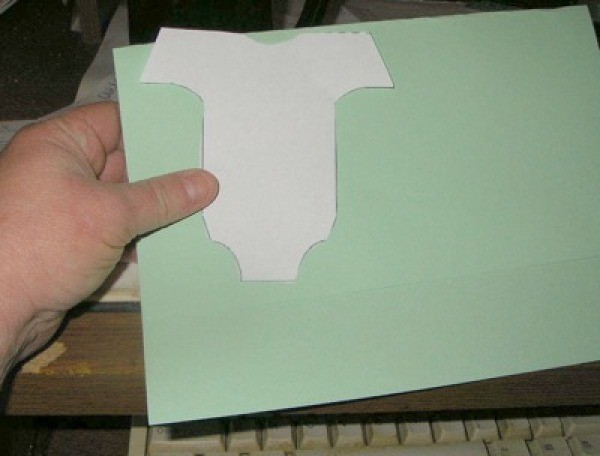


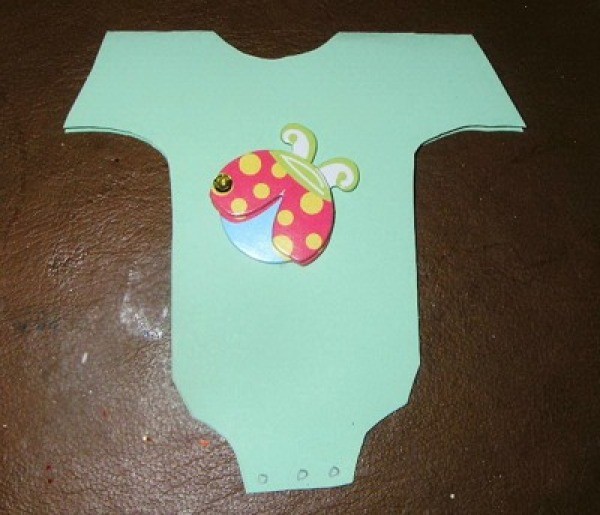
- Embellish it with stickers or rosettes.

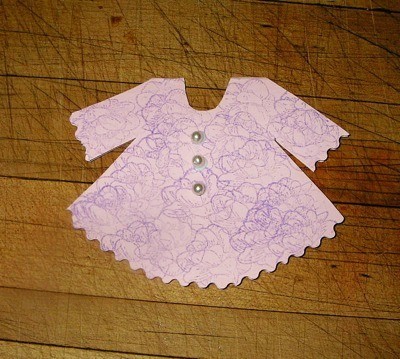
- Cut the dress pattern and use a small rose stamp with purple ink.

- Stamp the dress all over. Cut the arms and hem of the dress with fancy swirl scissors.

- You can write in the information or make a block typed sheet to glue in with the information on it for the baby shower or birthday.
- To make the envelopes simply take 1 sheet of computer paper and bring it up to a fold.
- Clip to fit design leaving about an inch to glue the envelope with.
- Next take the sized sheet and fold down both sides. Remeasure the card so you know it fits. Bring the bottom up and glue that side to the inside.
- Glue the other side and allow to dry.
- Fold over the top.
- Address your invitation and then put your card in it. Seal with a touch of glue.
*** Note: You can always make your designs more attractive or scale it down to a very simple item. Rick rack on the onesie or around the edges of the dress would look very pretty as well. (The point being you make them to please yourself.)
Happy Crafting!
By gem from VA


