Spring is usually seen as a time of growth and renewal, a time to fall in love and to breathe new life into romance. Nat King Cole managed to encapsulate the joy of spring in his song "Spring is Here."
It is also a time for nature's dullness to be replaced by the splendor of colors, a season to be enjoyed by avid gardeners. A popular flower that can be sown after the bothersome frost has taken leave, is cosmos. Cosmos originated in Mexico and South America, and were grown in mission gardens in Mexico. The missionaries christened the flower, cosmos, due to its evenly placed petals. The word cosmos comes from the Greek word for harmony or ordered universe.
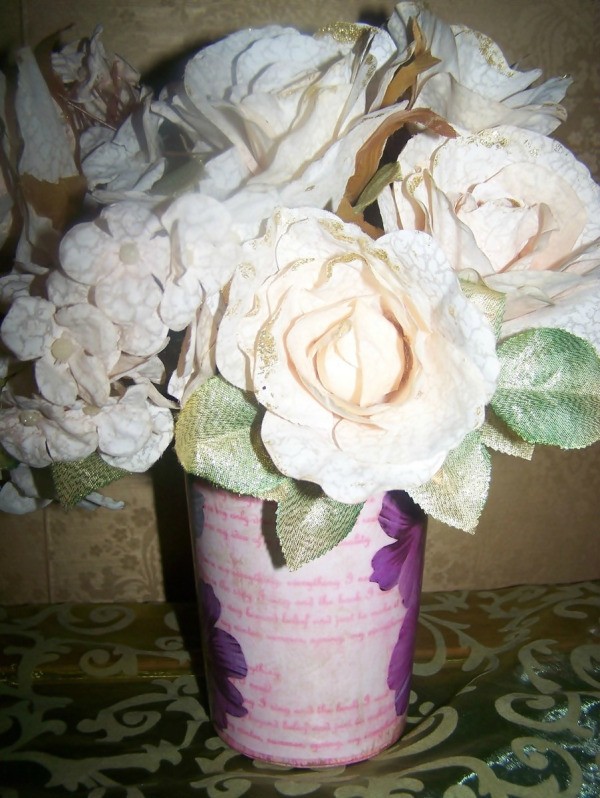
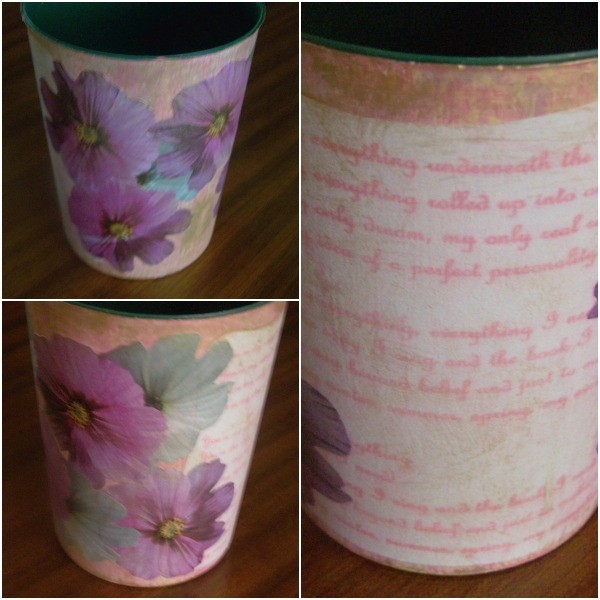
In this article, you will be shown how to create a decorative flower vase, using decoupage techniques, and combining the lyrics of "Spring is Here" and cutouts of cosmos flowers. A perfect way to bring the joy of spring into your home!
Approximate Time: 2 hours
Supplies:
- the lyrics of the song "Spring is Here"
see http://lyrics-keeper.com/en/nat-king-cole/spring-is-here.html
- a cylinder shaped plastic flower vase.
(For one like the one used for this article: http://www.burtonandburton.com/store/productDetailForm.asp?CollID=83437. But any plastic flower vase can be used.)
- 10/32" paint brush
- fan-shaped paint brush
- white water-based primer
- Paper Seal
- Deco Art Glue
- Modge Podge
- water-based varnish
- acrylic paint in the following three colors: Sweet Memories (pink), flesh, and Old Gold
- hairdryer
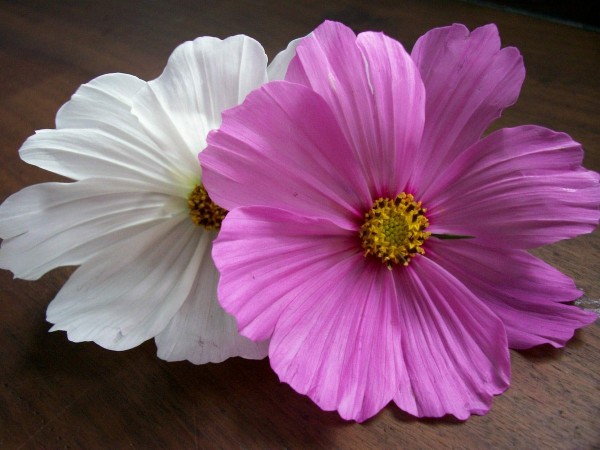
- pictures of white and pink cosmos
- pair of standard scissors
- a few sheets of old newspapers to protect the working area
- an old cloth
Instructions:
- Wash the vase in warm soapy water and dry it thoroughly with an old cloth.
- Copy the lyrics of "Spring is Here" onto your computer. Change the font into ornamental lettering and the font color into pink, before printing the lyrics.
- With a slightly wet 10/32" brush, paint a thin layer of the white water-based primer over the outside of the vase. Do not paint the bottom of the vase, and paint the sides of the vase up to where the top rim starts to protrude. Dry it thoroughly with the hairdryer, be careful not to use the highest heat setting on the hairdryer, as the vase might become too hot to handle.
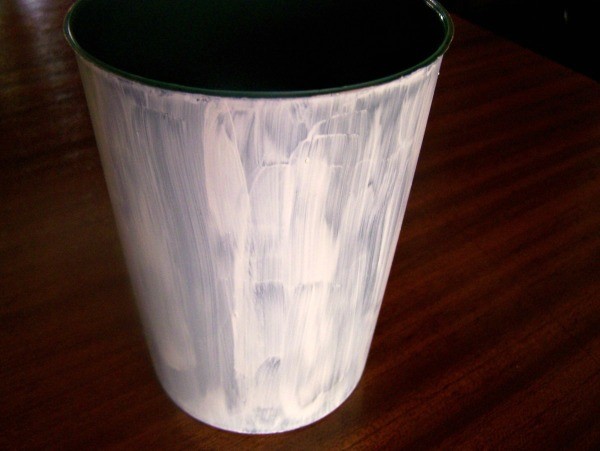
- Next, using the same paint brush, add a thin layer of Sweet Memories-colored acrylic paint over the water-based primer. Dry it thoroughly with the hairdryer.
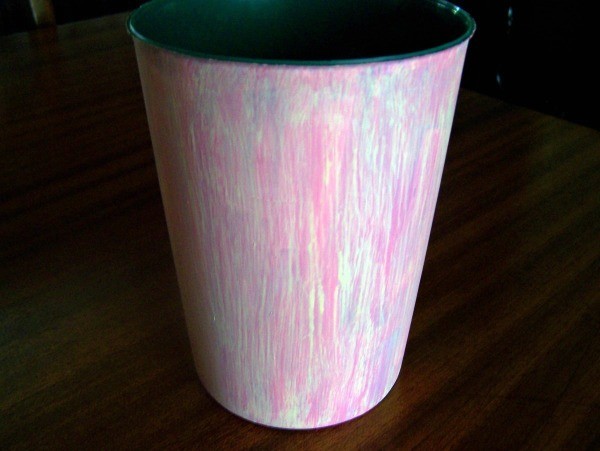
- Next, using a fan-shaped brush, give the outside of the vase a wash with the flesh-colored acrylic paint. Remember not to use too much paint when using a fan-shaped brush, as this will lose the fan-shaped effect. Remove excess paint by dabbing it onto a sheet of newspaper before starting to paint. Again, dry it thoroughly with the hairdryer.
- If necessary, resize the pictures of the cosmos and print them; I used 10 cosmos for the vase.

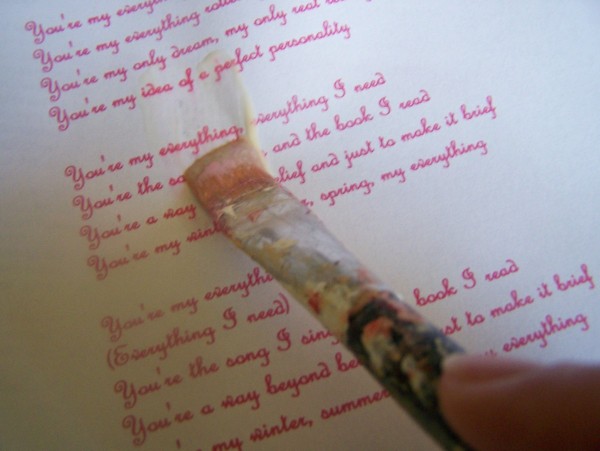
- With the 10/32" brush, paint a thin layer of Paper Seal over the sheet with the lyrics, and over the printouts of the cosmos. The Paper Seal will protect the ink from running and will make it easier to cut out the pictures without tearing them.

- Dry the sheet with the lyrics and the printouts with cosmos thoroughly with the hairdryer.
- Cut out the lyrics and the cosmos, and decide how they will be placed on the vase.
- With the 10/32" brush, paint a substantial amount of Deco Art Glue to the back of the piece of paper with the lyrics. Turn the piece of paper around and put it in position on the vase, but do not press it down.
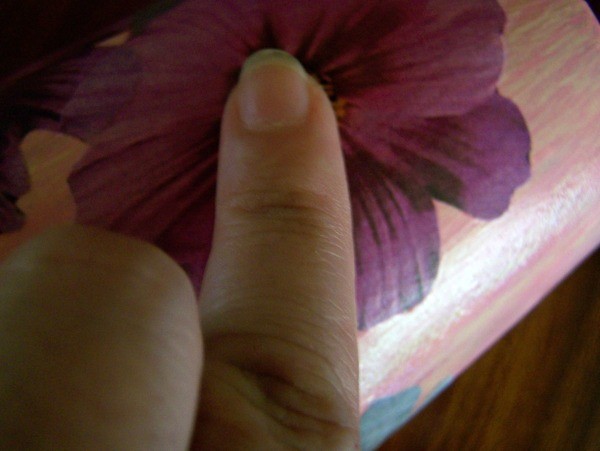
- With the brush, spread glue to the front of the piece of paper, lightly applying pressure so that it will stick to the vase.
- Working from the middle of the piece of paper, and from inside towards the outside, rub out all the air bubbles and excess glue from the back of the paper. Use an old cloth to gently clear any excess glue from the vase.

- Use the hairdryer to dry the piece of paper with the lyrics thoroughly.
- Repeat steps 10-13 with the cosmos. The cosmos should "bloom" all around the vase.
- Using the fan-shaped paint brush, give the vase a wash with the old gold acrylic paint. Again, dry it thoroughly with the hairdryer.
- With the 10/32" brush, paint a thin layer of Modge Podge over the painted part of the vase. The Modge Podge will protect the pictures and give the product a smoother finish.
- Dry the vase thoroughly with the hairdryer.
- Repeat steps 16-17. You need to apply at least 6 coats of Modge Podge, but remember that with every layer, the direction in which the Modge Podge is applied, must be changed from horizontal to vertical to horizontal, etc. Also, remember that after every layer of Modge Podge, the vase must first be dried thoroughly with the hairdryer.
- With the 10/32" brush, add a layer of water-based varnish to the painted part of the vase. This time, also paint the bottom of the vase with the varnish for a neater finish. Again, dry it thoroughly with the hairdryer.

- Add some fresh flowers, or some artificial ones, to the vase and you are ready to celebrate spring!
Tips:
- To wash, rinse briefly in cold water and do not use strong detergents. Not dishwasher safe.
- When doing decoupage, do not use the highest heat setting on the hairdryer.
By Benetta from Pretoria, Gauteng


