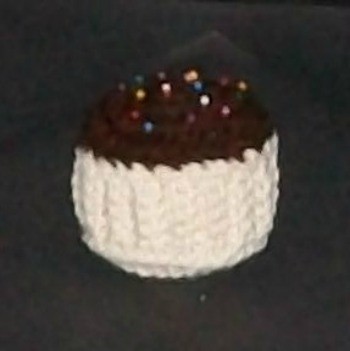
Pincushions are fun but can be dull... Well, not this one that makes your mouth water every time you use it! And yet, it's completely "Non-Fattening"!
Approximate Time: 1 Hour
With your hook, chain 3 and make 13 more DC's (double crochets) into first chain from hook, for a total of 14.
Chain 3, and make 2 DC's in each stitch around for 28. Join and fasten off.
With new work, chain 7, making a SC (single crochet) in the back loop of each of the next 6 chains. Chain 1, turn, and continue this work till you reach row 32. Leave yourself a 2' tail and pull thread through stitch. With large needle, sew sides to bottom.
Make sure the pretty side of the bottom stays out, even if you have to twist it around. When sides and bottom are attached, sew up the seam up the side, and fasten off.
Icing: Choose the color of the icing, and make a chain 2, making a single crochet in the first chain, marking it to continue around without joining.
Keep this up till the top is the same size as the cup opening. Leaving a 2' tail for sewing, whip stitch around the top of the cup and and before it is all the way closed, stuff generously with batting.
Note: If you don't have any batting, use scrap yarn.
Close and use colored pin cushions to look like sprinkles.
N-JOY!
By Sandi from Yorktown, VA

Add your voice! Click below to comment. ThriftyFun is powered by your wisdom!
This is a great idea. It has everything I am looking for in a project to teach new skills to my students; simple, useful and good to look at. Thanks very much!
Glad you like it! It's easy and very functional which is great for beginners. Love to see some of their items here? PBP
Cute, great shower gift idea, one could add needles, thread, a sewing box, etc.
Add your voice! Click below to comment. ThriftyFun is powered by your wisdom!