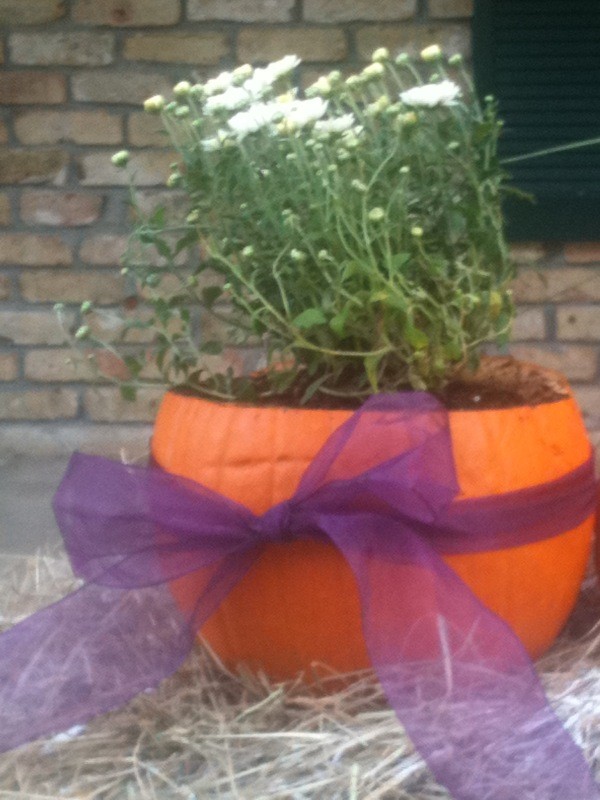
Try carving a pumpkin to create a planter.
Approximate Time: 30-45 min
Supplies:
- pumpkin
- annuals
- knife
- spoon
- ribbon
- dirt
- hot glue gun
- scissors
- small hand shovel
- trash bag
- rocks
Instructions:
I don't remember if I saw this or thought it up. However, since I've made my own I've seen the fake pumpkins with fake flowers everywhere. I may have seen it in Lowe's home improvement or Better Homes and Gardens.
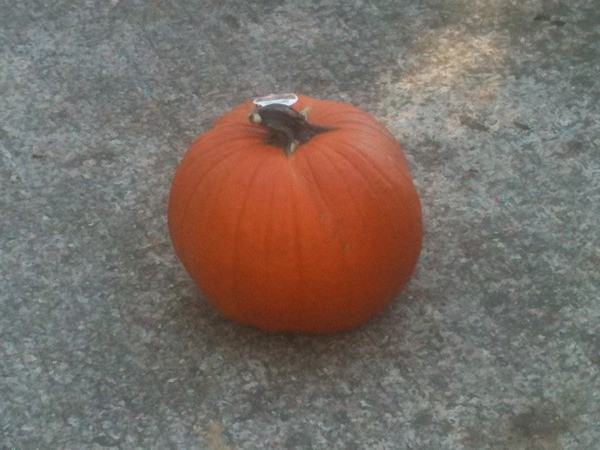
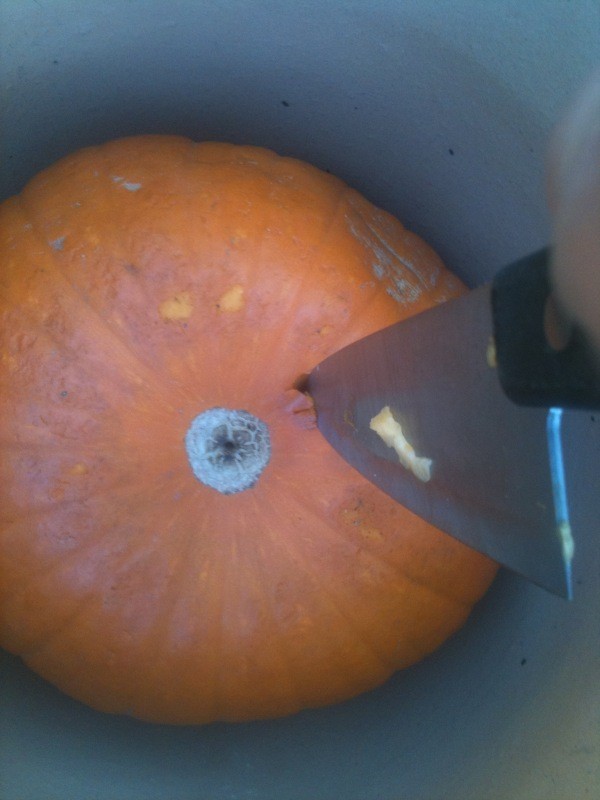
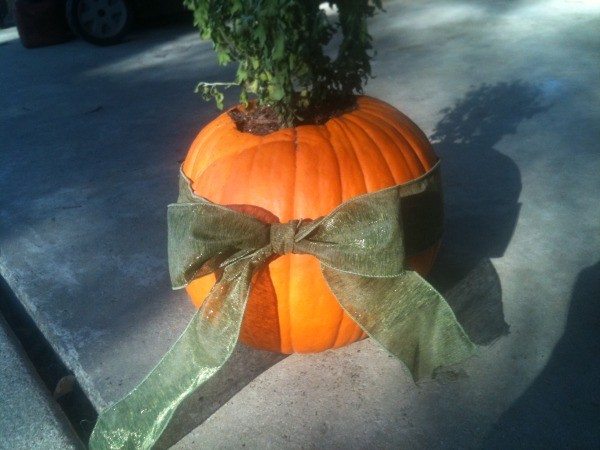
- First, you cut off the top of the pumpkin wherever you wish. Two of mine were cut off at the top, and two in the middle.
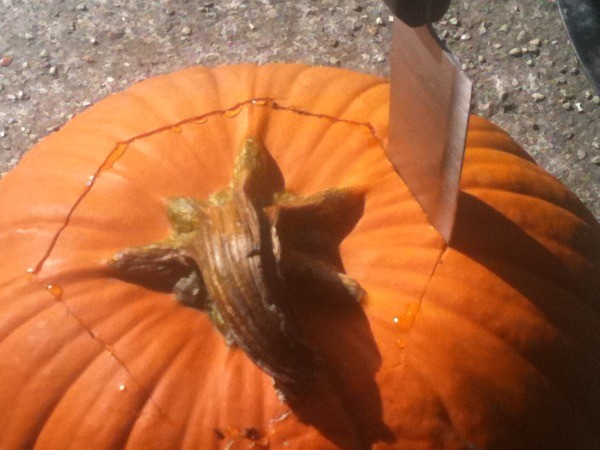
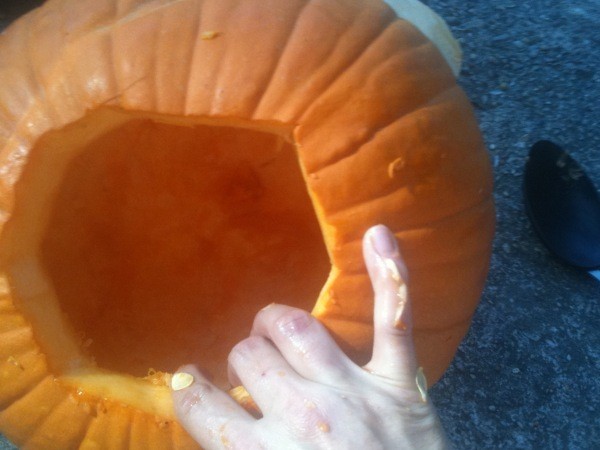
- Next you use your spoon to scrape out the sides of the pumpkin and clean it all out. Putting all your waste in the trash or being a little thrifty and planting or roasting the seeds. My boys love the seeds!

- After you have the inside good and clean, turn the pumpkin over and using the knife carve out small drain holes. (for water drainage)
- Once that is done turn your pumpkin over and either cover each hole with an individual rock or a thin layer across the bottom.
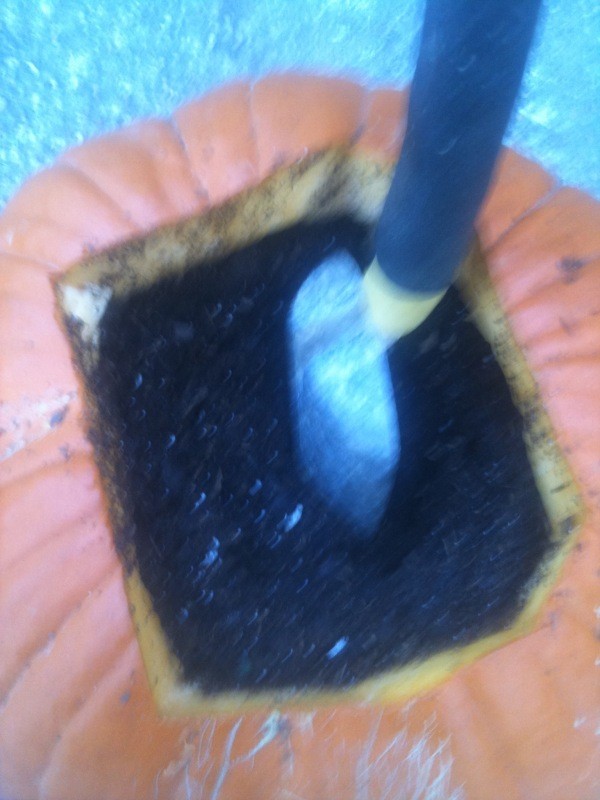
- Next fill your pumpkin with soil.
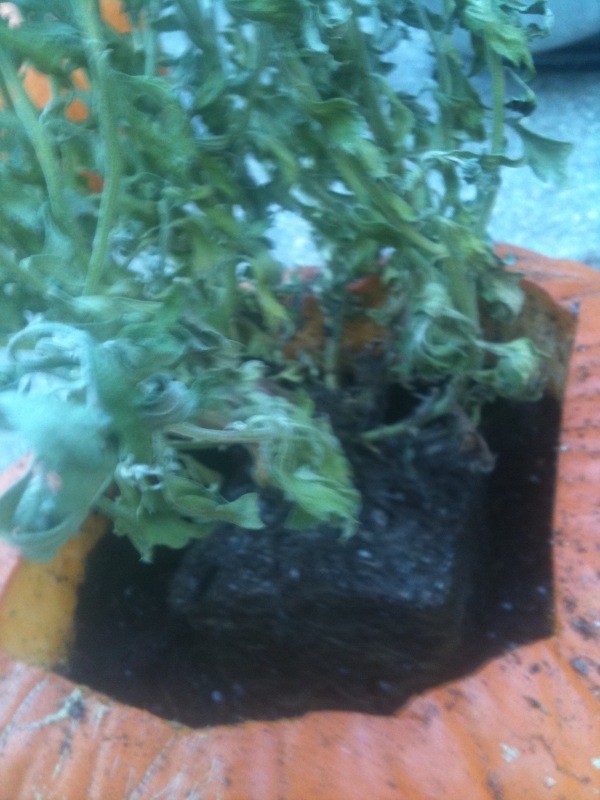
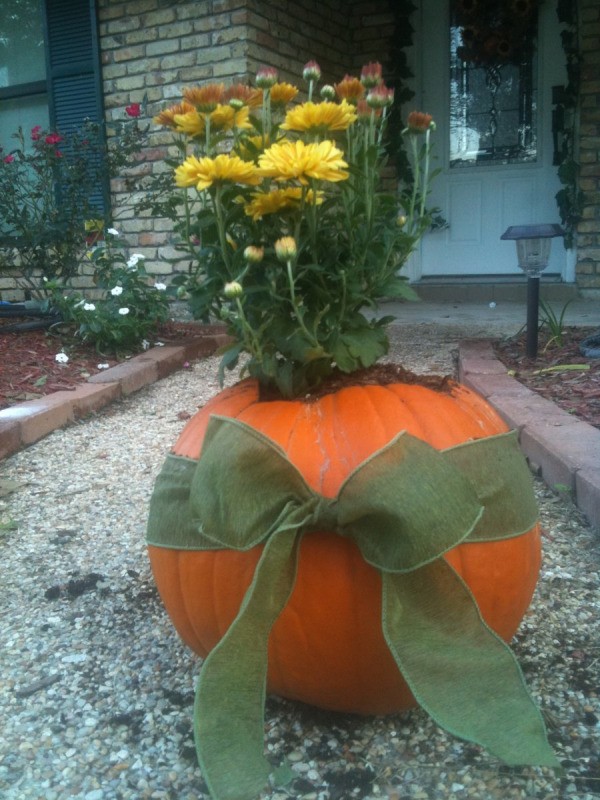
Then plant your annual as usual. Separating the roots and covering with soil.
- Once that is done and your plant is in place measure out a piece of ribbon to your desired length. I tied mine several times to get the position I wanted and ribbon length.
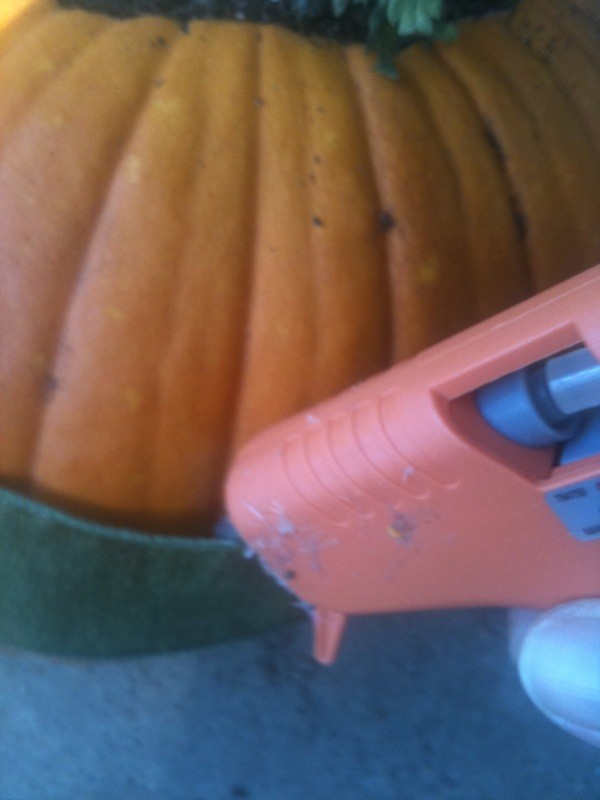
- When it was finally how I liked it, I went around the entire top of the ribbon and around the entire circumference of the pumpkin gluing it in place with the hot glue.
- Finally I placed my pretty, colorful, little planters where I wanted them in the front yard and watered them.
I haven't seen any other live pumpkin planters yet! Happy, beautiful, fall!
Also, I only used materials I had on hand with the exception of my pumpkins and mums. All my ribbon was leftovers so evaluate your crafting supplies and get creative!
By Mistie from Baton Rouge