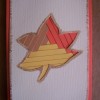
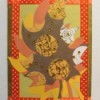
Using fall colors, and a cutout of a leaf, one can make an elegant birthday card for a friend, celebrating her birthday during the fall months.
Approximate Time: 30 minutes
Supplies:
- the printed pattern sheet
- 8.2 x 5.7 inch dark orange cardboard
- 5.2 x 3.2 inch light yellow cardboard
- left-over pieces of cardboard in three fall colors, from which you can cut 6-8 strips from each color, sized 6 x 0.4 inches
I used dark orange, pumpkin yellow, and light brown strips. From one of these colors (I chose the pumpkin yellow), cut a strip sized 1.6 x 0.4 inches so that you will have a strip that will be wide enough to cover the stem of the leaf.
- pair of standard scissors
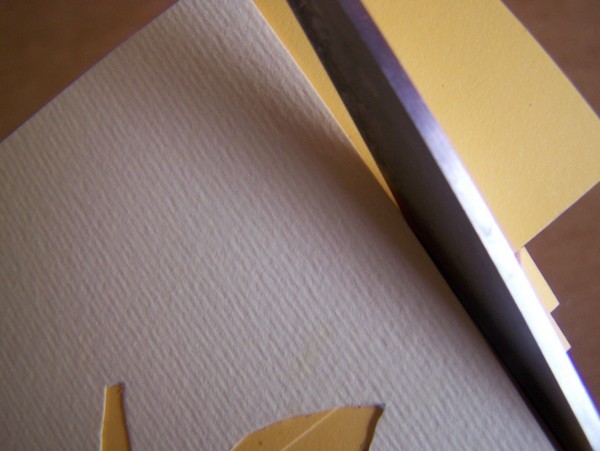
- Stanley knife (utility knife)
- pencil
- ruler
- quick-drying glue
- old gold acrylic paint
- fine paintbrush
- a light yellow sheet of paper
- one matching envelope
Instructions:
- Fold dark orange cardboard in half to create a card 4.1 x 5.7 inch ~ use the ruler to make the fold neat and smooth.
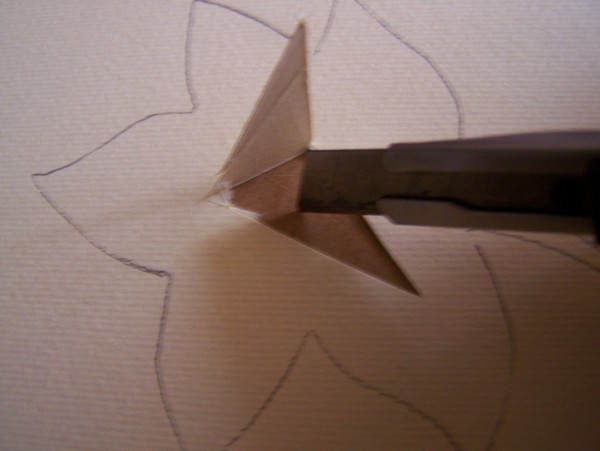
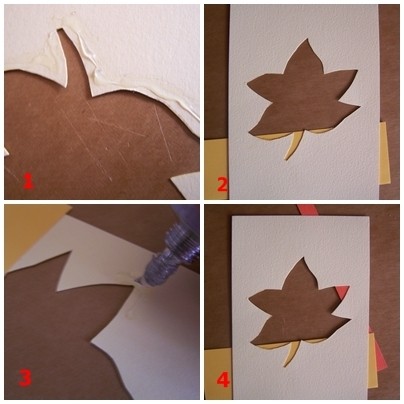
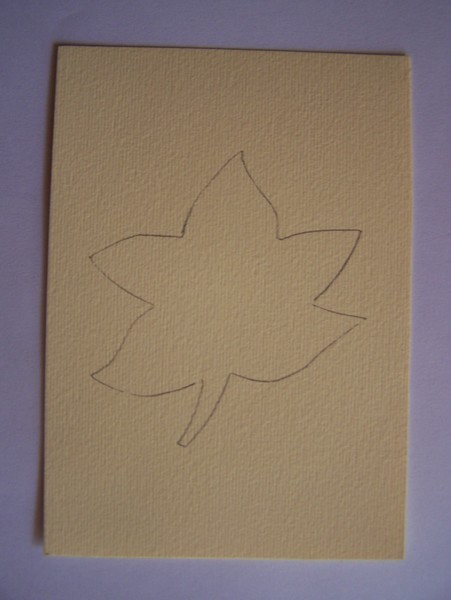
- Cut out the leaf from the pattern sheet.
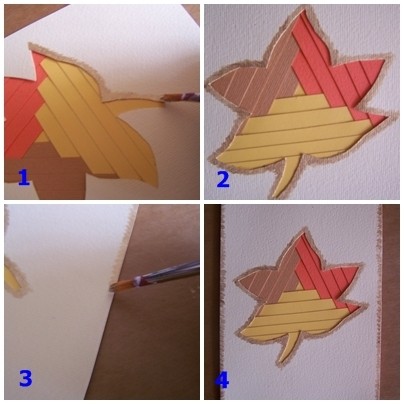
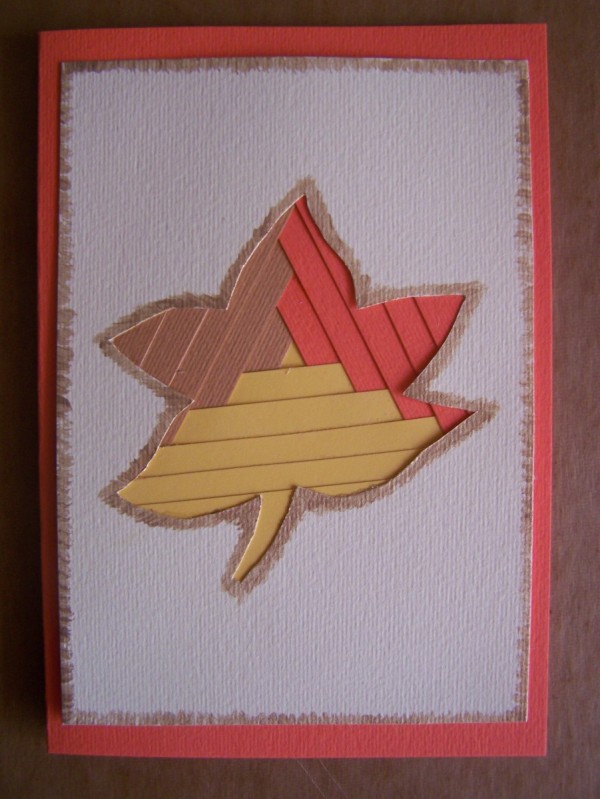
- Place it on the light yellow cardboard and trace around the edges.
- Use the Stanley knife to slit a small opening in the leaf that you have traced onto the light yellow cardboard. Then, use the pair of scissors to cut out the rest of the leaf.

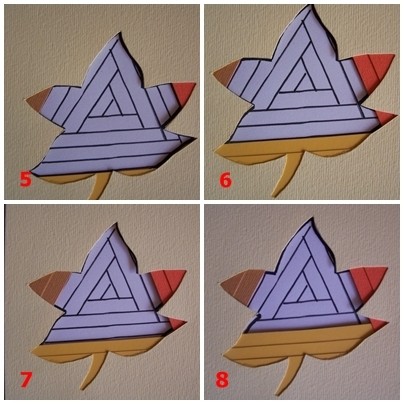
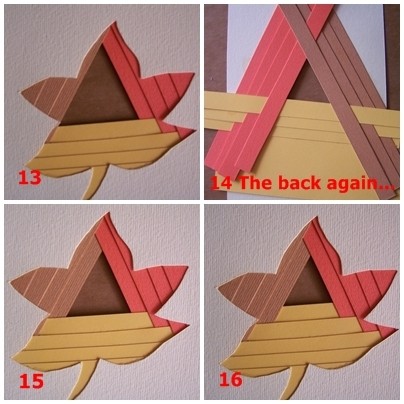
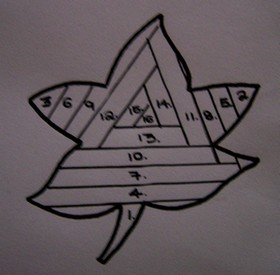
- Turn the light yellow cardboard around and follow the diagram to glue the strips into position across the leaf on the back of the cardboard.
Start with the wider yellow pumpkin strip. You alternate between the colors. First add a yellow pumpkin strip, followed by a dark orange strip, followed by a light brown strip, followed by a yellow pumpkin strip again, etc.
- Cut off any protruding pieces of paper strips.
- With the old gold acrylic paint and the fine paintbrush, add some detail to the edges of the cut-out and to the edges of the light yellow cardboard.
- Glue the light yellow cardboard to the front of the card, ensuring that it is an equal distance from the edges.
- Cut a piece from the light yellow paper that can be glued to the inside of the card, where you can write a message.
By Benetta from Pretoria, Gauteng,