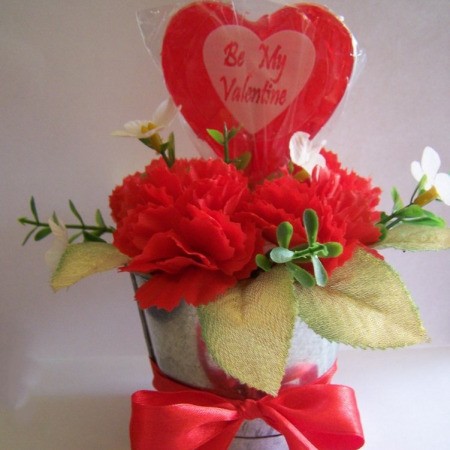
Make this cute little gift for your Valentine and sweep him off his feet this year!
Approximate Time: 20 minutes
Supplies:
- one white Styrofoam block, sized 4 x 4 x 4 inches
It can easily be cut and wedged into a container.
- galvanized mini tin bucket with a height of 2 7/8 inches:
See http://bucket-outlet.com/Obo000.htm for a possible supplier.
- one heart-shaped lollipop, if possible with a message printed on it. (I used one with the message "Be My Valentine.")
- five red silk carnations
- a few silk leaves and small silk flowers
- red satin ribbon
- sharp knife.
- pair of standard pliers to shorten the stems of the silk flowers
Instructions:
- Turn the mini tin bucket upside down and gently push the top of the bucket into the Styrofoam block, so that you will have left an imprint on the block.
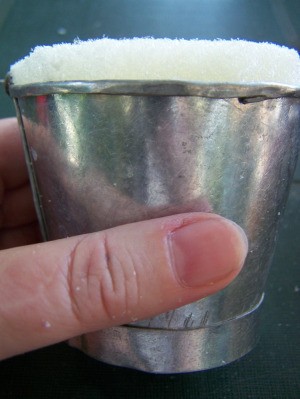
- Use the knife and cut the Styrofoam block to the correct size, so that it will fit snugly into the mini bucket. You will have to cut the foam at a slant, to make provision for the fact that the bucket gets narrower towards the bottom. Do not cut away too much at once; cut a few small pieces away, measure it to the bucket and keep on cutting and measuring until the foam fits into the bucket. Note: The Styrofoam is very messy, so work in an area that will be easy to clean.
- Once it fits snugly into the bucket, use the knife to cut the foam level with the rim of the bucket.
- If necessary, shorten the stick of the lollipop. Then, stick the lollipop into the middle of the foam in the bucket.

- Cut the stems of the carnations shorter with the pair of pliers.
- Decide how to arrange them around the lollipop and stick them in place in the foam.

- Add a few leaves and smaller silk flowers to finish the arrangement.

- Tie the ribbon around the bottom of the tin and make a small bow.


Photos included:
Photo 1: Cut the Styrofoam block to the correct size, so that it will fit snugly into the mini bucket.
Photo 2: If necessary, shorten the stick of the lollipop.
Photo 3: Arrange the carnations around the lollipop.
Photo 4: Add a few leaves and smaller silk flowers to finish the arrangement.
Photo 5: Tie the ribbon around the bottom of the tin and make a small bow.
Photo 6: The completed gift.
By Benetta from Pretoria, Gauteng


